How to Set Up a VPN on Android Phones
There are several different ways to set up a VPN on Android, most of which are very simple.
What You’ll Need to Set Up a VPN on Android
- An Android smartphone
- A VPN subscription
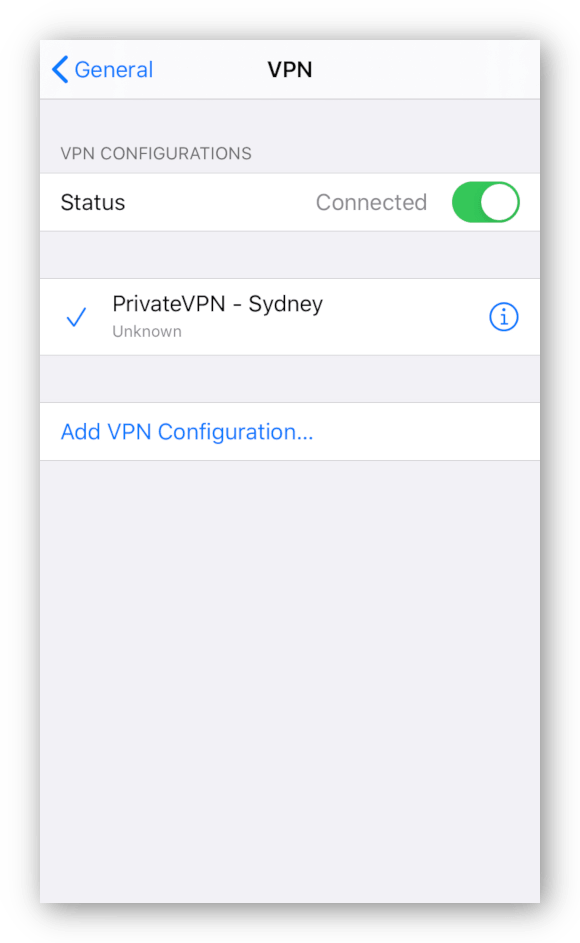
NOTE: Android does offer a built-in VPN client, but we don’t recommend using it. Android’s built-in VPN uses insecure VPN protocols such as PPTP, which can be hacked in minutes. L2TP/IPSec uses pre-shared keys, which are publicly available on VPN websites and open the door to man-in-the-middle attacks.
1. Install a Native VPN Client for Android (Easiest Method)
Installing a native VPN application directly onto your Android smartphone is the easiest way to set up a VPN on Android. It will take you less than five minutes.
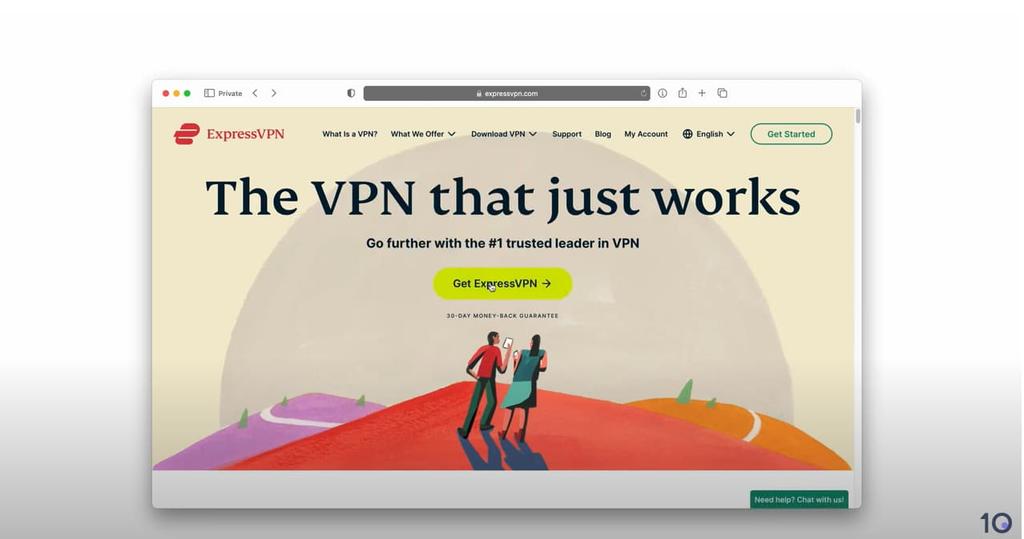
We’ve used ExpressVPN in the example below because it has one of the best VPN apps for Android. Most other Android VPNs involve a very similar setup process.
Here’s how to do it:
- Before you sign up for a VPN subscription, check that the VPN service has a native Android app.
- Find your VPN provider’s Android app on the Google Play Store, install it, and launch it. If you live in a country where you can’t access the Google Play Store, see how to install an APK file below.
- In the ExpressVPN app, tap Sign In. Enter your VPN subscription email address and password, then tap Sign In again.
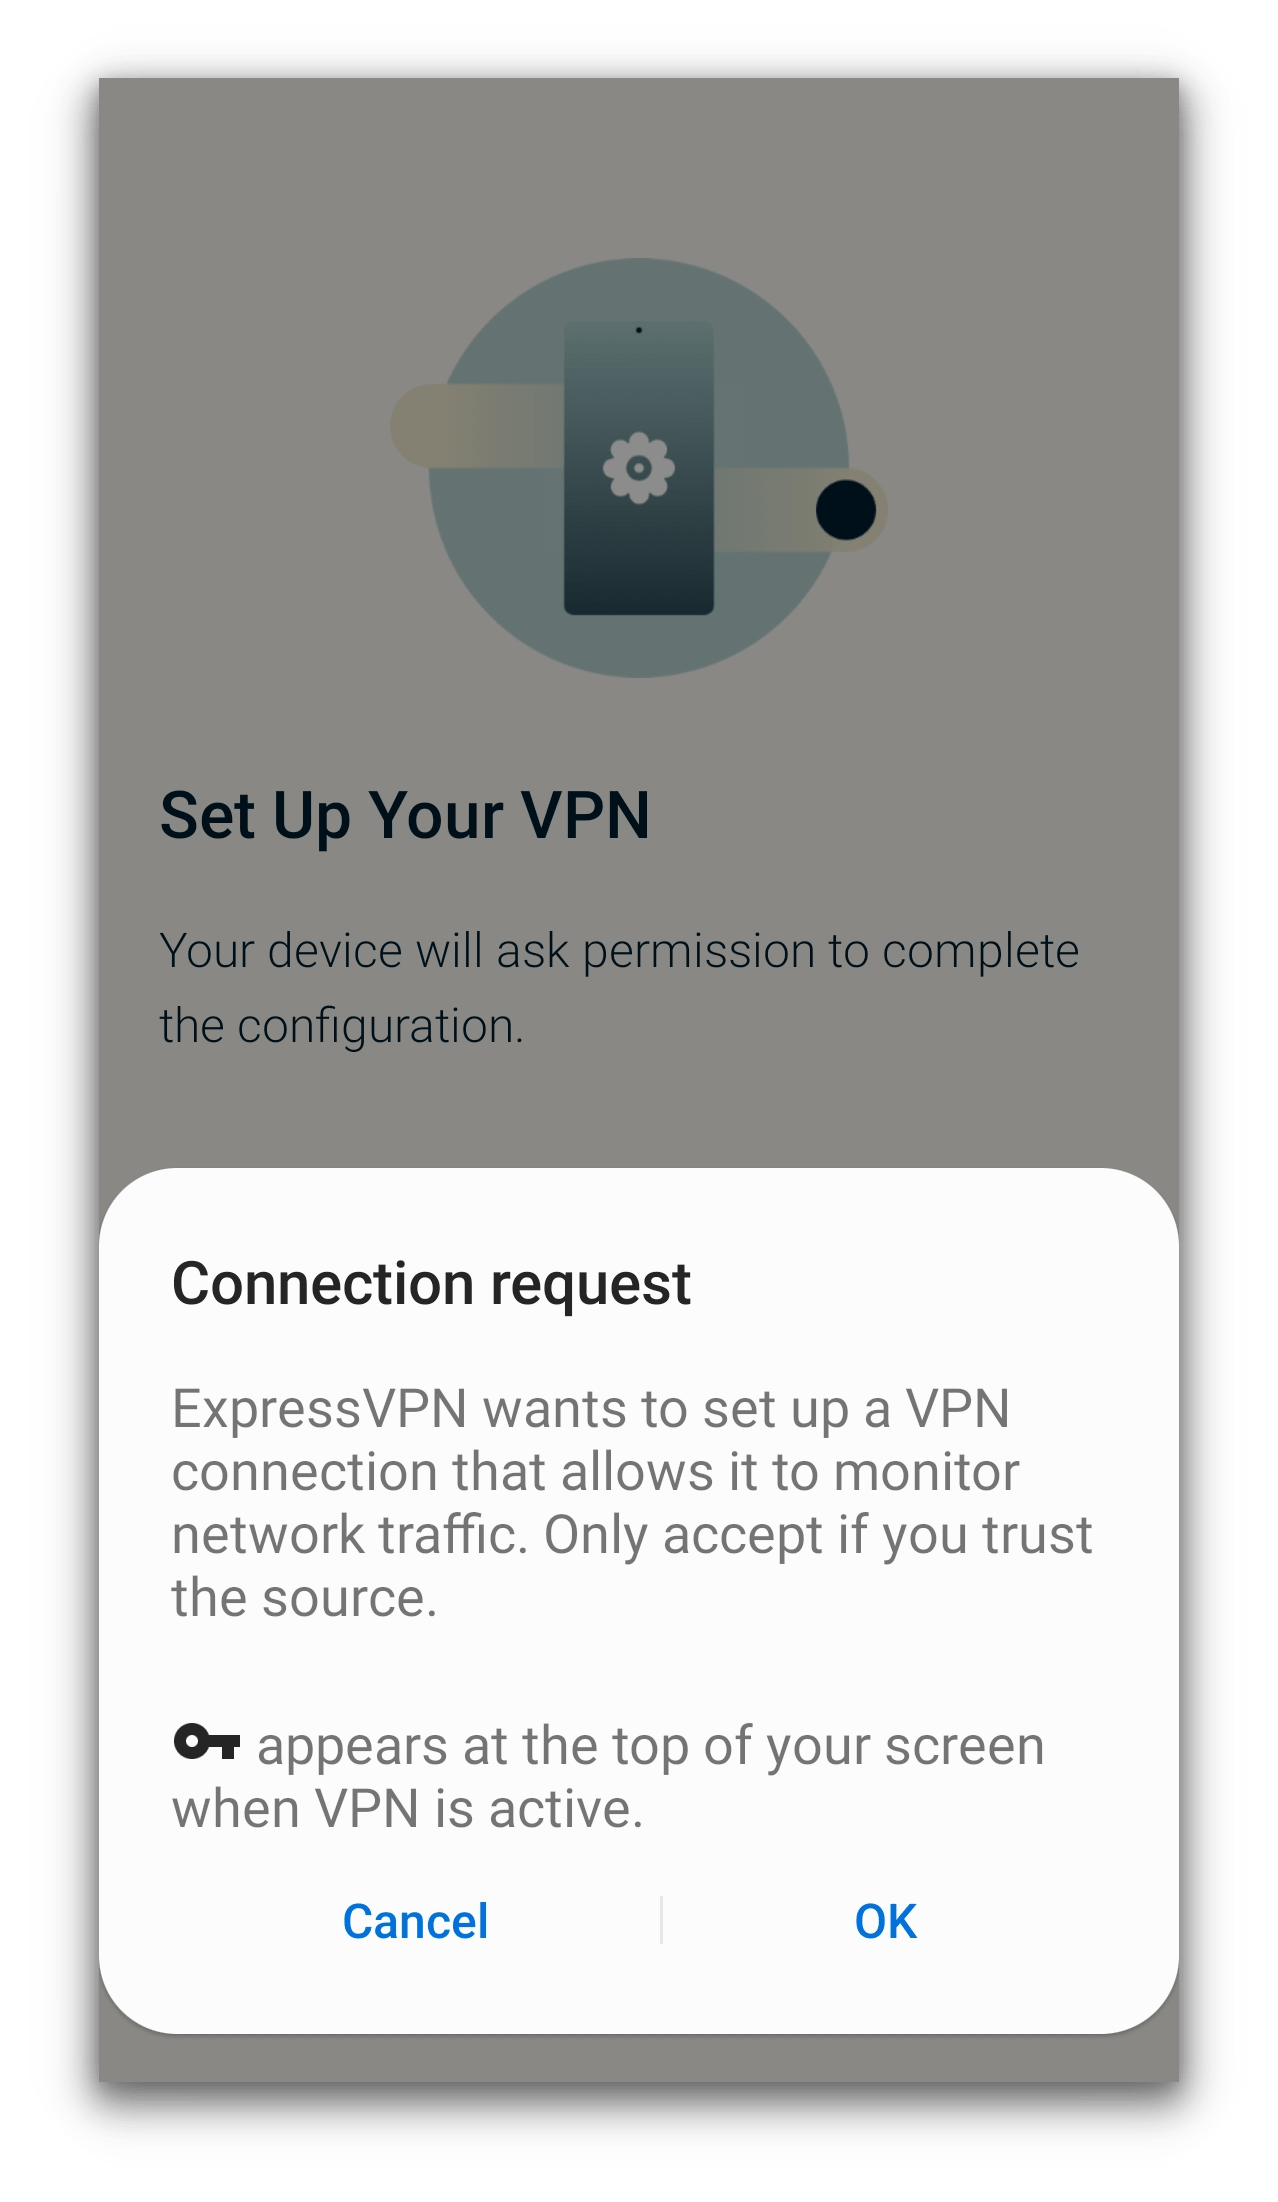
- Tap OK to start the VPN connection set up process.
- Tap OK to accept the VPN connection request, as shown below.
- ExpressVPN asks new users to share anonymous diagnostic information. Tap OK or No Thanks to continue.
- Your VPN is now ready to use – simply connect to a server to begin browsing anonymously.
2. Use Third-Party Software (Use a VPN Without an App)
If you don’t want to use the native VPN app from your VPN service provider, or if it doesn’t come with one, you can still set up a VPN on Android using a third-party VPN app.
This is a bit more complicated than downloading a VPN app from the Google Play Store, but it doesn’t take long.
Third-party apps are sometimes more configurable than the VPN service’s own application. They even allow you to use multiple VPNs within a single app.
Ask your VPN service provider which app it recommends. ExpressVPN recommends OpenVPN for Android as it works better with its configuration files, while NordVPN recommends OpenVPN Connect.
Follow these steps:
- Go to your VPN service provider’s website on your mobile browser and log in to your account.
- The next steps will vary depending on the VPN service you’re using. We’re using ExpressVPN. Go to the section of the VPN account page where you can set up the VPN on various devices. Tap Show other devices.
- Scroll through the list of devices and tap Manual Configuration.
- Tap OpenVPN. Here you will see your unique username and password for OpenVPN manual configuration. You will need these later.
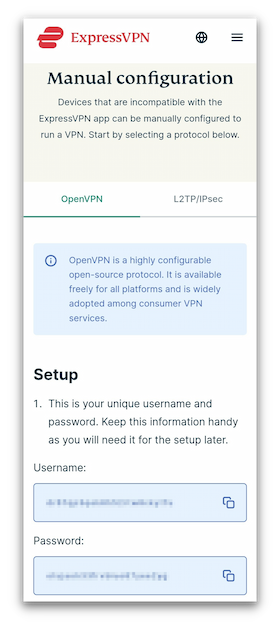
- You can download as many configuration files as you’d like – each one will allow you to connect to a different VPN server location. However, we recommend starting with one until you know how to do the whole installation process.Tap the server location you wish to connect to, and it will automatically download the configuration file to your phone’s storage. We chose the file for USA – New York.
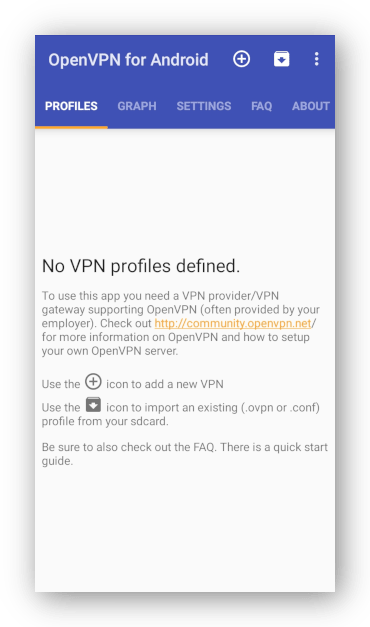
- Find OpenVPN for Android on the Google Play Store. Install it and open it
- This is the main screen of the OpenVPN for Android app. Tap the folder download symbol at the top right-hand corner of the app (in between the plus symbol and the three vertical dots).
- Find the VPN configuration file in your Downloads folder. Some users will have to go to Internal storage before navigating to the Downloads folder in order to select the file. When you’ve found the file, tap on it
- Tap on the tick symbol in the top right to finish the config file download.
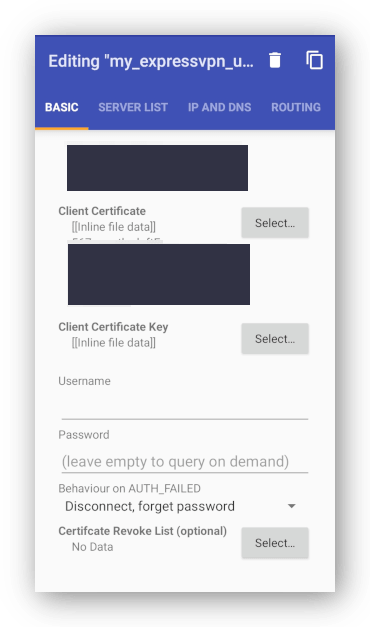
- Tap the Edit symbol to the right of the configuration file name.
- Under the Basic tab enter your username and password for OpenVPN manual configuration from your VPN service, which you noted above. These are not the same as the account credentials you use for the VPN app or website. Then tap on the Back icon.
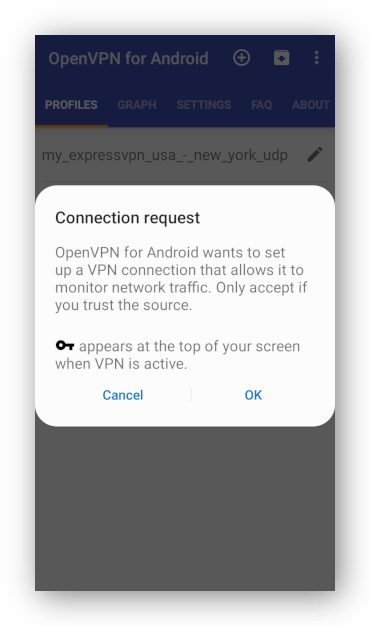
- Tap on the profile you’ve just created. It has the same name as the configuration file you used.
- Tap OK to accept the connection request.
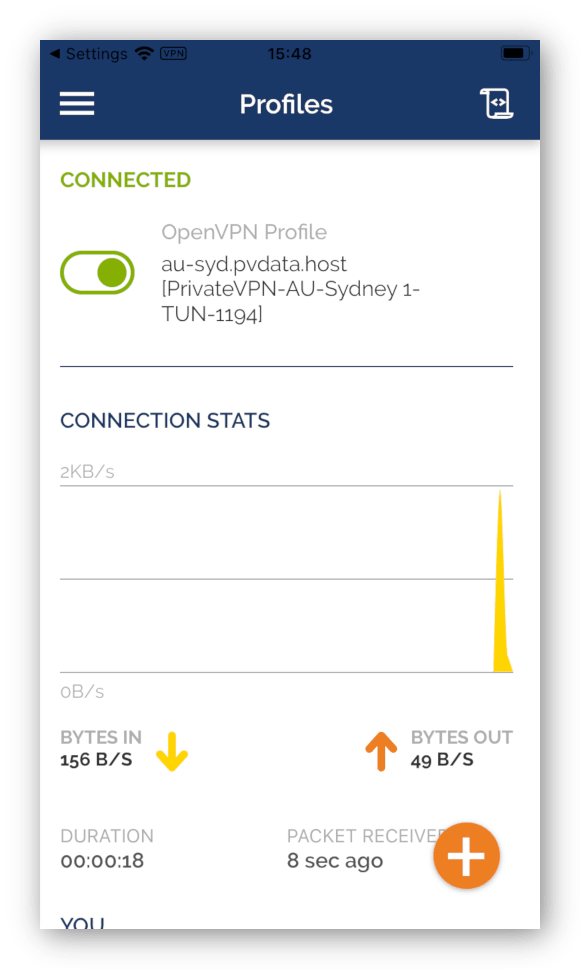
- You will see a connection notification once the VPN has successfully connected. A key icon will remain in the top-left corner of your screen for the duration of the VPN connection.
- To disconnect from the VPN, tap the OpenVPN profile in the OpenVPN for Android app and tap DISCONNECT.
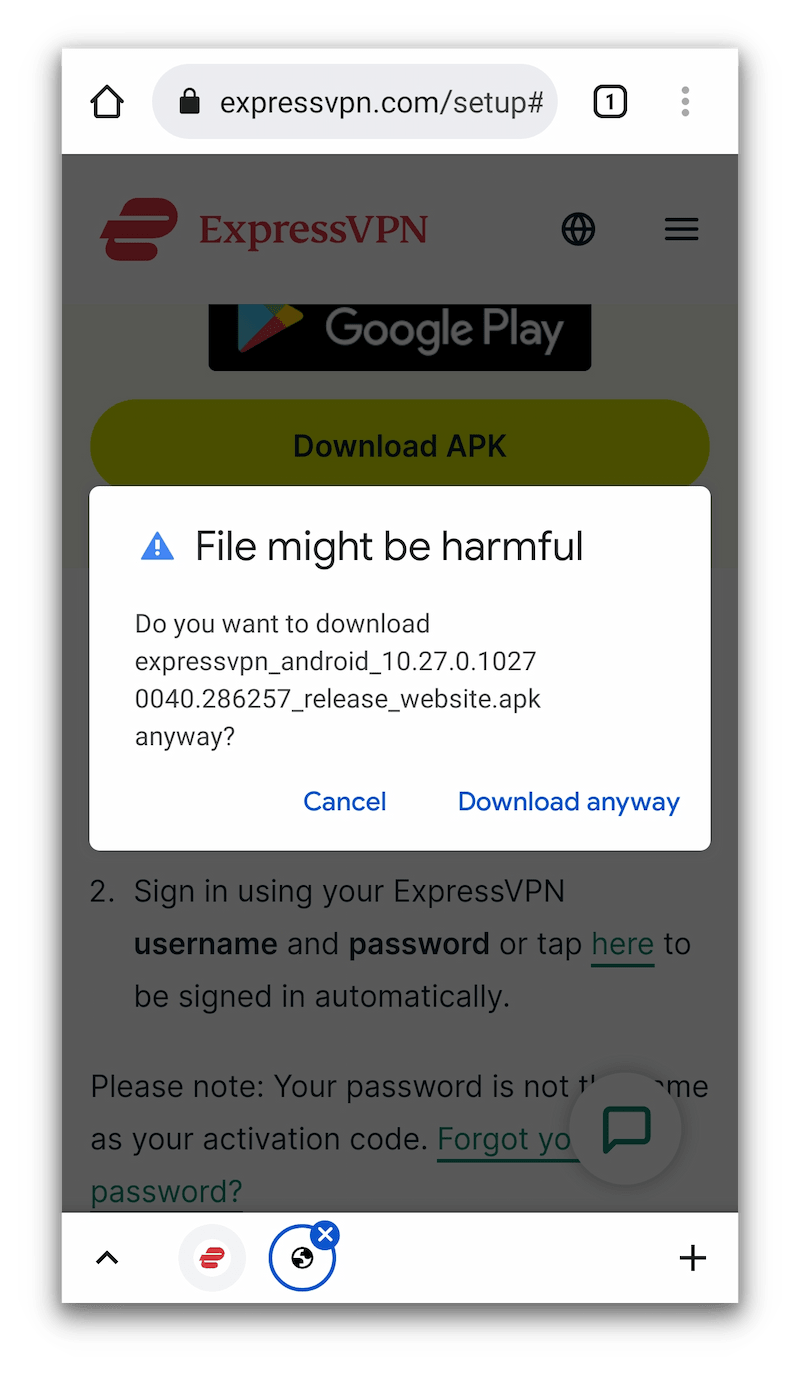
3. Set Up a VPN Using an APK File
If you can’t access the Google Play Store, you can install the VPN provider’s app onto your Android device if the service provides an APK file. It’s not as smooth as using the Google Play store, but it won’t take you long.
Always download APK files from the VPN provider’s official website, to avoid the risk of installing files that have been tampered with.
Here’s how to do it:
- First, you’ll need to change your phone’s permissions to allow the downloading of files from outside of the Google Play Store. Go to your phone’s Settings menu, then to Security. Now tap Install unknown apps and tap on the web browser you want to use for downloading APK files. Toggle on Allow from this source.

- Go to your VPN provider’s website and log in to your account using your credentials.
- The next steps will vary depending on the VPN service you’re using. We’re using ExpressVPN. Tap Show other devices under the device setup section.
- Tap Download APK.
- You’ll see a warning that the file may harm your device. If you’re downloading the APK file from the official website of a VPN provider you trust, tap Download anyway.
- Tap Install to finish the installation process.
- The app has now been installed. Tap Open to open the VPN’s app for Android.