Top10VPN is editorially independent. We may earn commissions if you buy a VPN via our links.
How to Add & Use a Chrome VPN Extension
In This Guide
Follow the simple installation steps in this guide to safely set up a VPN extension in your Google Chrome browser.

Quick Guide: How to Add a VPN in Chrome
- Open your Chrome browser and go to the Chrome Web Store.
- Select the VPN and click the ‘Add to Chrome’ button.
- Launch the VPN from your toolbar.
- Connect to a VPN server to change your IP address and online location.
The best Chrome VPN extensions spoof your IP address and encrypt your web traffic, hiding your browsing activity from third-parties and unblocking geo-restricted web content.
In this guide we’ll explain in detail how to add a VPN extension via the Chrome Web Store and how to use it to access geo-restricted websites.
What You’ll Need to Set up a VPN in Chrome
- The latest version of the Google Chrome web browser.
- A free or paid VPN subscription (not always necessary).
- Some VPN extensions may also require its desktop app to run alongside it.
Lastly, keep in mind that most Chrome VPN extensions only protect your web browser traffic. As such, they don’t provide the same level of privacy and security as a ‘full’ VPN application.
How to Set Up a VPN Extension in Chrome
We’ve used ExpressVPN as an example, but the process is near-identical for all VPN extensions.
- Go to your chosen VPN provider’s Chrome Web Store listing. You can also usually find the extension on the VPN provider’s website or by searching for it directly.

- Click ‘Add to Chrome’.
- Click ‘Add extension’ when prompted. This will appear within a dialog box outlining all of the permissions the extension uses.

- Find the VPN extension in your toolbar. Click the VPN’s icon in the top-right corner of your toolbar to access the user interface.
- Go through the setup prompts. We suggest you click ‘Skip‘ for the first option and then ‘No Thanks‘.
- Optimize your settings for privacy and security. Click the hamburger menu > Privacy & Security and ensure Spoof your location and Block WebRTC are both ticked.
- Click the connect button to start the VPN. ExpressVPN’s connect button and background will turn green when it has successfully connected.

- Unblock geo-restricted websites. You can do this by clicking Current Location and switching to a VPN server in the region you want to access.
Note: Unlike other VPNs, ExpressVPN’s Chrome extension requires its desktop app to run at the same time. As a result, you don’t need to log into the extension since it knows your credentials from the Windows or Mac app.
While the above instructions apply to most VPN Chrome extensions, some VPN services may require you to enter your account credentials in order to use their extension. For instance, here’s the login screen on NordVPN’s Chrome extension:
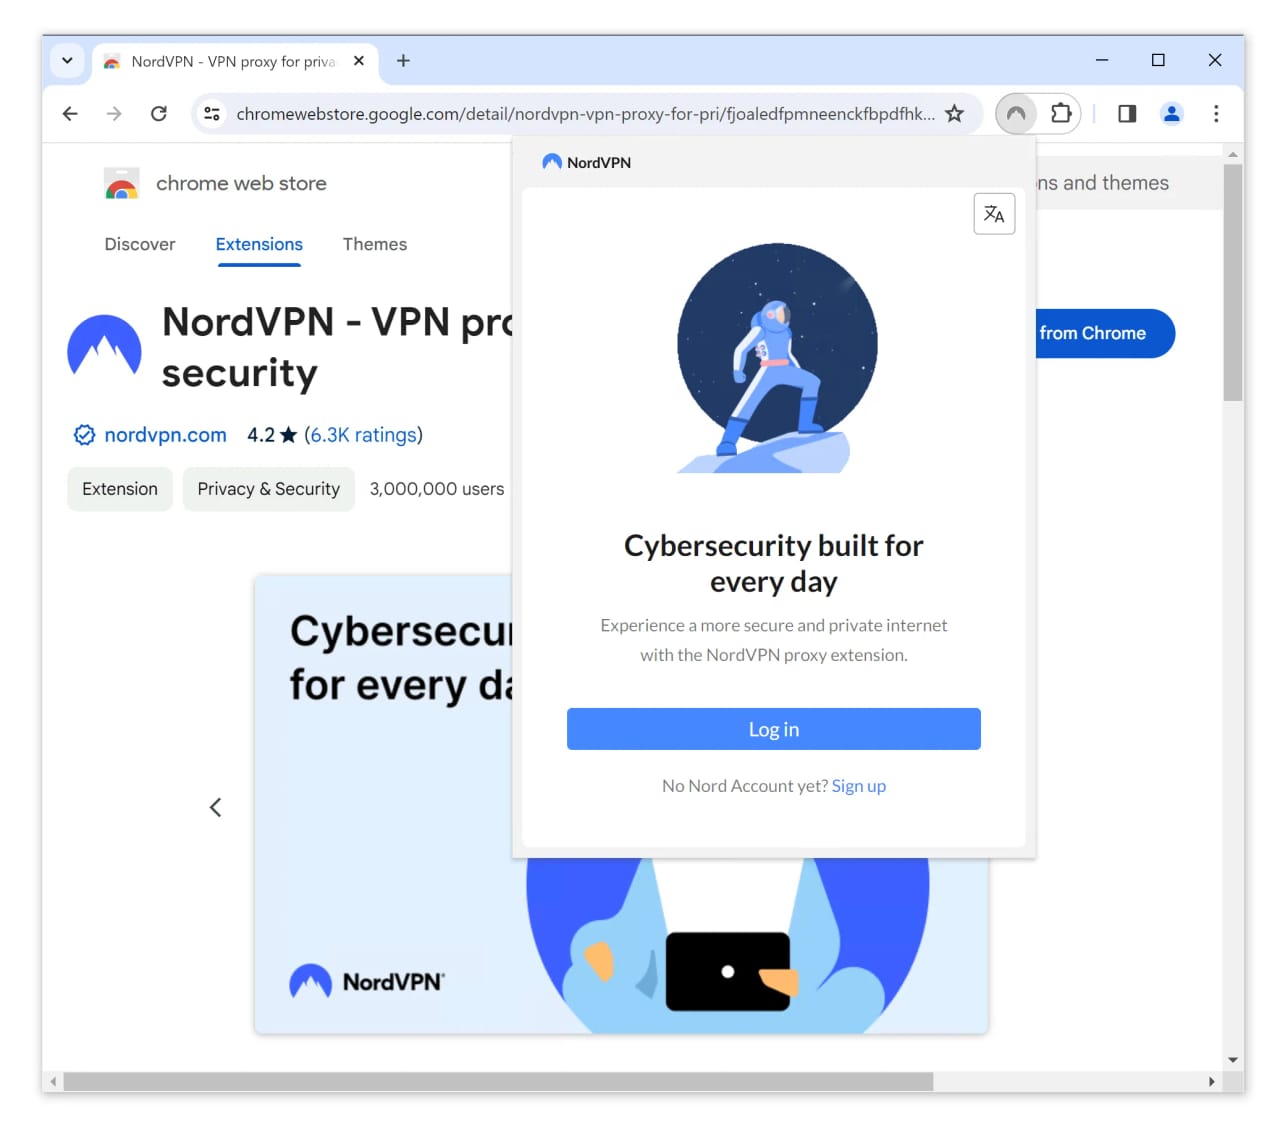
NordVPN requires you to enter your account details.
How to Uninstall a Chrome VPN Extension
If you don’t want to use your VPN browser extension anymore, then you’ll need to uninstall the extension from Chrome.
To remove a VPN extension from Chrome:
- Click the extension icon on your browser’s toolbar. This is represented as a jigsaw piece.
- Click the kebab menu next to the extension.
- Click ‘Remove from Chrome’ on the dialog box that pops up.
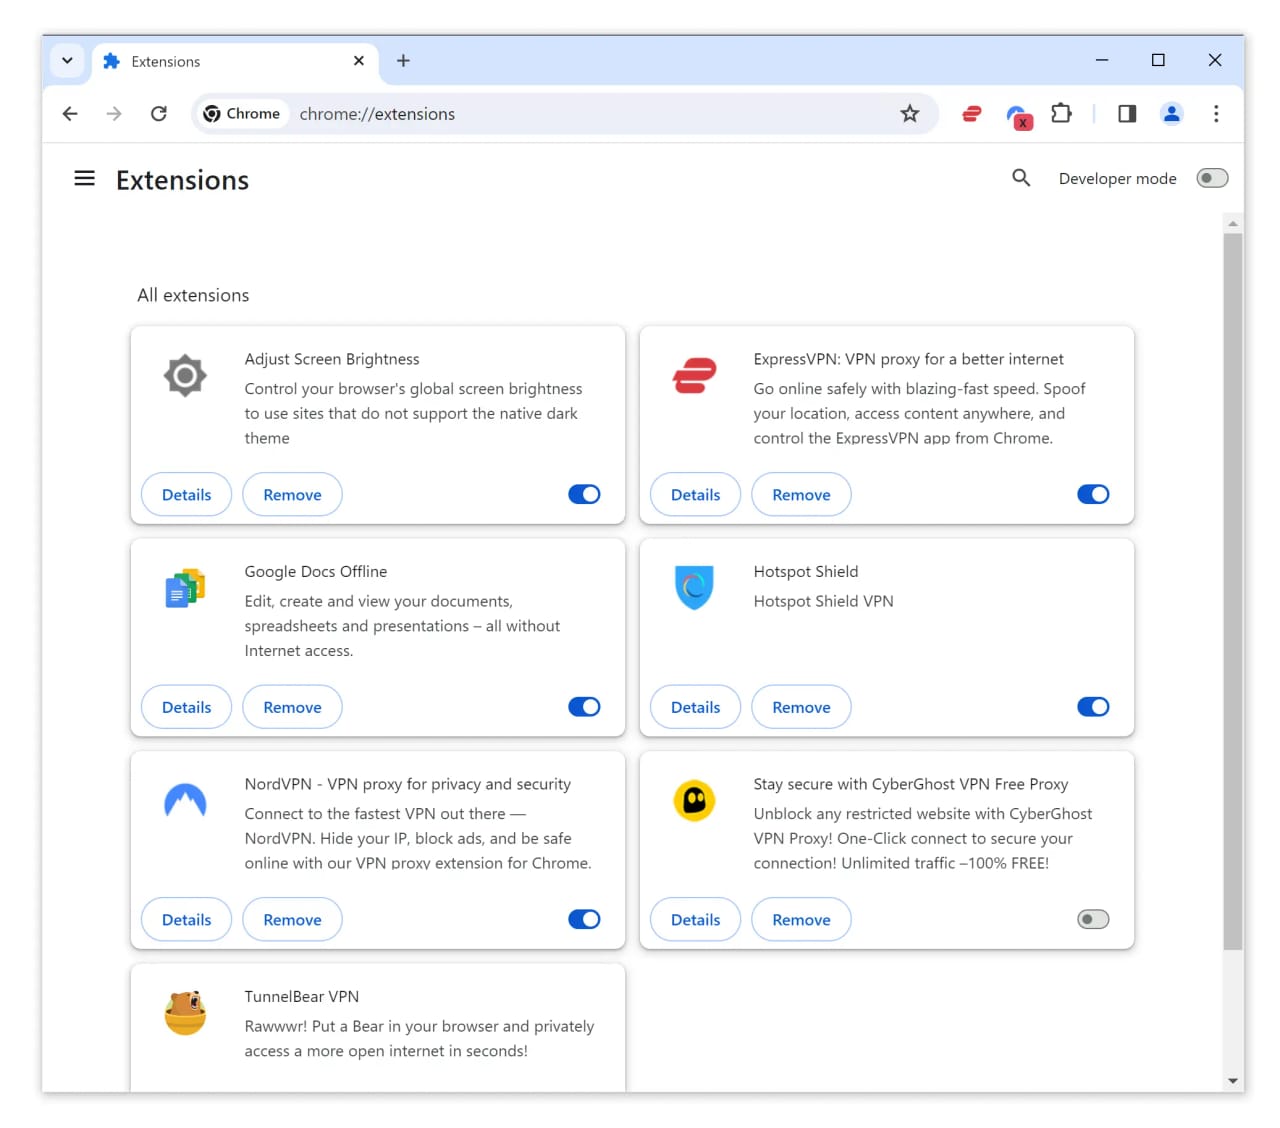
If you’re concerned that the extension hasn’t been fully removed, click the jigsaw icon and then ‘Manage extensions’.
This will display a full list of every extension you have installed, from here you can uninstall your VPN extension by selecting ‘Remove’.
Why Won’t My VPN Extension Work on Chrome?
You may encounter some problems setting up a VPN extension on Chrome, particularly when trying to connect for the first time.
We’ve listed some potential fixes, and how they work, below. We recommend you follow these solutions in order, only moving on to the next one if your connectivity issues persist:
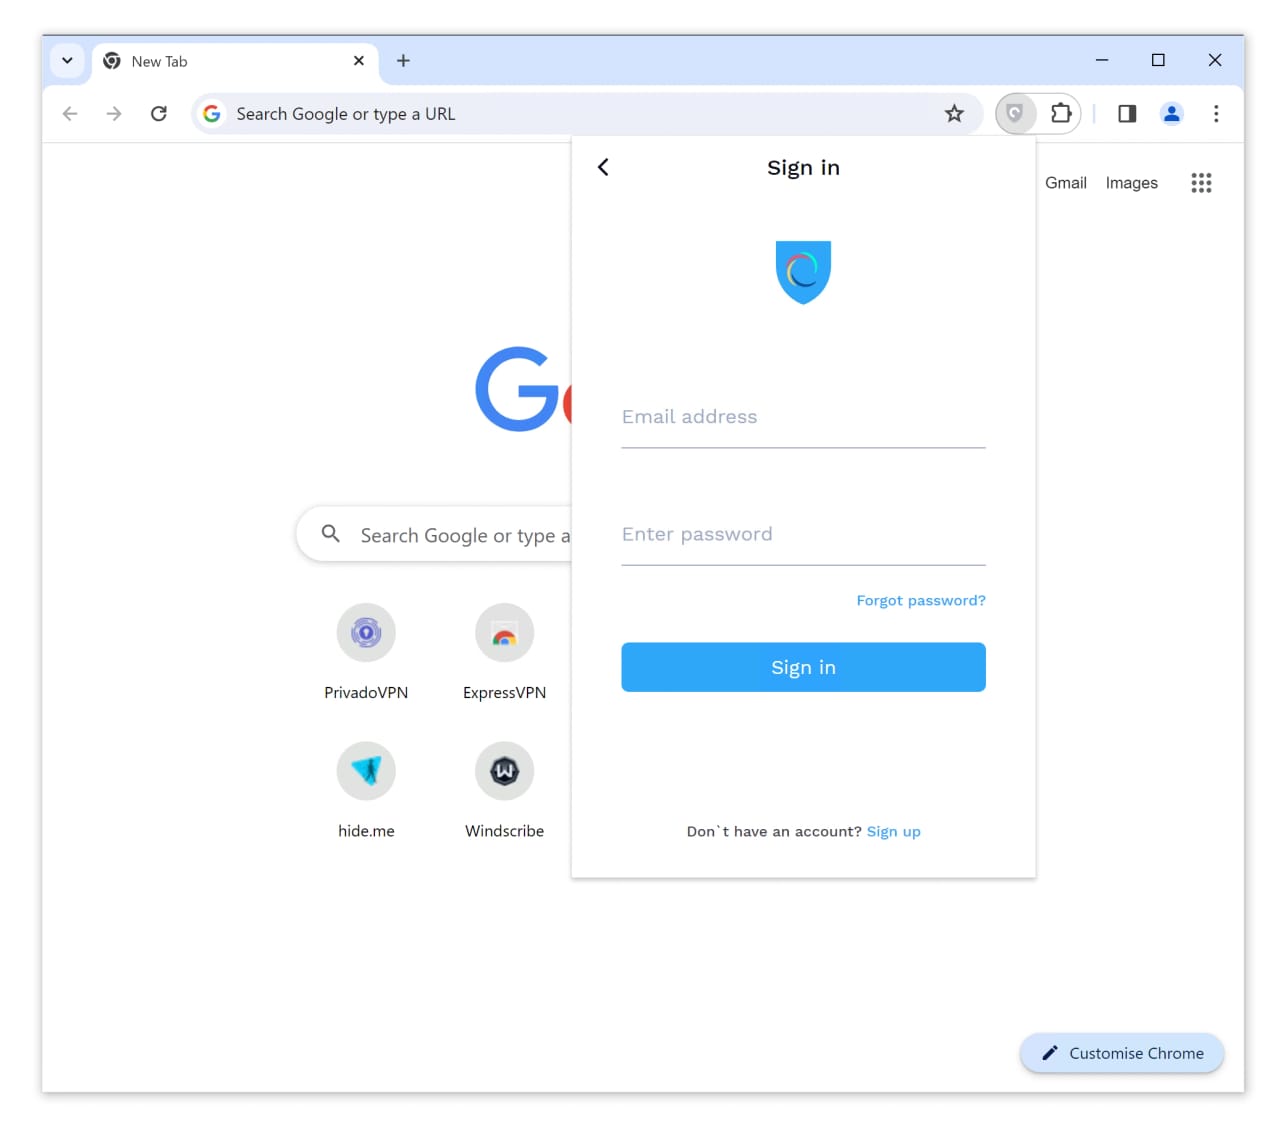
1. Ensure You’ve Logged into Your VPN Account
You can’t start browsing with Hotspot Shield until you log in.
Some VPNs require you to enter your account details into their extension before you can start using it. This isn’t always clear and the login area may be located in the extension’s settings.
To remove any doubt, contact your VPN service to confirm the correct steps for setup.
2. Check If You’ve Exceeded a Device Limit
VPNs usually impose a simultaneous connection limit to restrict how many active connections you can have at once.
If you’ve gone beyond your VPN’s concurrent limit then you’ll need to log out of the VPN app on a different device before you can activate the extension.
If this is too inconvenient, then we recommend choosing a VPN service with an unlimited simultaneous connections limit, such as Surfshark.
3. Update Your Chrome Browser
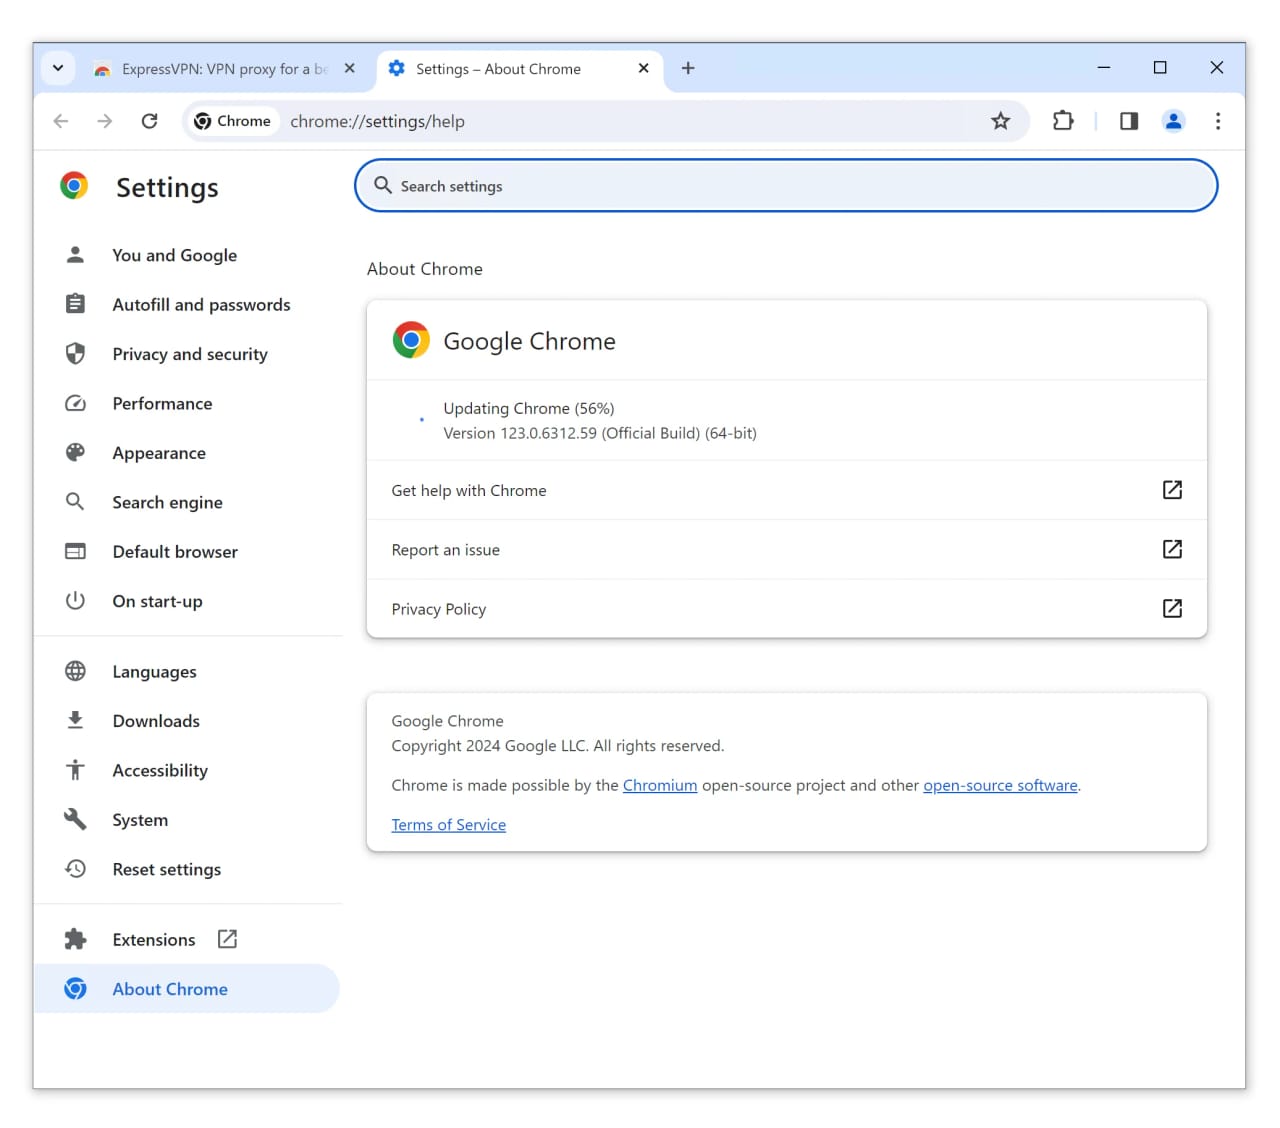
Once prompted, Google Chrome updated itself instantaneously.
It’s possible that your VPN extension isn’t working due to its incompatibility with an outdated version of the Chrome browser.
To fix this, click the three-dot menu in the toolbar and then Help > About Google Chrome. This should cause the latest version of Chrome to download automatically.
4. Turn Off Any Other VPN Extensions or Apps
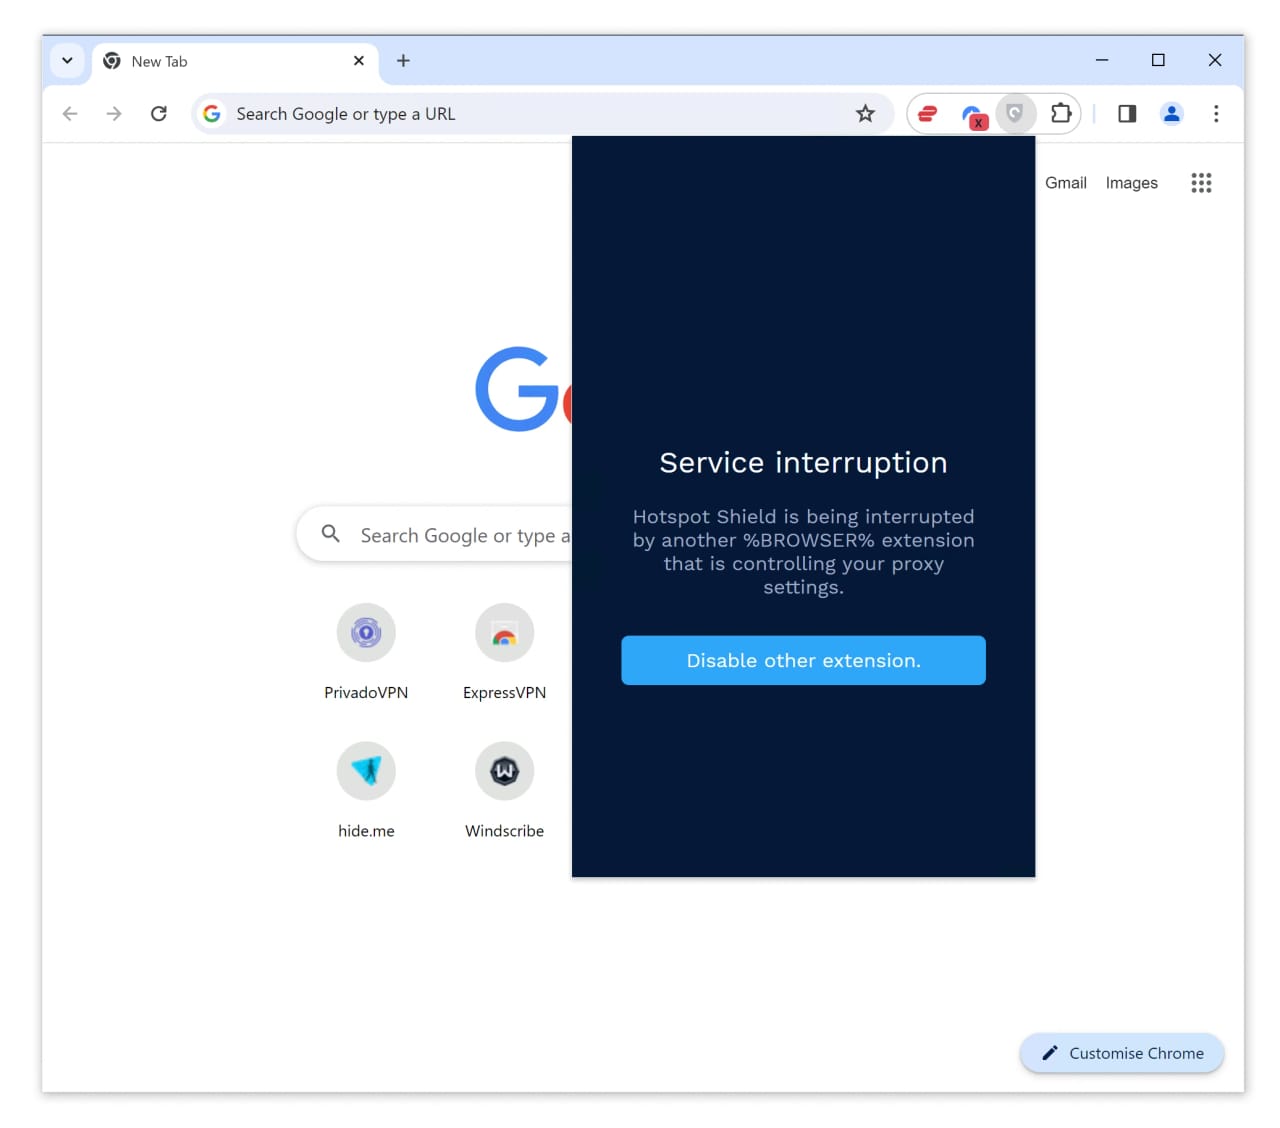
Our ExpressVPN extension prevented us from enabling Hotspot Shield.
An active connection from a different VPN service may prevent your VPN extension from working properly.
Try turning it off and then your VPN extension may be able to connect.
5. Disable All of Your Chrome Extensions
We recommend regularly auditing your browser extensions to avoid unnecessary clutter.
Similar to the solution above, there may be another extension on your Chrome browser preventing your VPN from connecting.
To disable your extensions, click on the jigsaw icon in your toolbar and select ‘Manage extensions’. From here, click the toggle on each individual extension to disable them.
Then, close and re-open your Chrome browser and try activating your VPN extension again.


