Fire TV Setup Difficulty: Hard
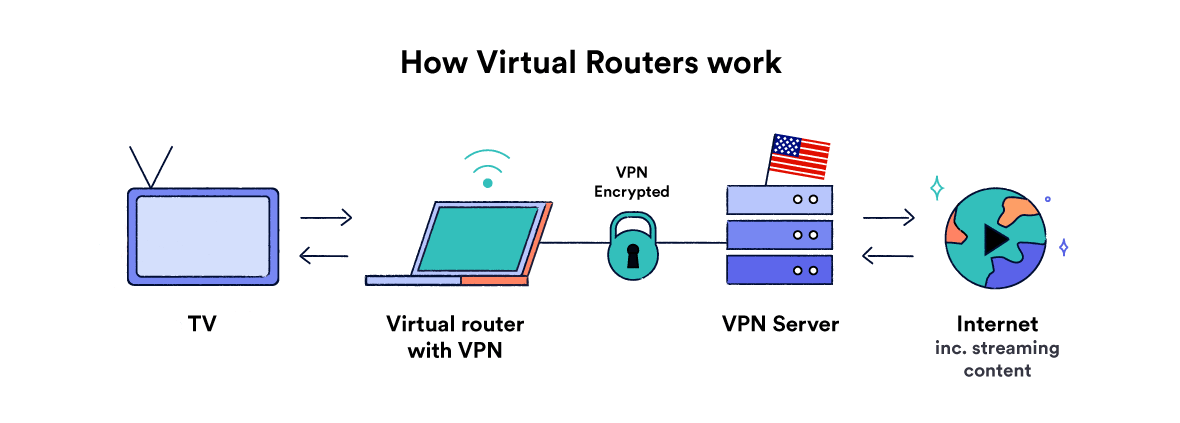
If you can’t install a VPN on your router, you can also run it on your Windows PC and share the connection to your Fire TV or Fire TV Stick.
Depending on which version of Windows you’re running, you’ll need to set up either a mobile hotspot or a virtual router. Once that’s done, you can connect your Firestick to the VPN running on your PC.
To make sure your computer supports running a virtual router:
- Type cmd into the Windows search bar
- Right Click on Command Prompt and select Run as administrator
- Enter the following:
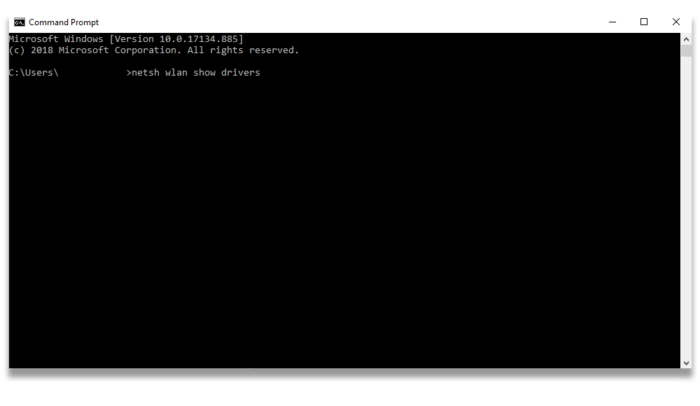
netsh wlan show drivers
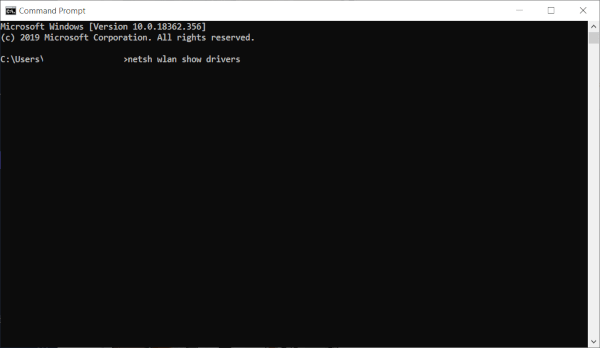
- Press Enter
- If you see “Hosted network supported: Yes”, your computer can host a virtual router
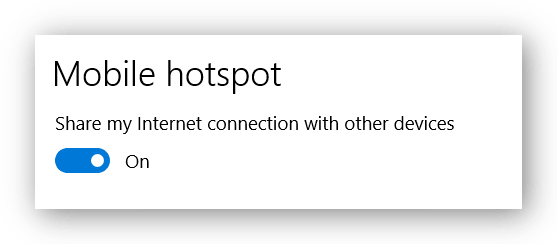
Windows 10/11 Mobile Hotspot Setup
Here’s how set up a mobile hotspot on Windows 10 or 11:
- Install your chosen VPN onto your PC (if you become stuck you can consult our guide to installing a VPN on Windows)
- Navigate to Settings > Network & Internet > Mobile hotspot, then toggle Mobile hotspot to On
- Navigate to Settings > Network & Internet > Change adaptor options. Right-click on [VPN service provider name] Tap Adapter > Properties
- Select the Sharing tab, then tick the box labelled Allow other network users to connect through this computer’s Internet connection
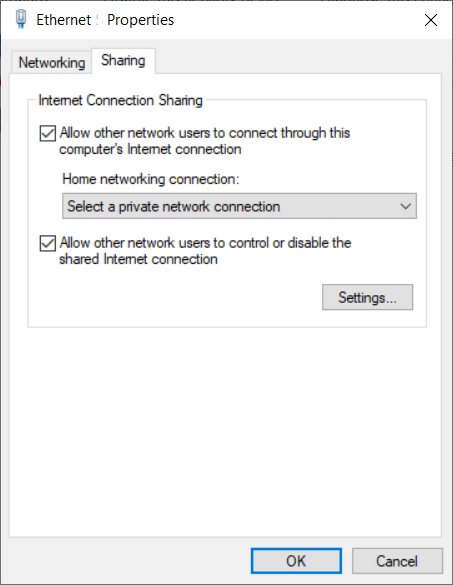
- Open the drop-down menu and select the hotspot you just created and press OK
- Connect to your new network from your smart TV as you would any WiFi network
If you want to stop the mobile hotspot, navigate to Settings > Network & Internet > Mobile hotspot and turn the Mobile hotspot toggle to Off.
Windows Virtual Router Setup
For Windows versions older than 10, you’ll have to set up a virtual router. This is more complex than just setting up a mobile hotspot.
- Connect your PC to the internet by WiFi or ethernet
- Install your VPN of choice
- Re-open the Command Prompt
- Type:
netsh wlan set hostednetwork mode=allow ssid=NETWORKNAME key=PASSWORD
Instead of ‘NETWORKNAME’ and ‘PASSWORD’ you should enter the name and password you want to use for your new network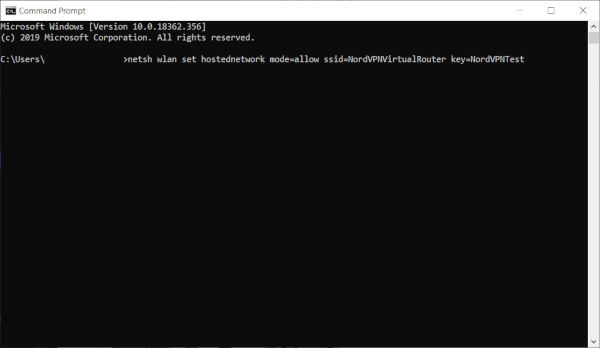
- Press Enter
- Type: netsh wlan start hostednetwork and press Enter
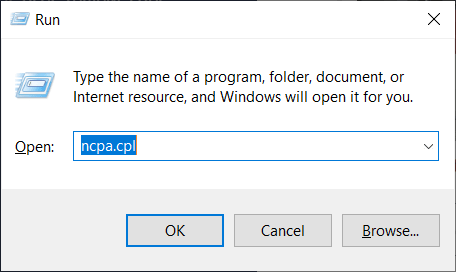
- Next up, press Windows key + R to open Run
- Type in ncpa.cpl then press OK
- In the Network Connections menu, right click on the connection called [VPN service provider name] Tap Adapter and select Properties
- Navigate to the Sharing tab, then check Allow other network users to connect through this computer’s internet connection
- Select your new virtual router from the drop-down menu, then press OK
- Make sure your VPN is set to use the OpenVPN protocol, then connect
- Connect to your new virtual router from your smart TV, just like you would with a normal WiFi network
To disable the virtual router you will need to enter the following into Command Prompt: netsh wlan stop hostednetwork
Sharing Your PC’s VPN Connection with Your Firestick
Here’s how to share your PC’s VPN connection with your Fire TV Stick:
- Open Command Prompt on your PC, type ‘netsh wlan show drivers’ and look for the line that says ‘Hosted network supported: yes’ – keep this window open
- Install your VPN provider’s desktop app onto your PC
- Go back to the command prompt window and follow instructions how to start up the virtual router
- Open Network Connections in your computer’s Control Panel
- Locate the network you created along with a TAP adapter
- Right-click on the list item, click ‘Properties’ and then ‘Sharing’ – then check ‘Allow other network users to connect through this computer’s Internet connection’
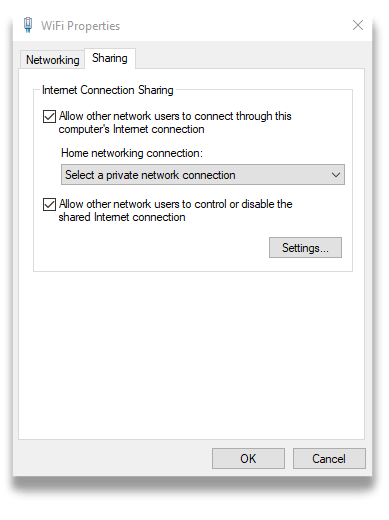
- Select the name of your network in the drop-down menu
Once your device is set up, connect your Fire TV or Fire TV Stick to the new Windows PC WiFi connection.