Top10VPN is editorially independent. We may earn commissions if you buy a VPN via our links.
How to Install a VPN on Amazon Fire TV Stick
Overview
The easiest way to install a VPN onto your Amazon Fire TV Stick is directly via the Amazon Appstore. However, if your VPN service doesn’t have a custom Fire TV app, there are other ways to use a VPN with Fire TV Stick, including sideloading an APK file or installing a VPN on your router.
The majority of VPNs have custom-built apps for Fire OS and can be easily installed directly onto the device.
The few VPNs that don’t have a Fire OS application require more complex installation methods, like sideloading or manual router installation. In this guide, we’ll walk you through every method.
There are 4 ways to install a VPN on Amazon Fire TV Stick:
- Install the VPN directly onto your Fire TV Stick
- Sideload a VPN using its .apk file
- Share your computer’s VPN connection with your Firestick
- Set up the VPN on your home router
Most VPNs come with an app for Fire TV Stick that can be easily installed directly. Alternatively, APK files are offered as a substitute. On the rare occasion that neither are available, you’ll have to install the VPN on your router.
We built a flow chart to show the best way to install a VPN onto your Fire TV Stick depending on your circumstances:

Method 1: Install the VPN App Directly Onto Your Fire TV Stick
Installation Difficulty: Very Easy
What You’ll Need: VPN with a Fire TV Stick app.
Most VPN services offer an app for Amazon Fire TV Stick that is available as part of a regular subscription.
To install these VPN services, all you have to do is search for the app in the Amazon Appstore and download the software onto your Fire TV device.
You can see a demonstration of this process in the video below:
Here’s how to install a native VPN app on your Firestick:
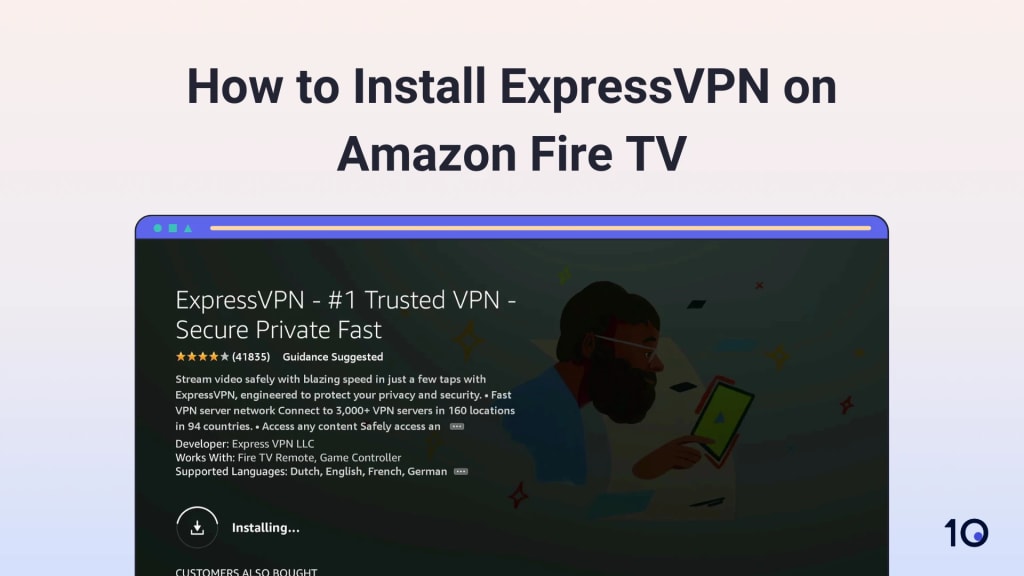
1. Open the Amazon Appstore via your Fire TV Stick’s interface.
2. Search for the VPN you are subscribed to, for example ExpressVPN.
3. Select Get to download the app onto your Firestick. You might need to enter your Amazon account password.
4. Open the app, enter your VPN login credentials, and you can start using the VPN on your Firestick.
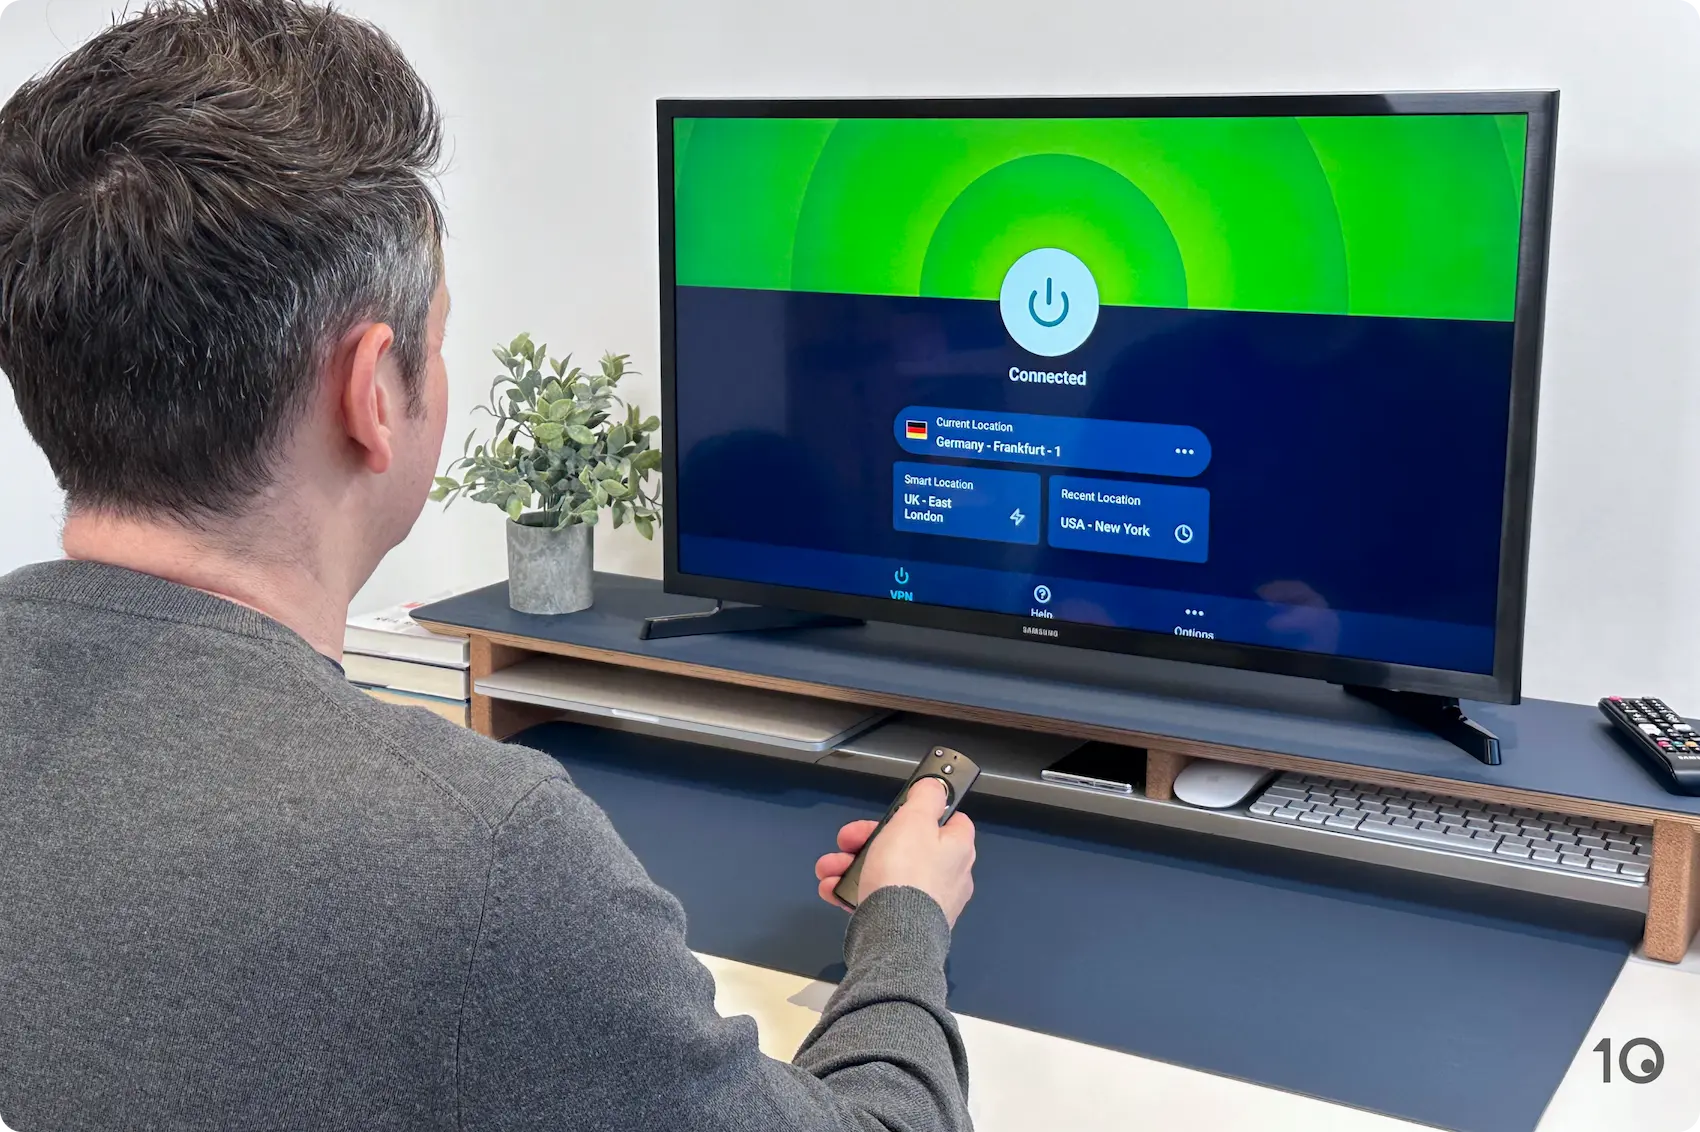
Head of Research Simon Migliano testing the ExpressVPN Fire TV Stick app.
EXPERT ADVICE: Some streaming services, like Netflix, only require you to switch VPN servers to unblock new regions. Other streaming services, like Tubi or BBC iPlayer, are only available to download as an app if the Amazon account linked to your Fire TV Stick is registered in the same country the streaming service is available in. You can learn how to change your Amazon account location with a VPN here.
Method 2: Sideload Your VPN with an APK File
Installation Difficulty: Moderate
What You’ll Need: VPN with a Fire TV APK file.
VPNs that don’t have a Fire TV app usually offer APK (Android Package Kit) files as a substitute. This allows you to install, or “sideload,” VPN software onto your Fire TV Stick even without an official app.
Here’s how to sideload a VPN to your Firestick with an APK file:
1. Using your Fire TV Stick, first go to Settings > My Fire TV.
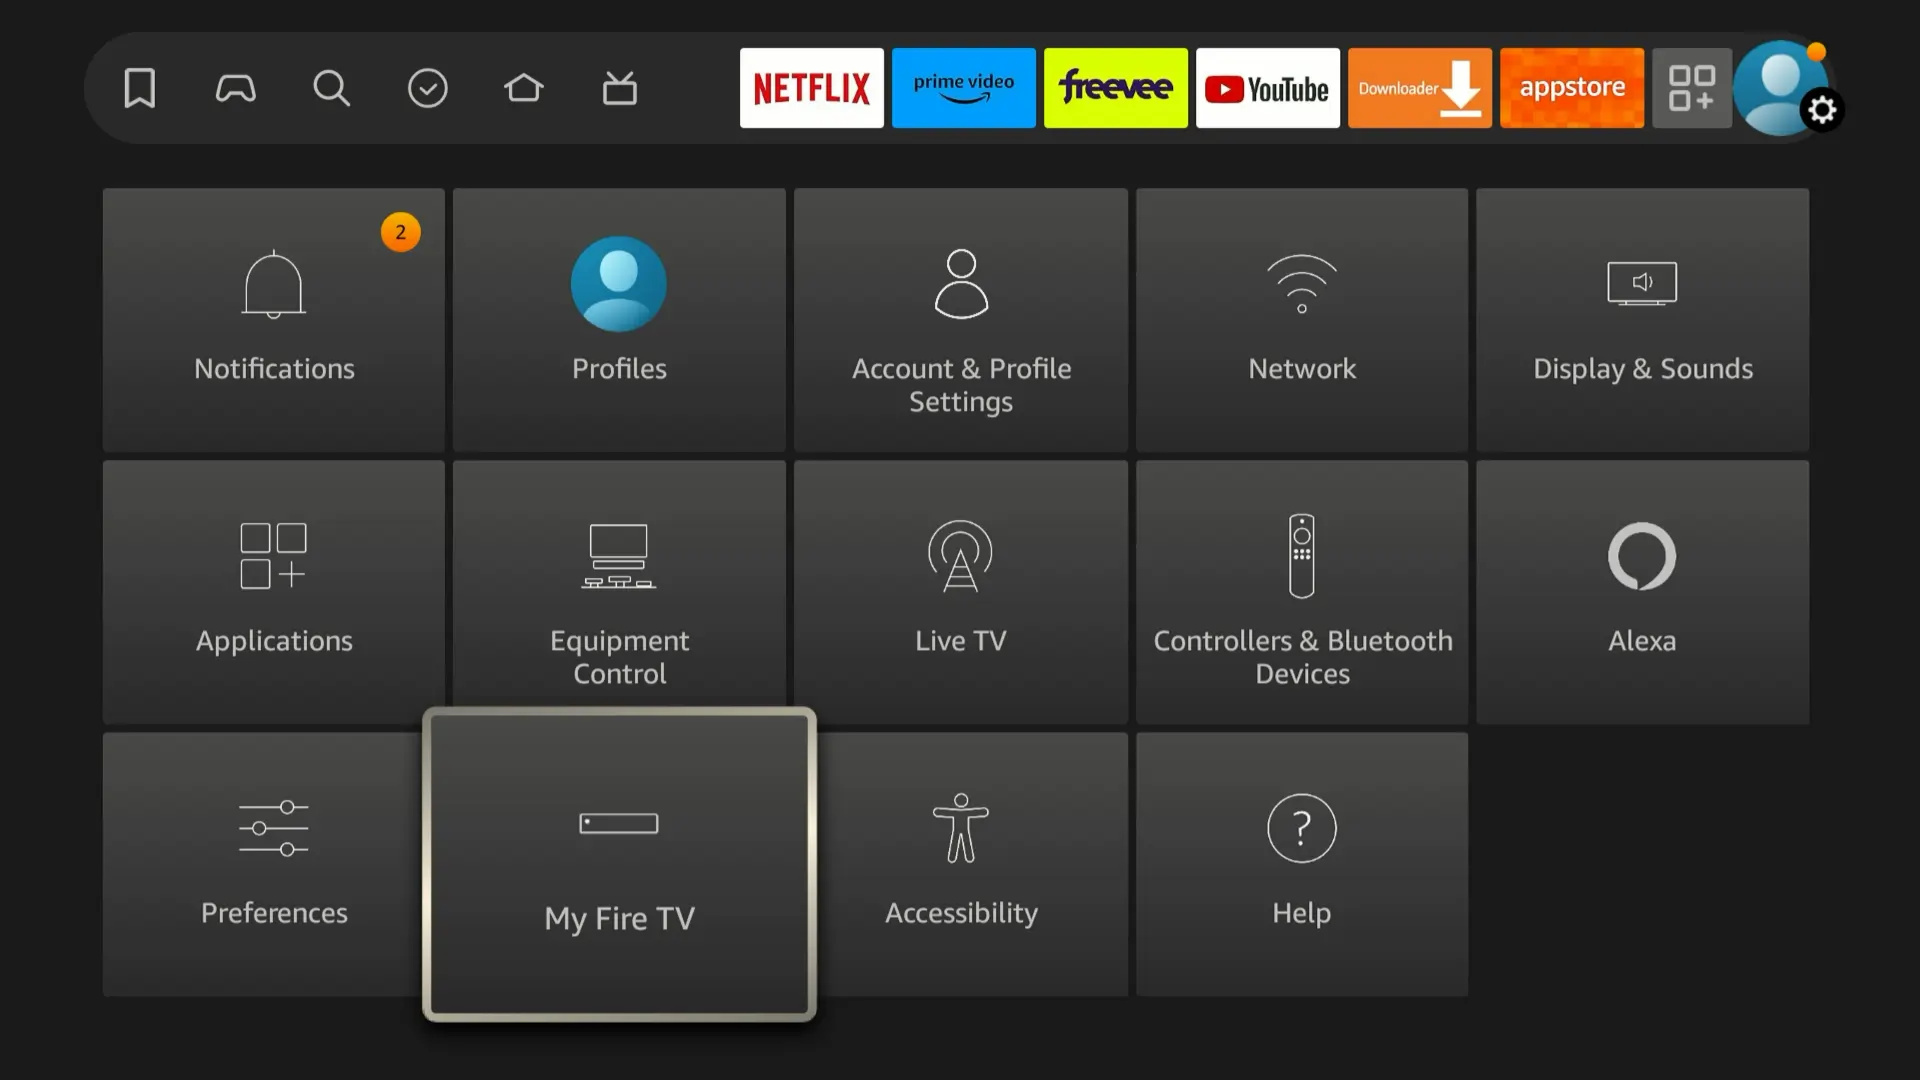
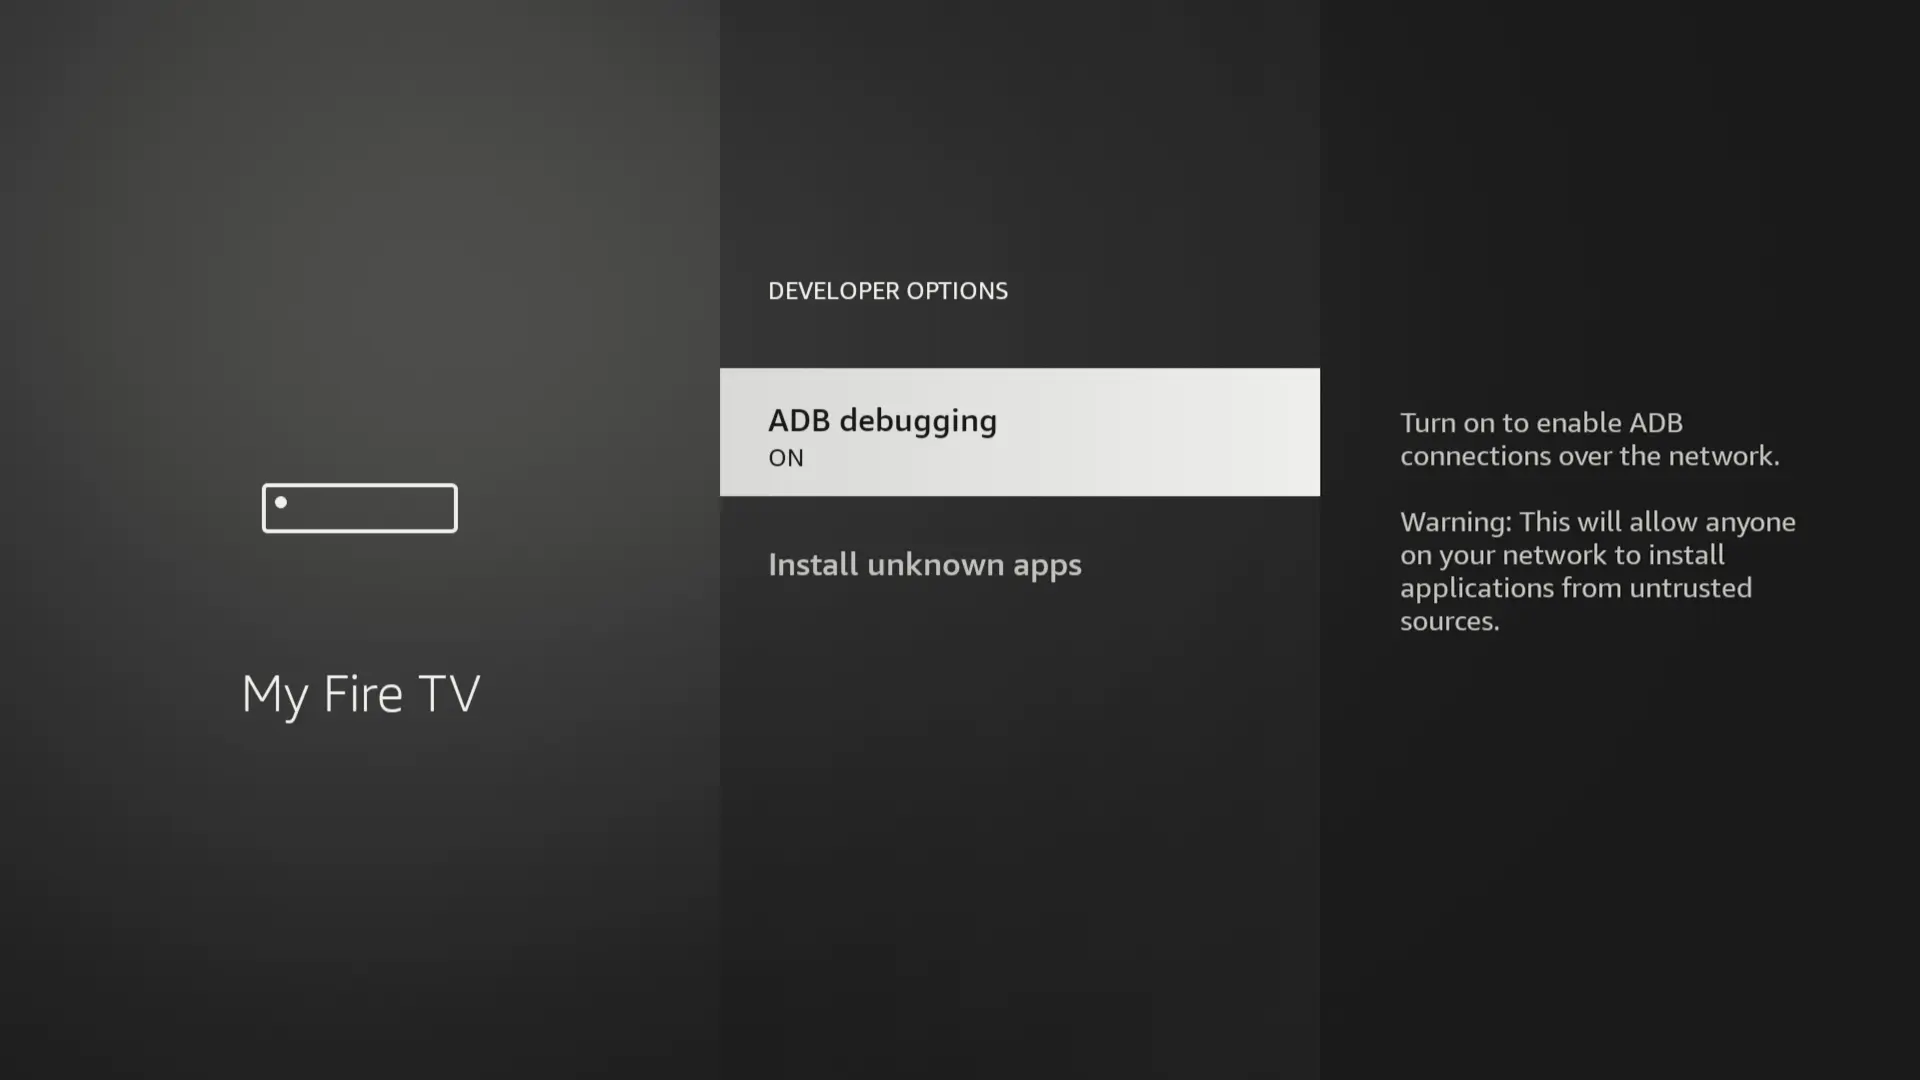
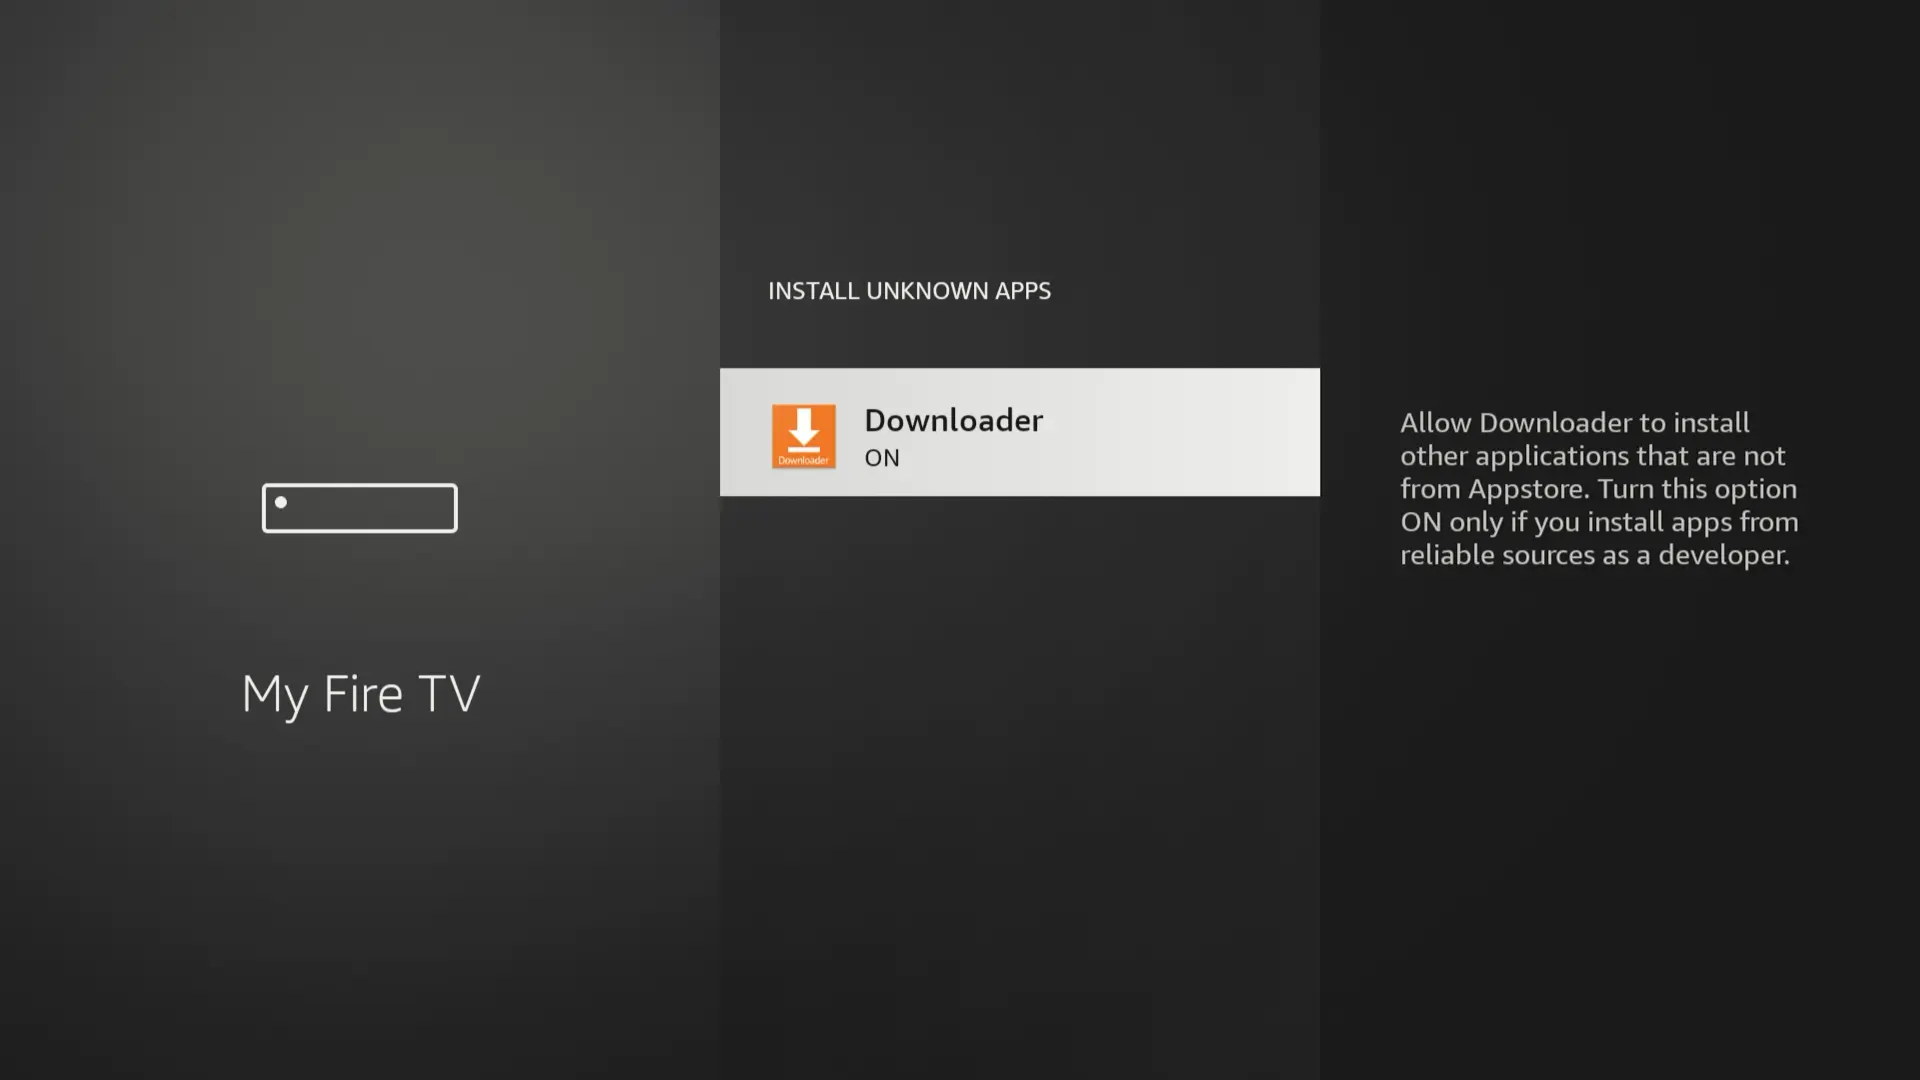
2. Under Developer Options, turn on ADB Debugging and Apps from Unknown Sources. This allows you to install apps that aren’t available on the Amazon Appstore.
3. Return to the My Fire TV, click About and then Network.
4. Note down the IP address of your Fire TV Stick.
5. Head to your VPN’s account page or members area to find the official download URL of its APK file. If you need help with this, you can contact your VPN’s customer support.
6. Return to your Firestick and search for Downloader in the Appstore. Install the ‘Downloader’ app.
7. Open the Download app and insert the URL of the APK file you retrieved from your VPN.
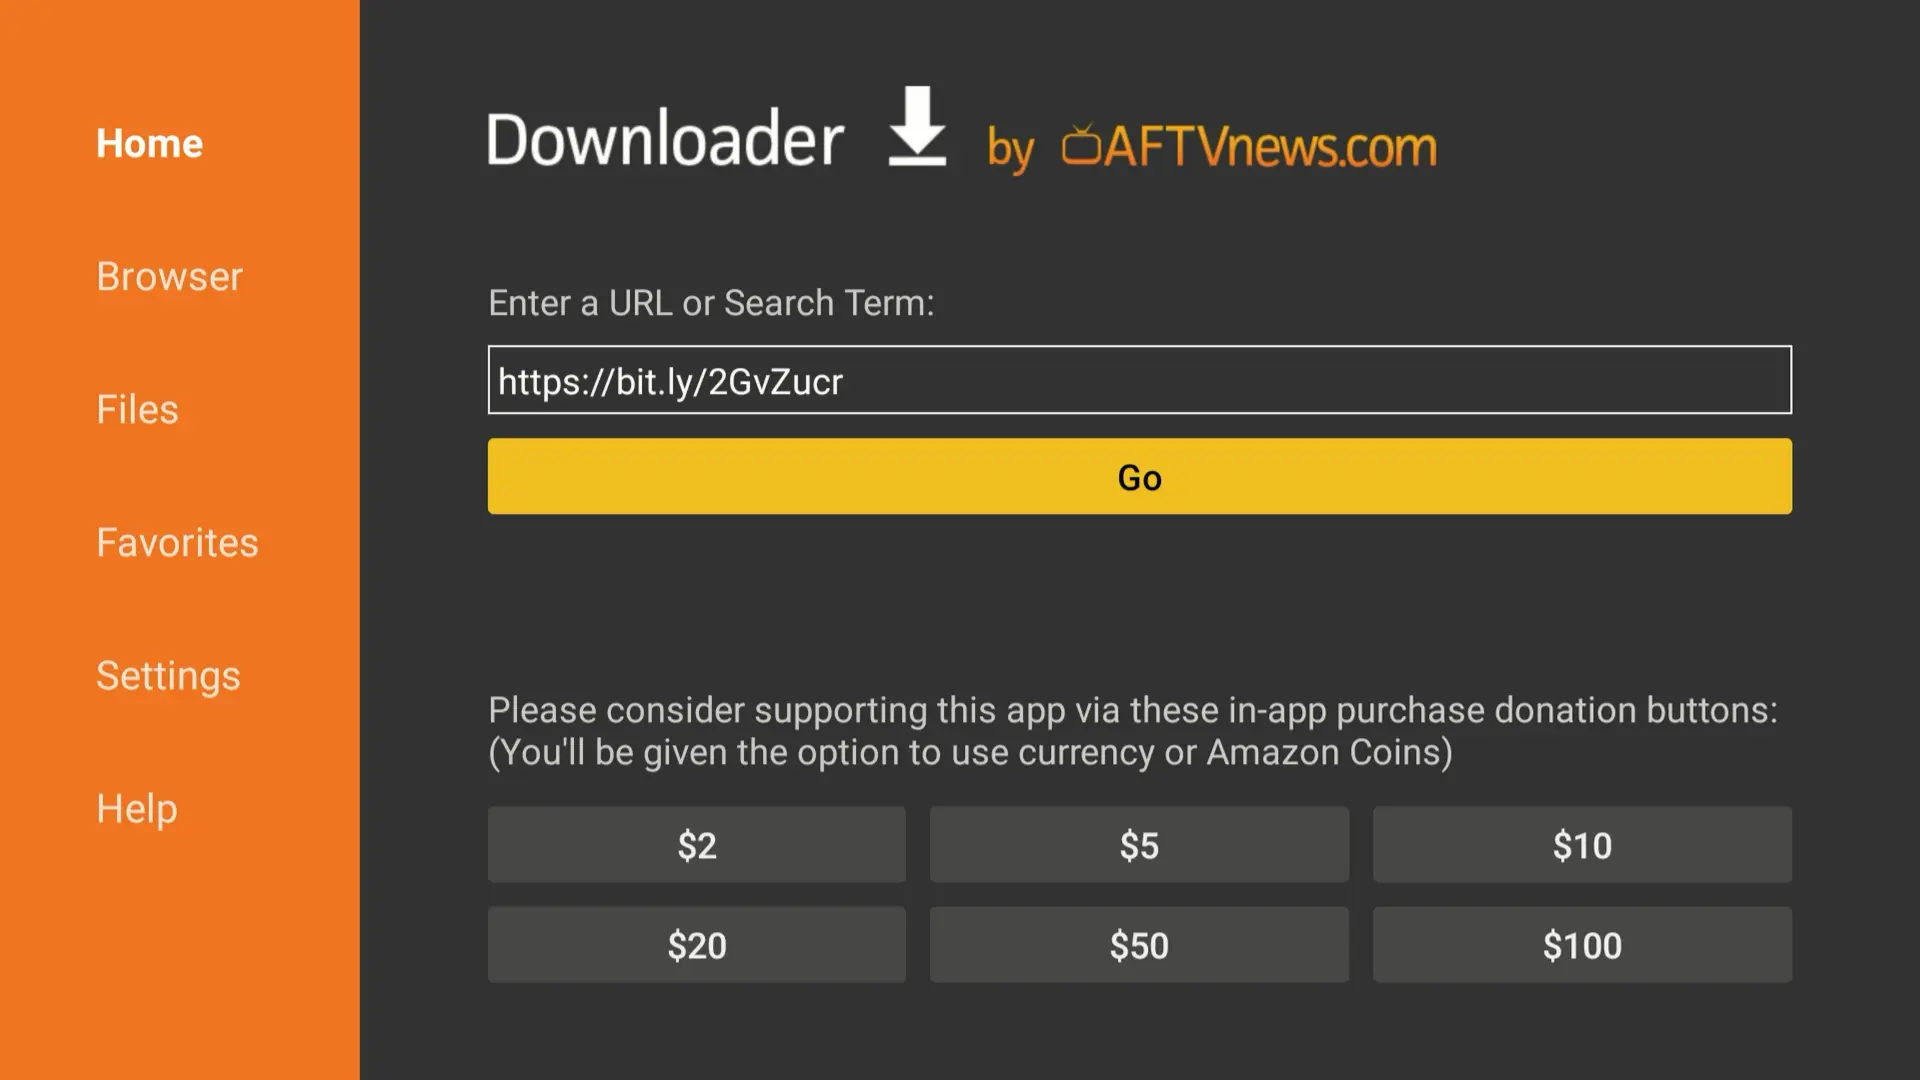
8. Once downloaded, select the prompt to install the app. If this doesn’t happen automatically, open the ‘Downloads’ section and select the APK file.
9. Head to your Fire TV Stick’s Settings > Applications > Manage Installed Applications.
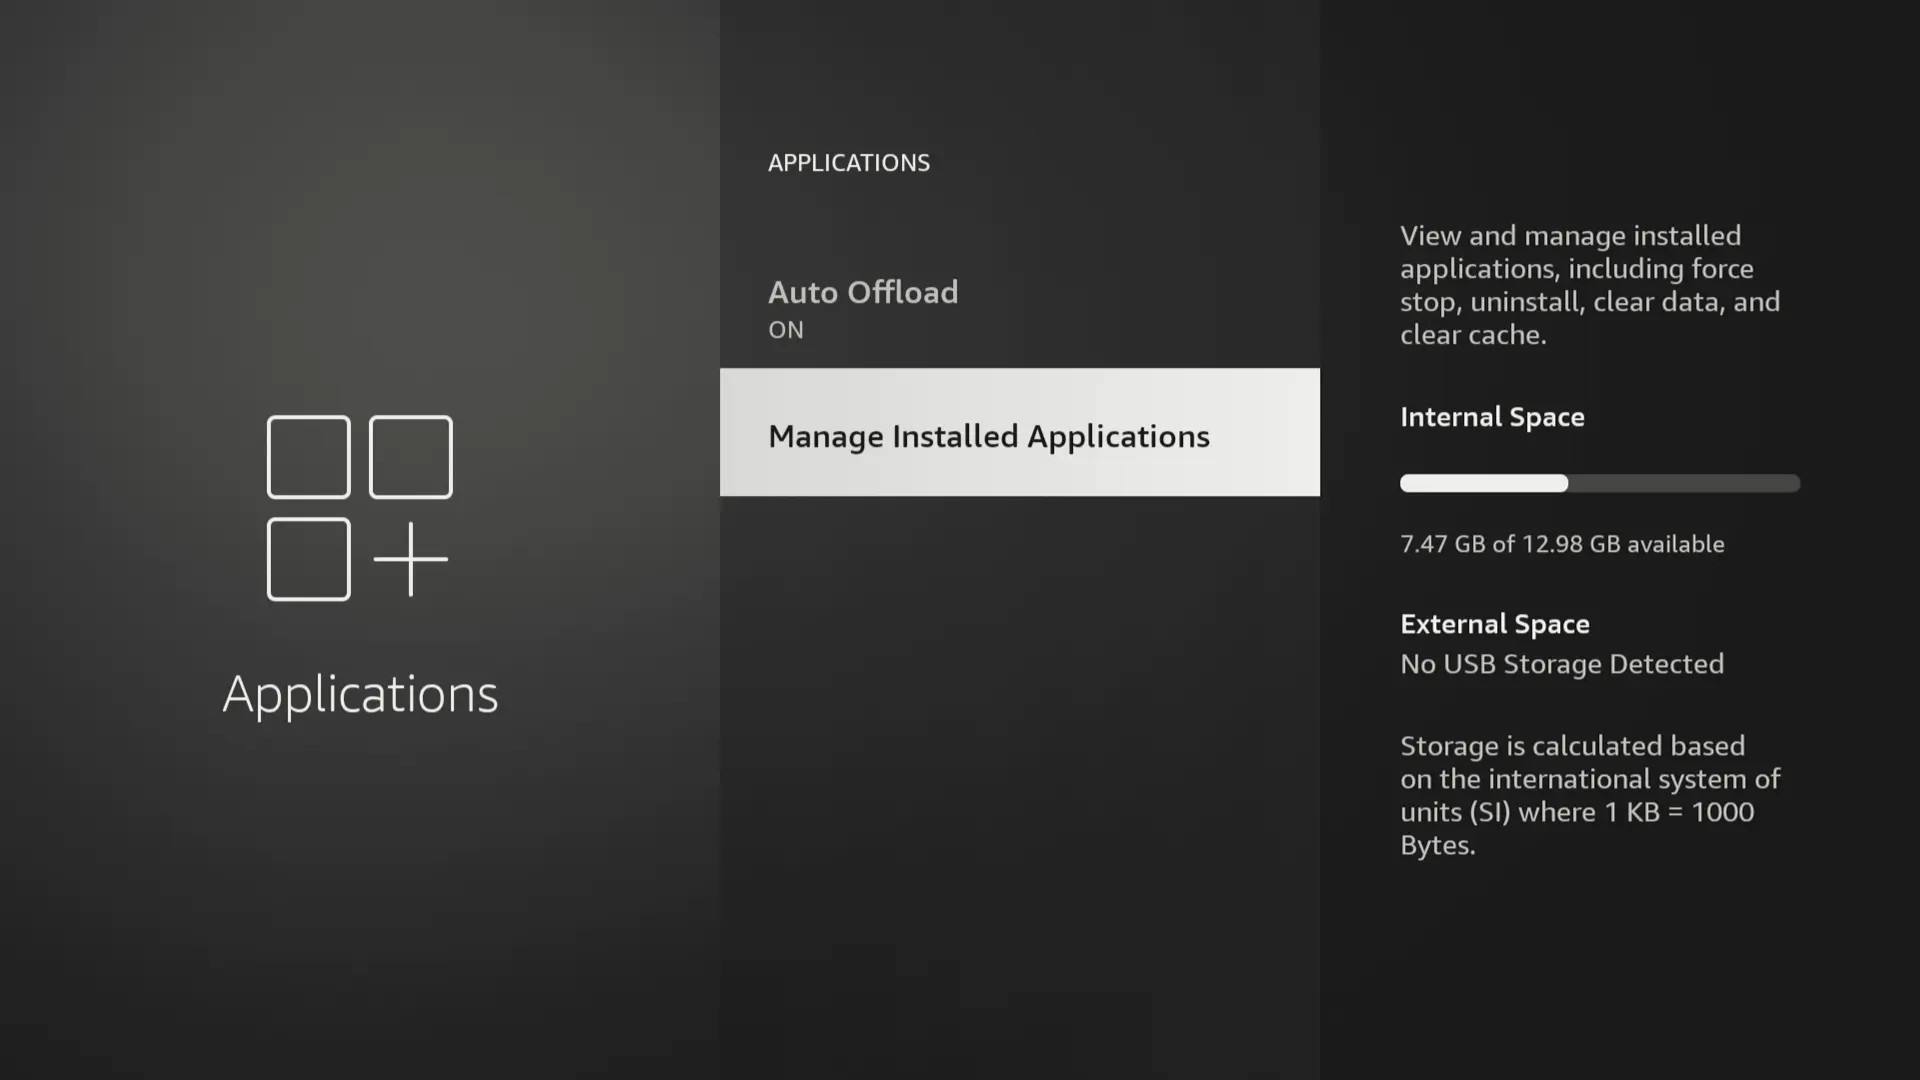
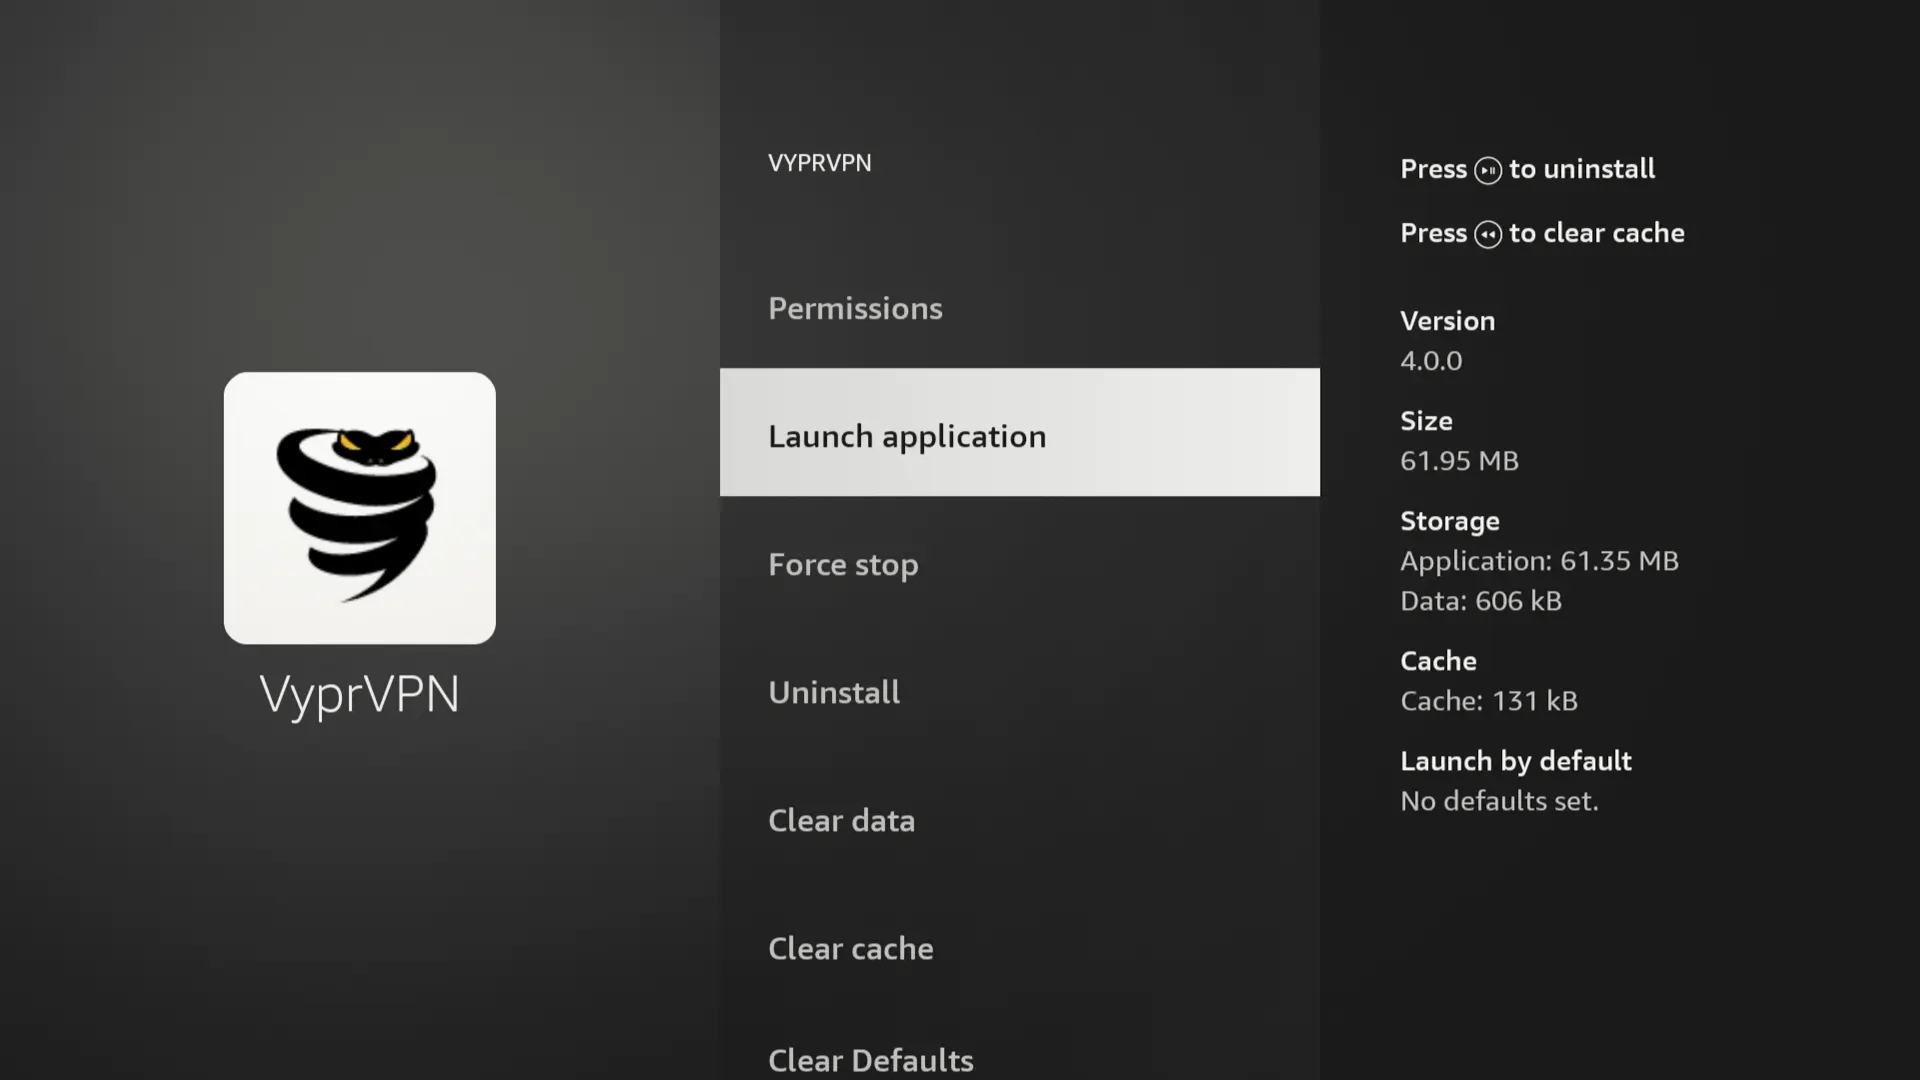
10. Select the VPN you sideloaded, click Launch Application, and enter your VPN username and password. Your VPN is now ready to use on your Fire TV Stick.
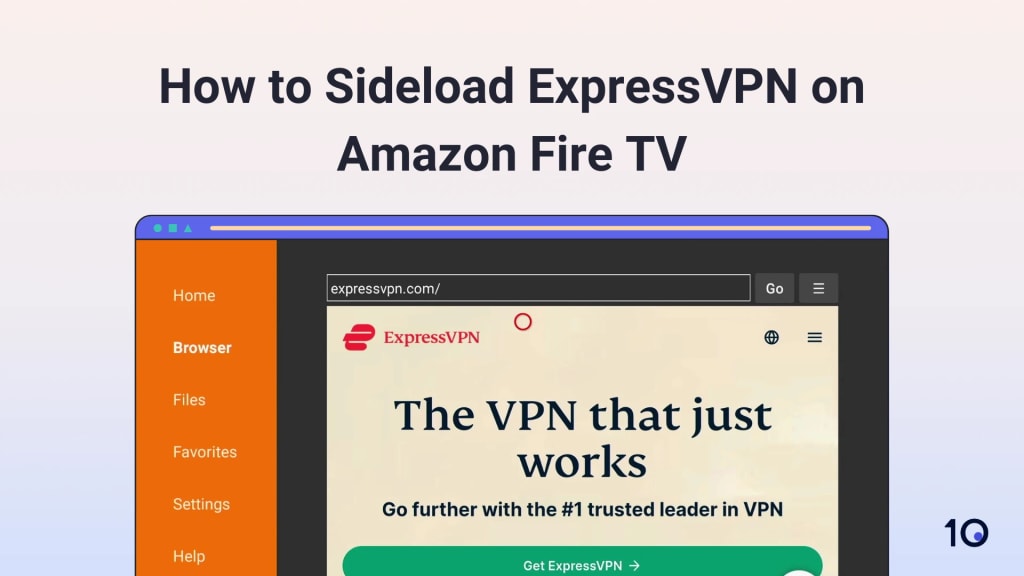
You can watch a video of us sideloading ExpressVPN onto our Amazon Fire TV Stick in the video below:
Method 3: Share Your Computer’s VPN Connection
Installation Difficulty: Hard
What You’ll Need: Windows or macOS device, VPN with app for Windows or macOS.
In the unlikely case that the VPN you have doesn’t have a Fire TV Stick app or APK file option, you can use a VPN on Firestick by connecting to a VPN on your desktop computer and sharing the connection. This works for both Windows PC and macOS. We provide instructions for both below:
How to Share Your Windows PC VPN Connection
You can share your Windows connection with your Fire TV Stick by setting up a virtual router. This process is complicated, but below are step-by-step instructions.
1. Connect your PC to the internet by WiFi or ethernet cable and install your VPN. Make sure your VPN is using the OpenVPN protocol.
2. Open the Command Prompt and type: netsh wlan set hostednetwork mode=allow ssid=NETWORKNAME key=PASSWORD.

3. Replace NETWORKNAME and PASSWORD with the name and password you’d like to use for your network and press Enter.

4. Type: netsh wlan start hostednetwork and press Enter.

5. Now press Windows key + R to open Run.
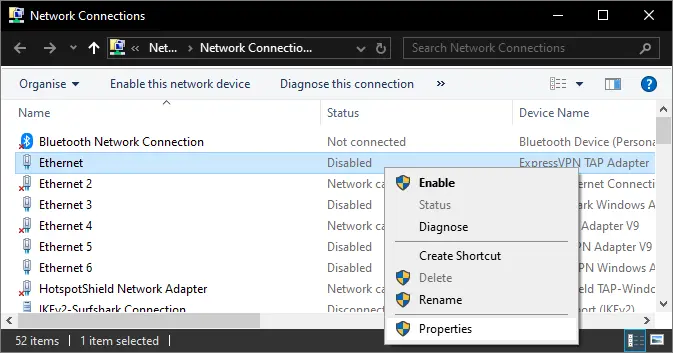
6. Type in ncpa.cpl and press OK.
7. In the Network Connections menu, find the network you created called Tap Adapter and select Properties.
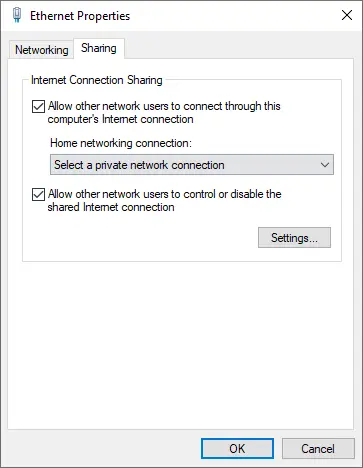
8. Navigate to the Sharing tab, then check Allow other network users to connect through this computer’s internet connection.
9. Select your new virtual router from the drop-down menu, then press OK.
10. Connect to your new virtual router from your Fire TV Stick, just like you would with a normal WiFi network.
How to Share Your macOS VPN Connection
To share the VPN connection from your macOS to your Fire TV Stick, follow these steps:
1. Ensure that the macOS is connected to the internet via an ethernet cable.
2. Create your VPN connection on macOS by using manual configuration.
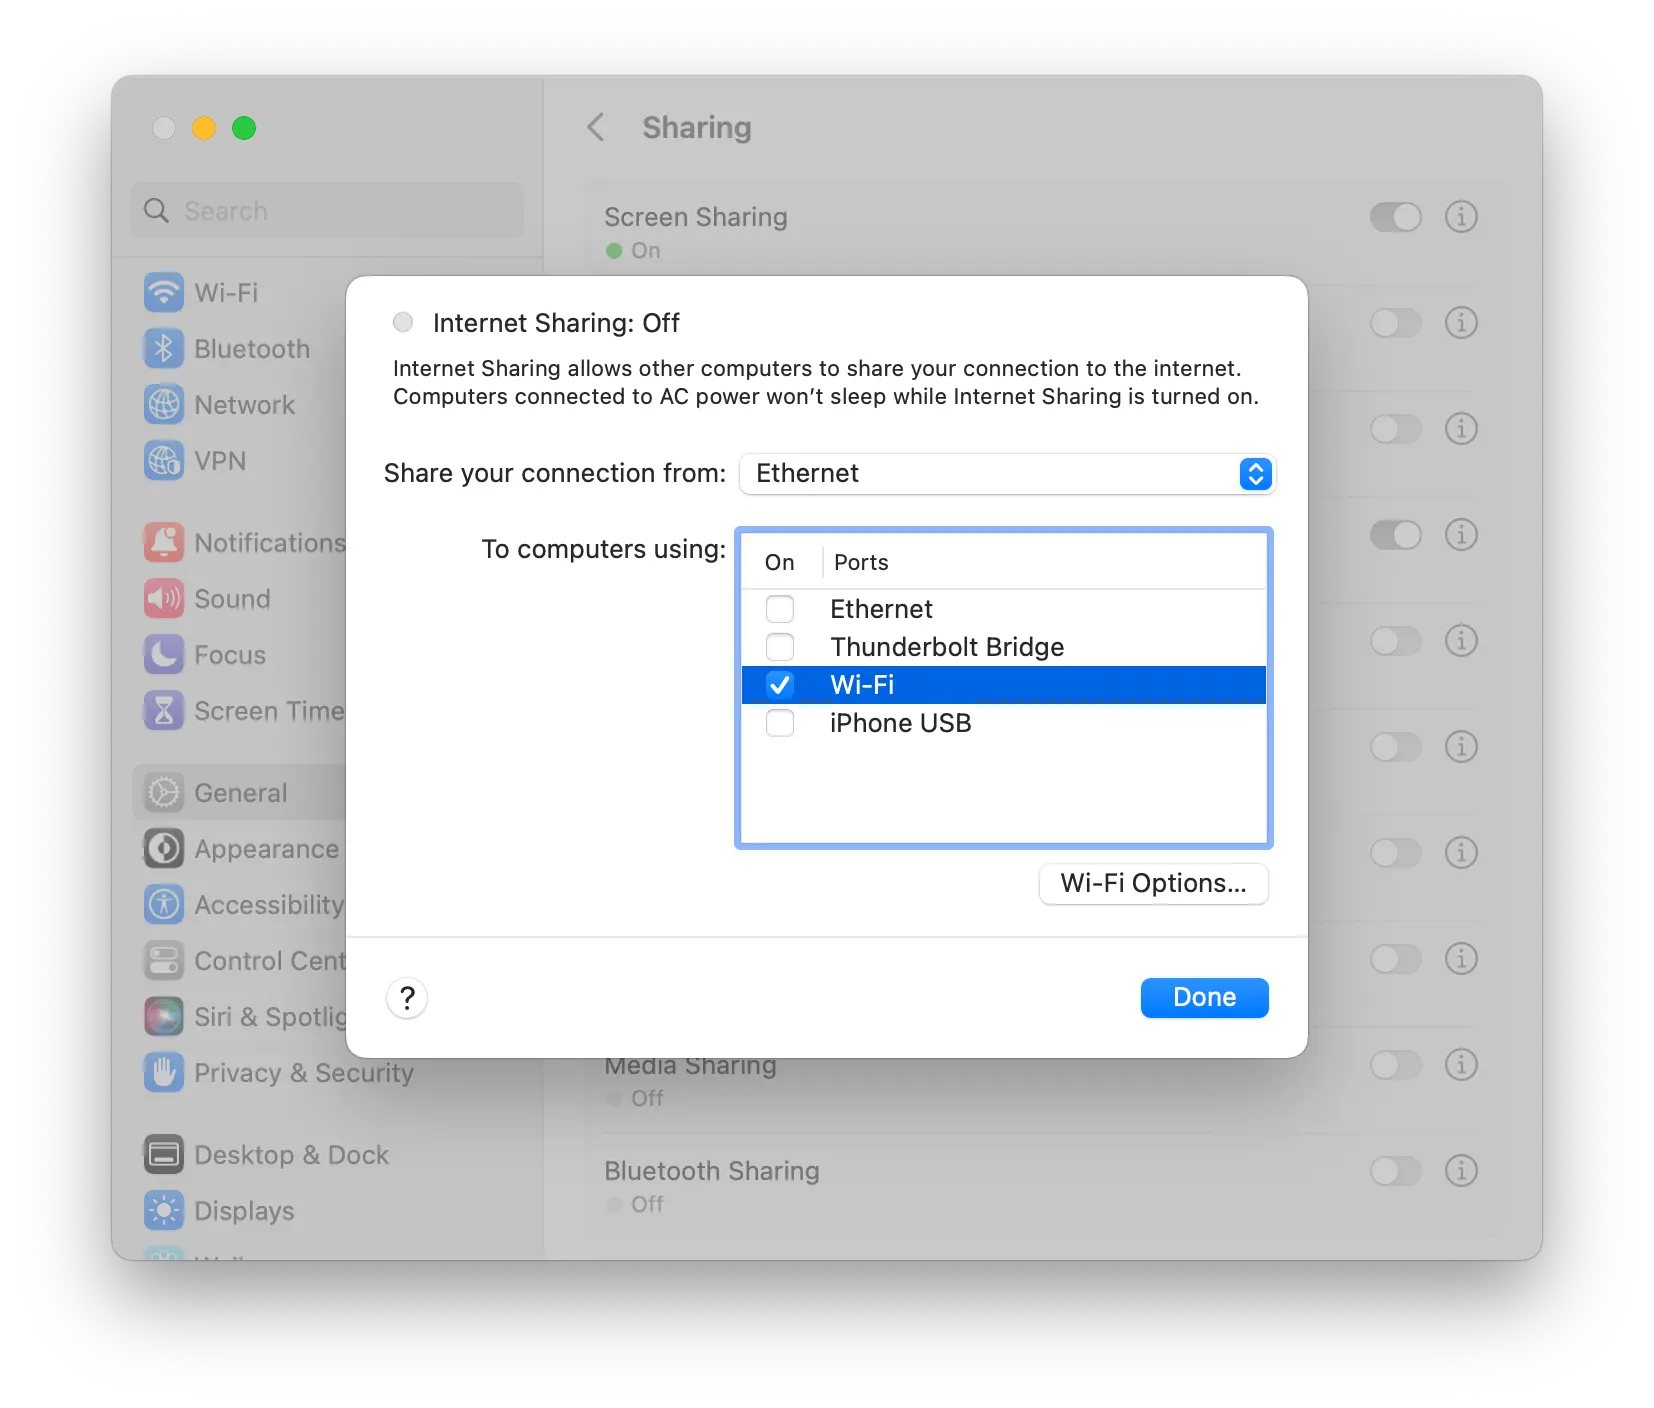
3. Connect to the VPN, head to System Preferences > Sharing > Internet Sharing.
4. Check the box listed as WiFi and select WiFi Options.
5. Select WPA Personal and type in your network name and password.
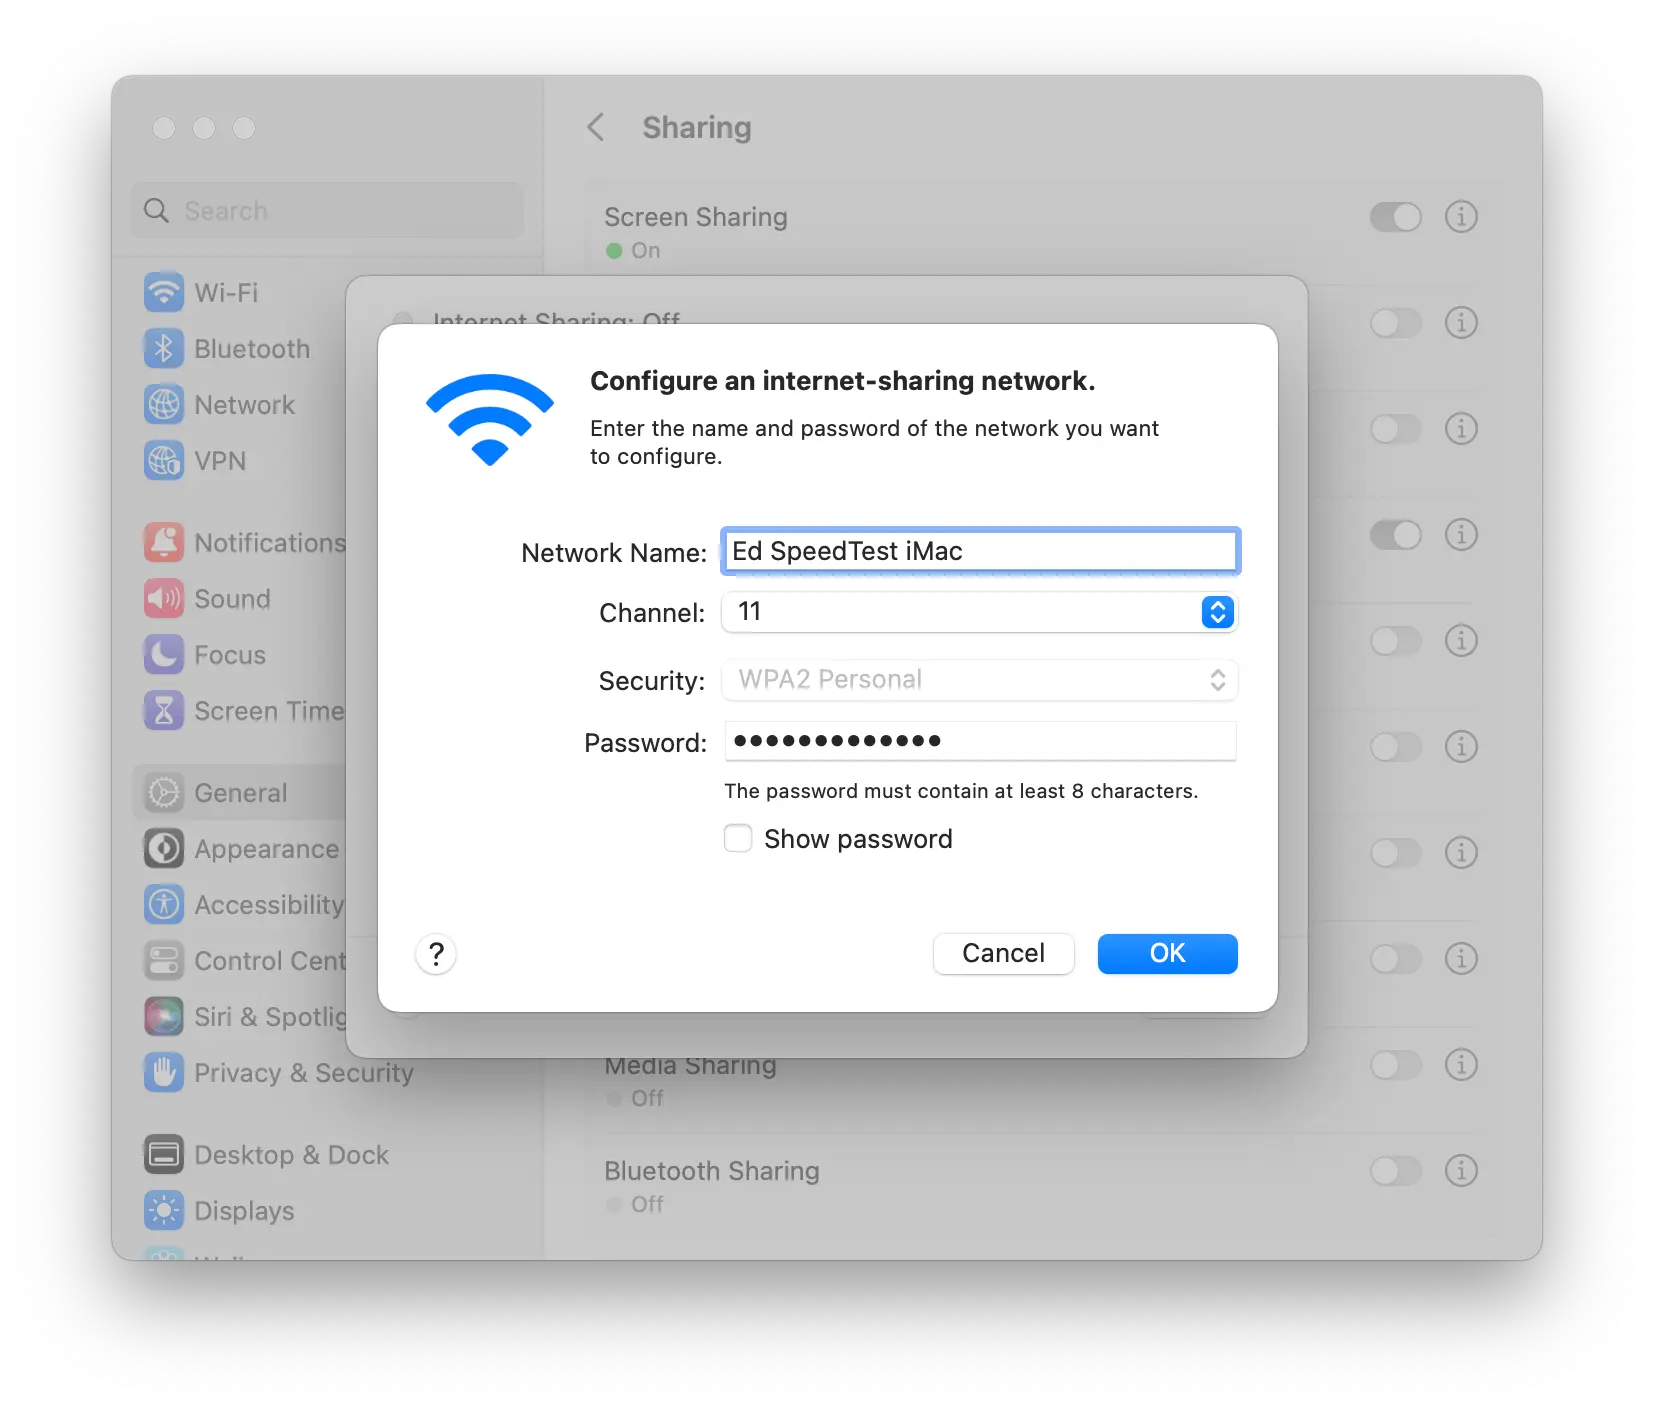
6. Click OK, check the box next to Internet Sharing, and then select Start.
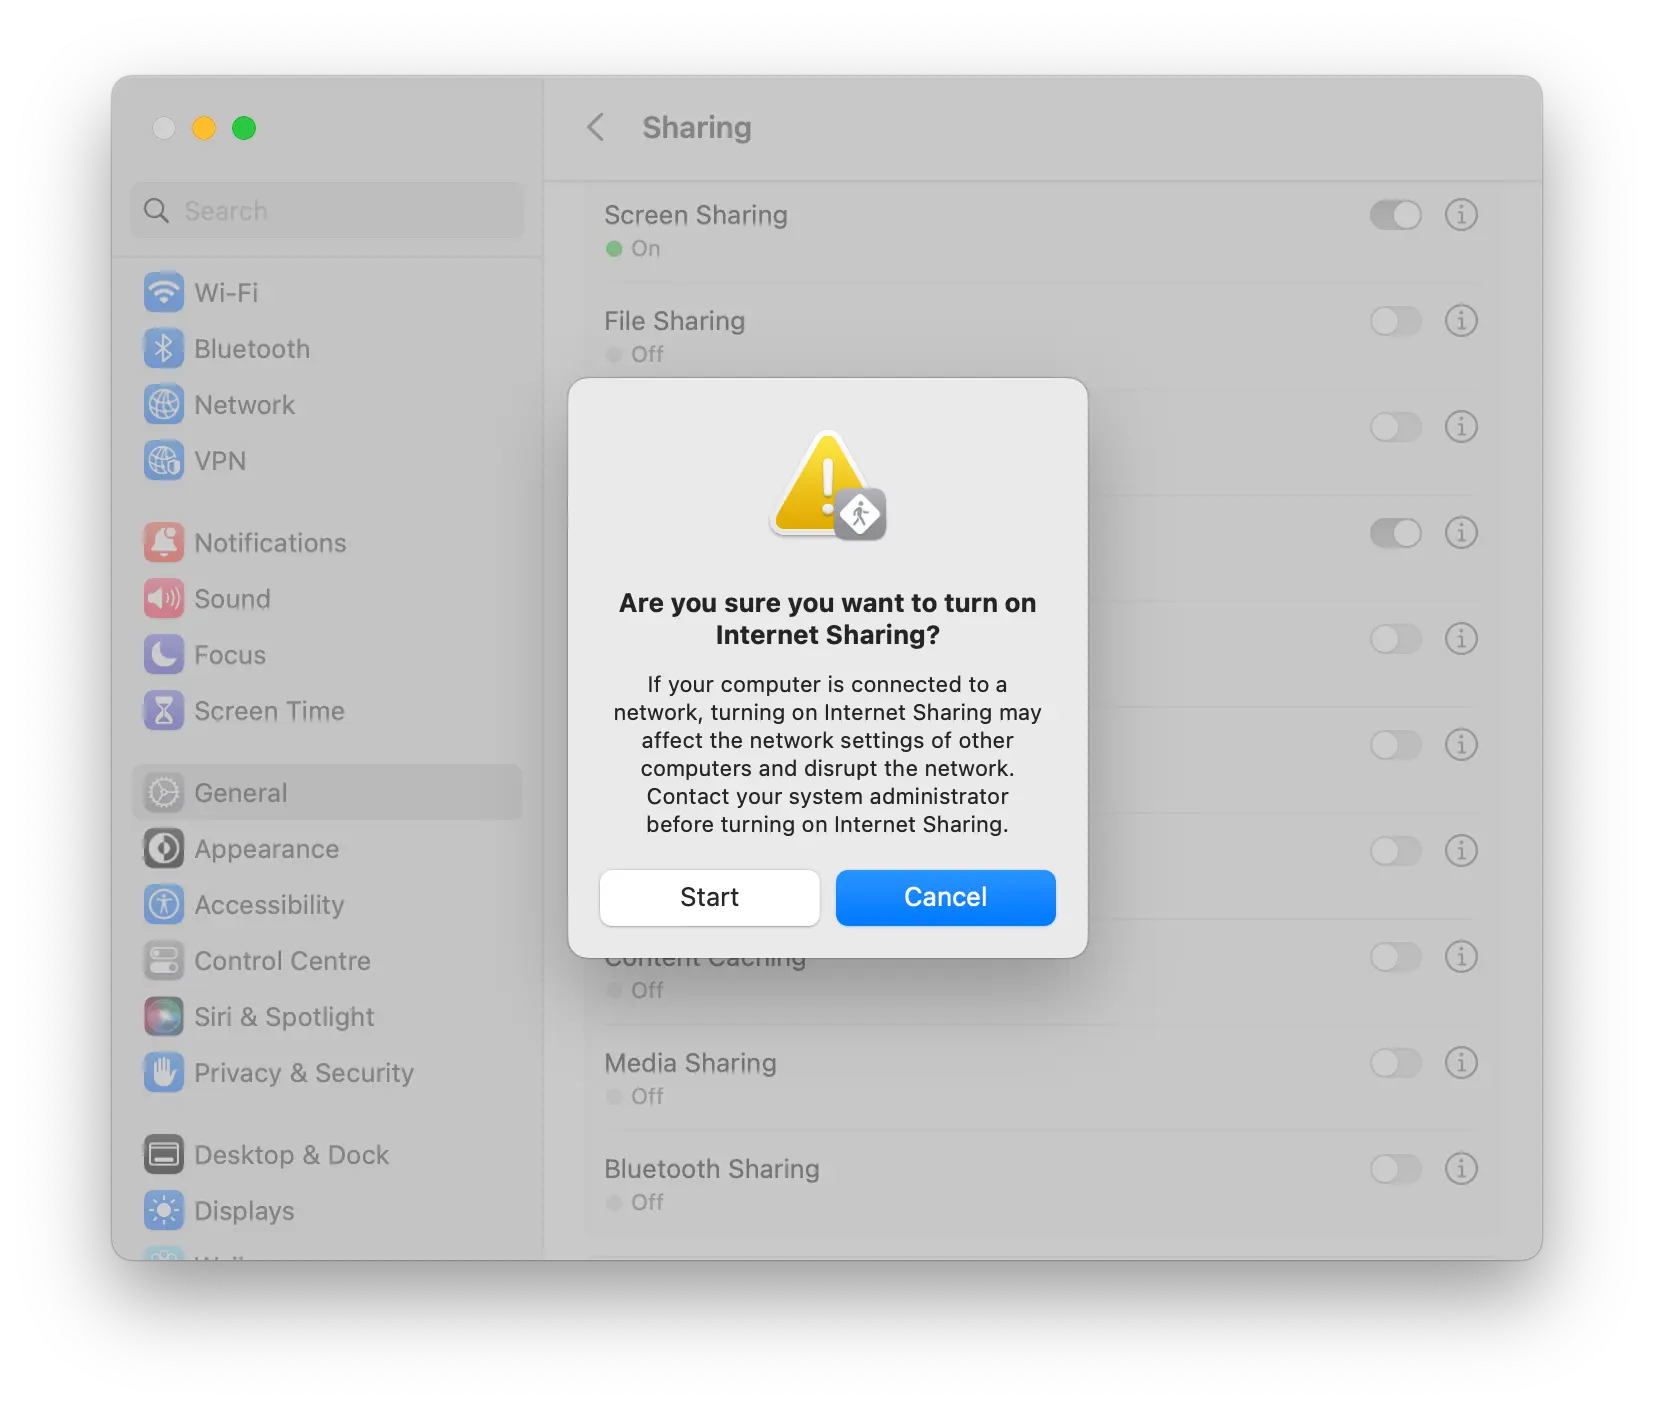
From here, you’ll be able to connect your Fire TV Stick to your macOS’s VPN connection.
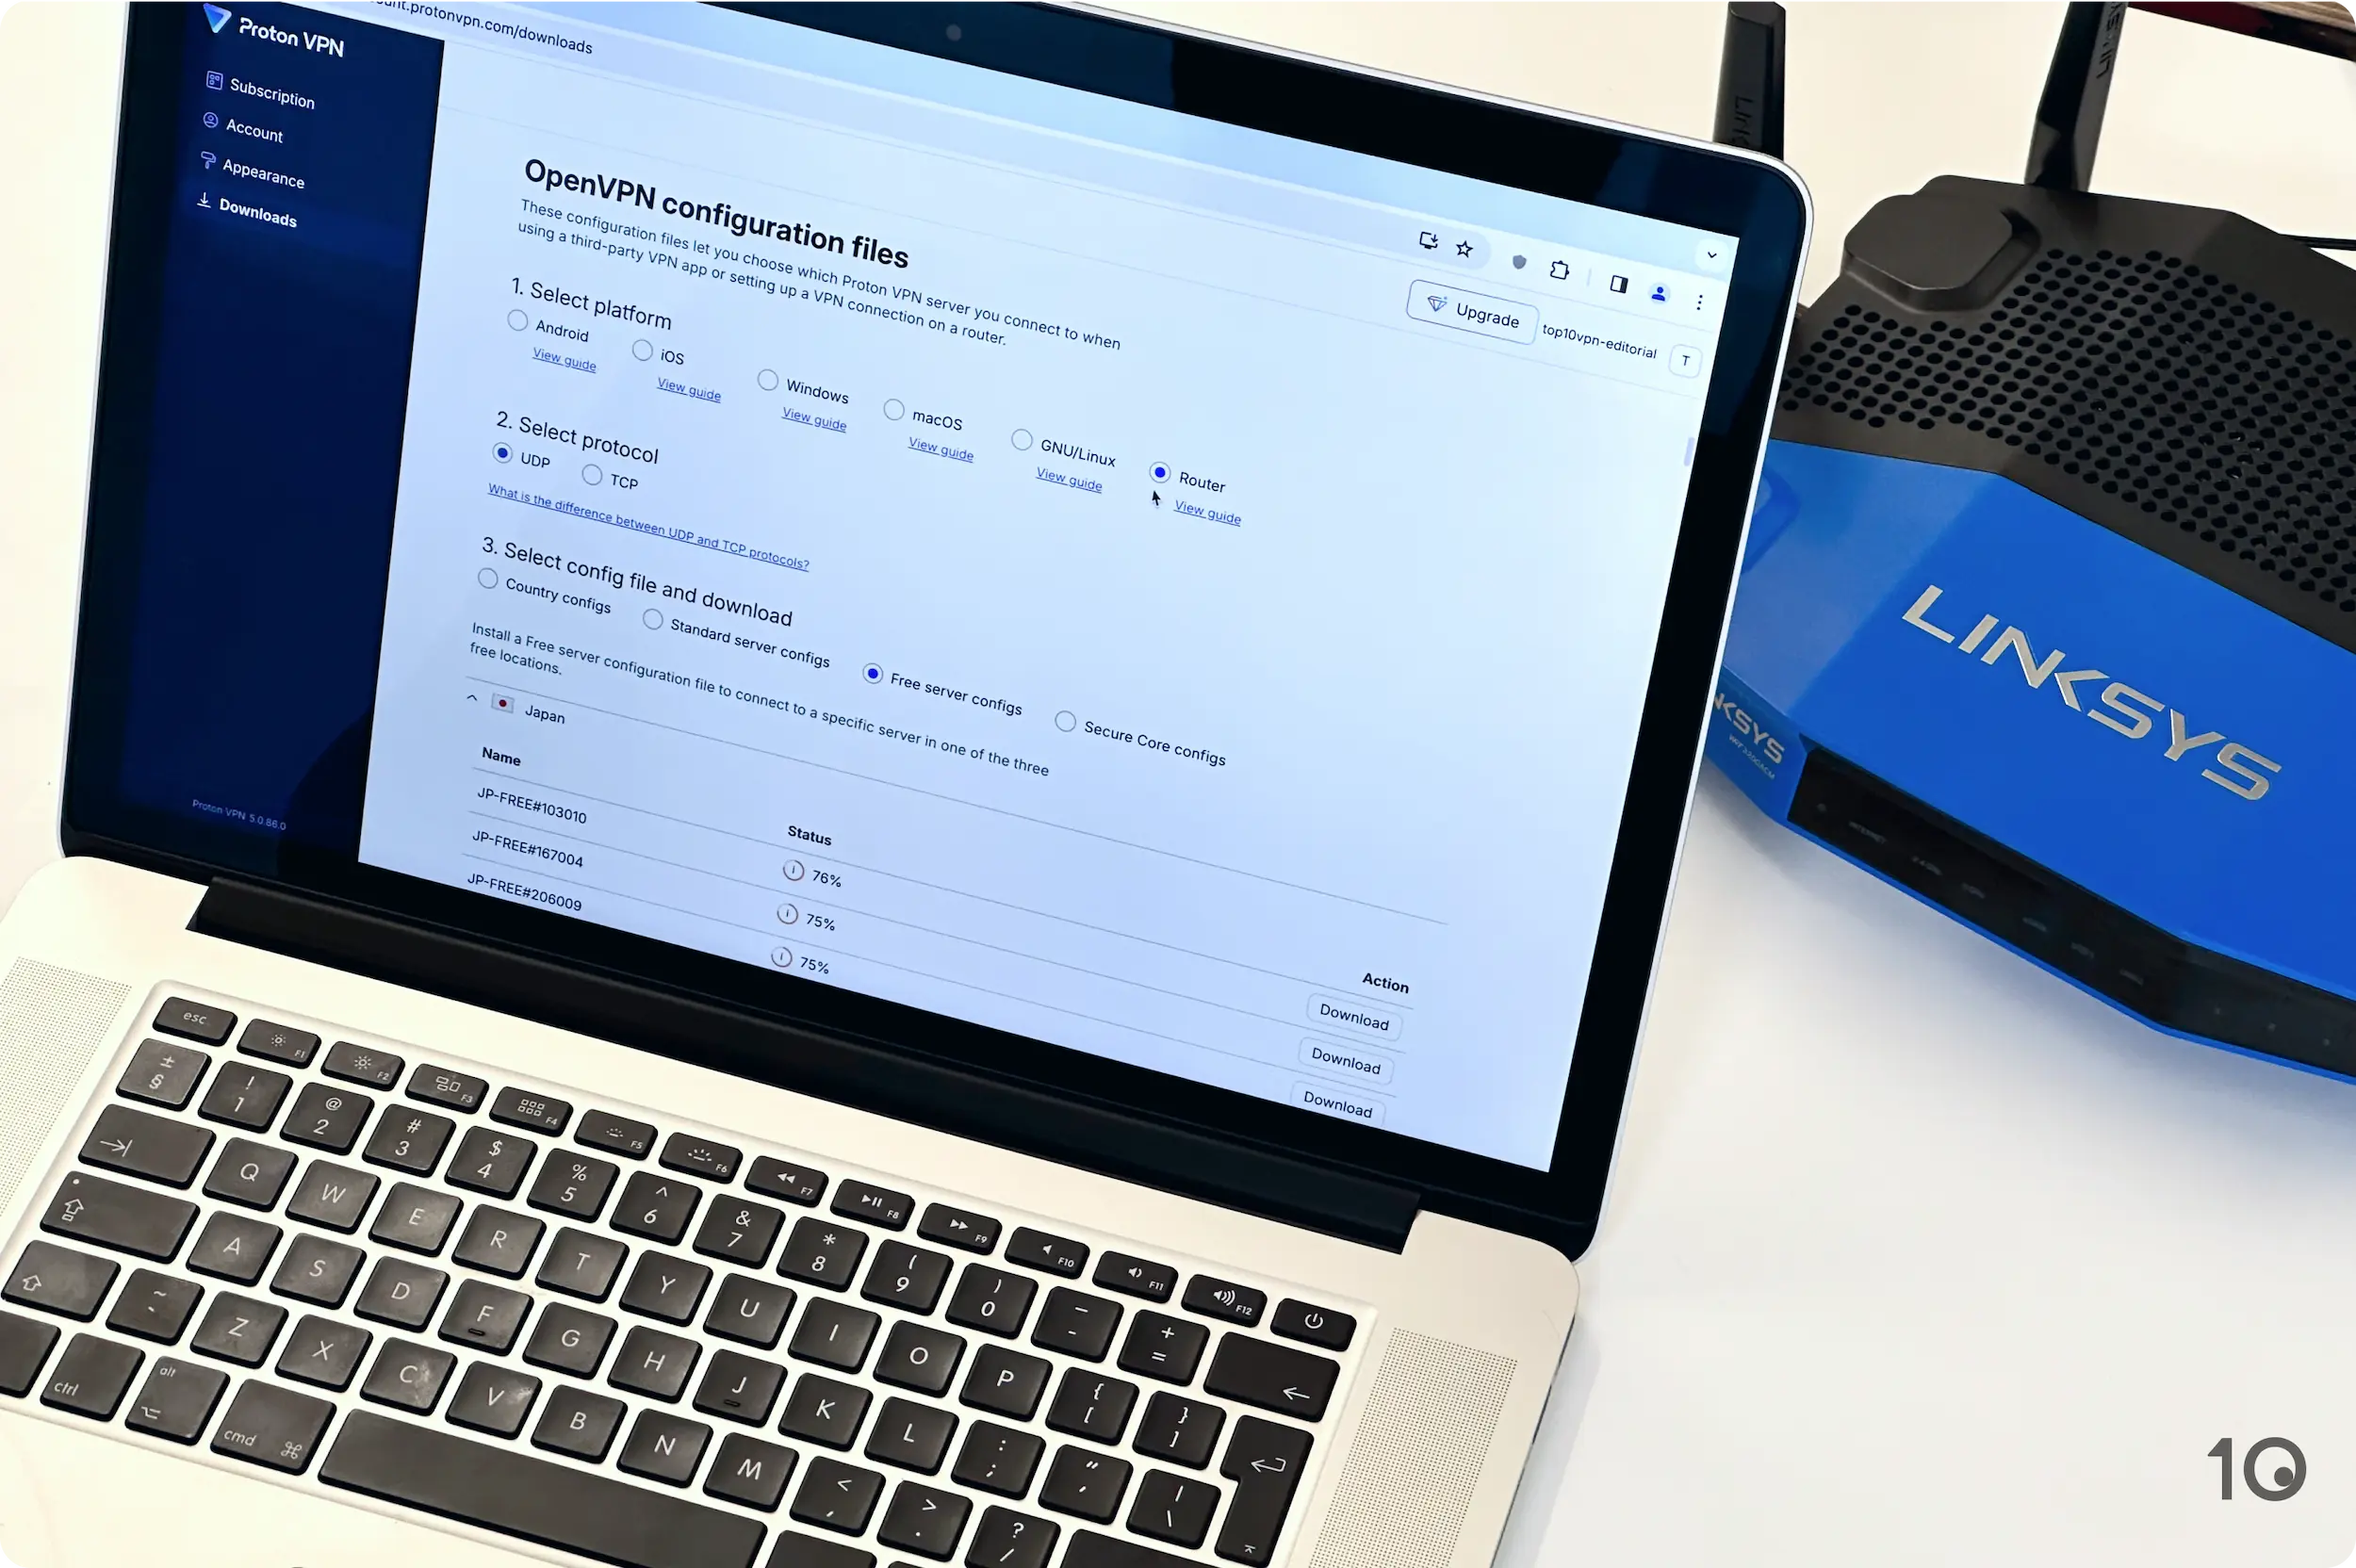
Method 4: Install the VPN on Your Router
Installation Difficulty: Hard
What You’ll Need: Router-compatible VPN, VPN-compatible router.
Even if your VPN doesn’t have an app or APK file, you can still use it on your Fire TV Stick by installing a VPN on your home router. By doing this, your VPN will reroute the traffic of every device connected to your home WiFi network.
ExpressVPN is the top-rated VPN for routers because it has a dedicated router app, making installation extremely easy. Most other VPNs are compatible with routers but require some time-consuming manual configuration.
For manual installation, your router also has to allow VPN firmware. Popular brands that support this include ASUS, Linksys, and Netgear.
Every VPN’s router setup process is different, and usually requires some manual configuration.
Which VPNs Do Not Have Apps for Amazon Fire TV Stick?
The majority of VPNs have custom-made apps for Fire TV Stick, especially if they are paid-for VPN services. We recommend sticking to these VPNs as it’s the simplest way to install a VPN on Fire TV Stick.
However, there are a number of VPNs that do not yet have an app for Fire TV Stick, including:
- AVG Secure VPN
- Avira Phantom VPN
- Astrill VPN
- Betternet
- Bitdefender VPN
- HideMyAss
- Kaspersky VPN
- McAfee Safe Connect
- Mozilla VPN
- Norton Secure VPN
- Psiphon VPN
- SkyVPN
- Thunder VPN
- Turbo VPN
- VPN 360
To use these VPNs on Fire TV Stick, you will have to follow methods 2, 3, or 4 of this guide.