Top10VPN is editorially independent. Buying a VPN through our links supports our work.
How to Set Up a VPN on Your Router


In This Guide
I’ll explain how to set up a VPN on your router and which routers are compatible with VPN software. The easiest solution is to buy a a VPN router with a companion web app, like ExpressVPN’s Aircove. Alternatively, you can buy a VPN router with a top-tier VPN already installed on it.

You have four ways to put a VPN on your router, and the right one depends on how much setup you’re willing to do.
The simplest solution is to buy a router that comes with a VPN already built in. Our top pick is an Aircove router from ExpressVPN: it’s plug-and-play, it’s managed through a friendly web app, and it protects every device connected to it.
If you already own a compatible router, then you can install most major VPNs manually instead. It takes a little patience, but it’s free beyond your subscription.
We’re fully independent and have been reviewing VPNs since 2016. Our ratings are based on our own testing results and are unaffected by financial incentives. Learn who we are and how we test VPNs.
| VPNs Tested | 59 |
| Total Hours of Testing | 30,000+ |
| Combined Years of Experience | 50+ |
Which Setup Is Right for You?
Before you start, it helps to know which of the four methods is most appropriate for you.
Here’s how the four methods compare at a glance:
| Difficulty | Setup Time | Cost | Compatible VPNs | |
|---|---|---|---|---|
| Built-in App | Very Easy | 5 minutes | $2.99/mo over 28 months | ExpressVPN (Aircove) |
| Pre-Flashed Router | Easy | Instant | ~$100 | Several VPNs |
| Manual Setup | Medium | 20 minutes | Varies by VPN service | Most |
| Flash + Manual Setup | Hard | 60+ minutes | Varies by VPN service | Most VPNs |
To find out which VPN service to use, see our router VPN recommendations.
How to Set Up a VPN on Your Router
In the sections below I’ll walk you through each method to put a VPN onto a router, show you which routers are compatible, and help you decide whether a router VPN is right for you at all.
Method 1: Use a Router with a Built-In VPN App
Setup Difficulty: Very Easy
Setup Time: Under 5 minutes
Cost: Aircove router + ExpressVPN subscription
This is the method I recommend for most people, and it’s the closest thing to plug-and-play.
ExpressVPN is the only major VPN service that makes its own WiFi router with the VPN built in, called Aircove router.
There are two models: the standard Aircove for the home, and the pocket-sized Aircove Go for travel. Both come with ExpressVPN preinstalled, so there’s no firmware to flash and no config files to install.
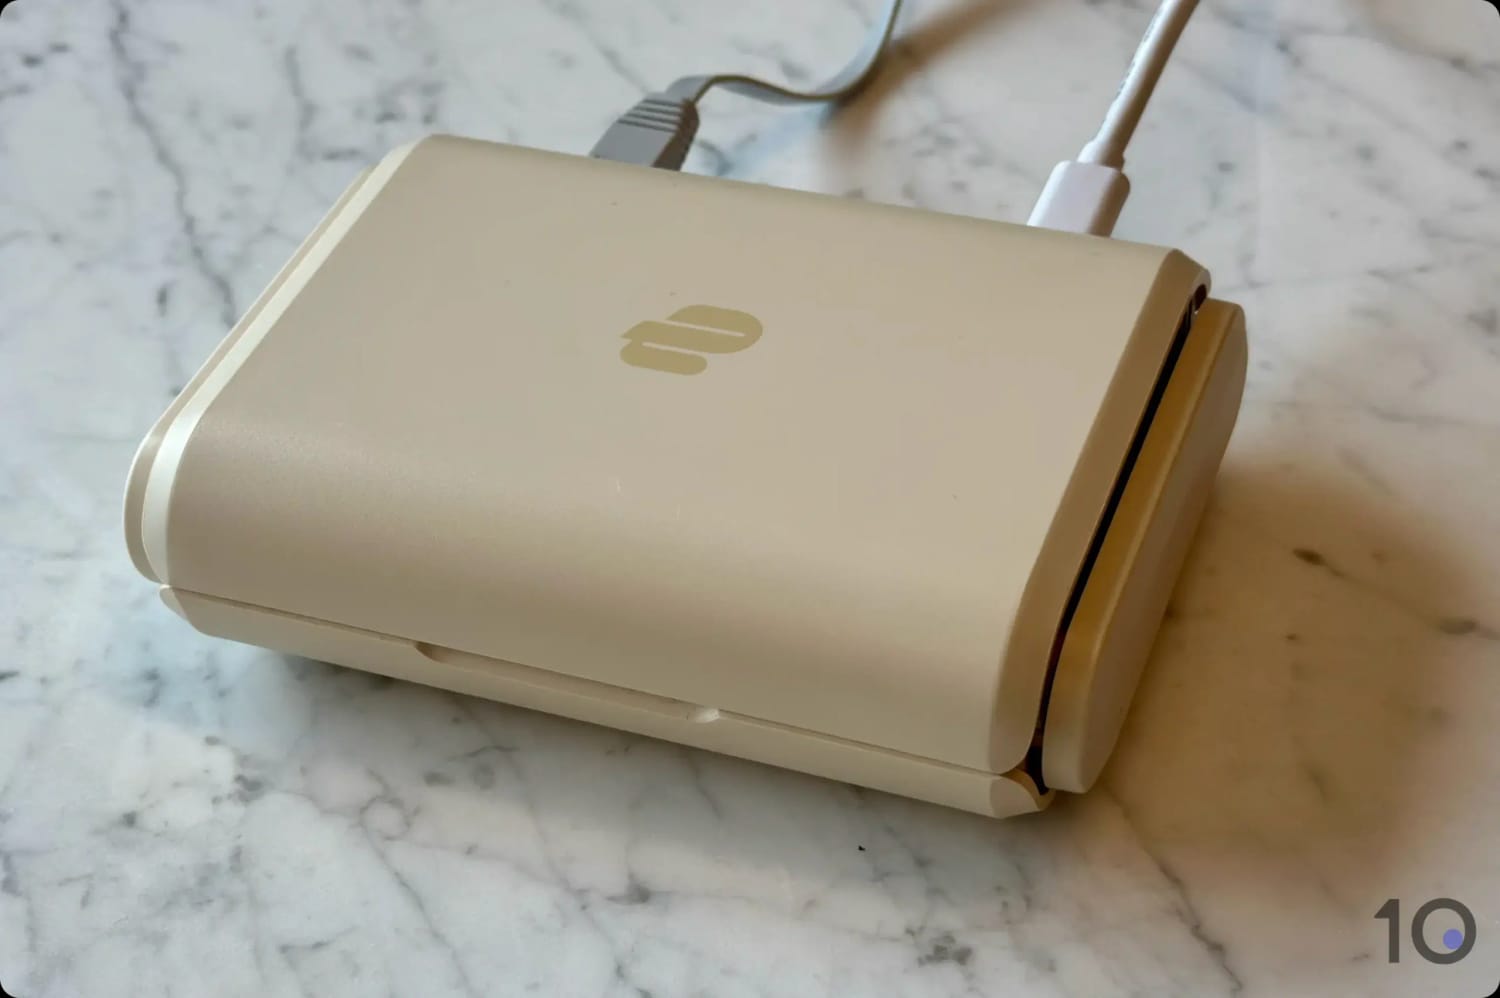
ExpressVPN’s Aircove router comes with its own VPN router app.
You control everything through a simple web dashboard at expressvpnrouter.com, which works just like the ExpressVPN app on your phone or laptop.
From there you can switch server locations, and a standout feature called Device Groups even lets you assign different countries to different devices.
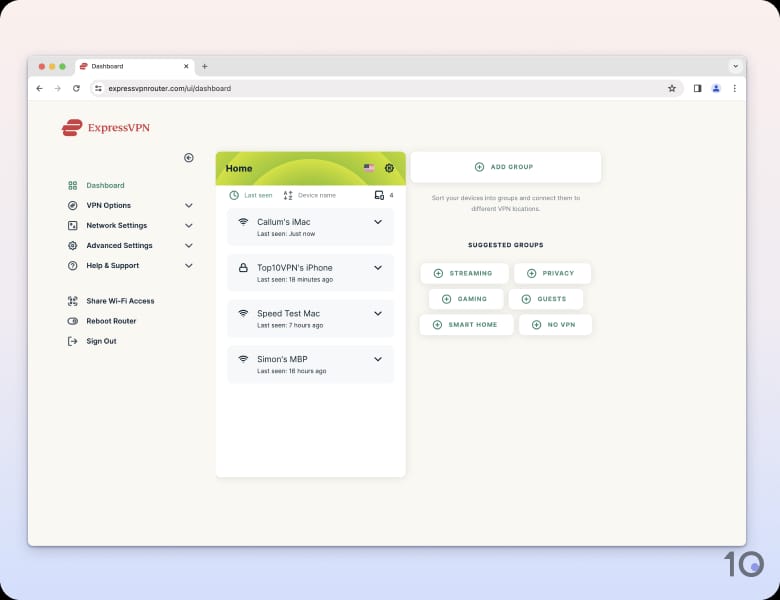
ExpressVPN’s app for routers.
How to Set up an Aircove Router
- Plug your Aircove into your modem using the supplied Ethernet cable, then power it on.
- Connect your phone or laptop to the new Aircove WiFi network (scan the QR code on the underside of the router, or enter the network name and password printed there).
- In a browser, go to expressvpnrouter.com and follow the on-screen setup.
- Enter your ExpressVPN activation code when prompted.
- Set your own WiFi name, WiFi password, and router admin password.
- That’s it. Every device you connect to the network is now protected.
The whole process took me under five minutes. The built-in kill switch is always on, so if the VPN connection ever cuts out, your traffic is blocked and your IP address protected.
The one real drawback is that Aircove only works with ExpressVPN. You can’t load a different VPN onto it, so if you ever want to switch providers, you’d have to buy a new router.
A pre-flashed router (Method 2) is far more flexible in that respect, since it’s available for a range of VPNs.
Method 2: Buy a Pre-Flashed Router
Setup Difficulty: Easy
Setup Time: Instant
VPN Compatibility: Top-tier VPNs like NordVPN and Proton VPN
Cost: From $100.00 + VPN subscription
If you’d like a ready-to-go router but want a choice of VPNs beyond ExpressVPN, a pre-flashed router is what you’re looking for. These come with a VPN already configured, so you skip the setup entirely and just sign in.
The best-known specialist retailer is FlashRouters, which sells routers pre-configured for ExpressVPN, NordVPN, IPVanish, Proton VPN, Surfshark, and more.
Some models, like the Privacy Hero 2 (built around NordVPN), come with a web app that lets you switch servers, toggle the kill switch, and set up split tunneling, much like Aircove.
Method 3: Manual Install on a Compatible Router
Setup Difficulty: Medium
Setup Time: 20-30 minutes
VPN Compatibility: Top-tier VPNs like NordVPN and Proton VPN
Cost: VPN subscription
Requirements: VPN-compatible router + VPN’s config files
If you already own a router that supports VPN software (check the compatibility table further down), you can install a VPN yourself for the price of a subscription.
This is the most flexible option, and it’s more approachable than it sounds, as long as you follow your VPN’s own setup instructions.
The exact steps vary by VPN, router brand, and firmware, so the numbers and screens you see will differ. But the core of the process is always the same:
How to Manually Install a VPN on Your Router
- Log in to your router’s admin dashboard. Type your router’s IP address into a browser (often
192.168.1.1), then sign in. The default username and password are usually printed on the router itself. - Set your VPN’s DNS servers. Your VPN provides these; entering them helps prevent DNS leaks.
- Disable IPv6. This is a quick step that stops your real IP from leaking on some setups.
- Enable the VPN client. Most routers offer an OpenVPN or WireGuard client in their settings menu. WireGuard is faster and newer; OpenVPN is more widely supported.
- Enter your server details, credentials, and certificates. You’ll copy these from the config files you download from your VPN account.
- Save, apply, and connect. Then confirm it’s working using our IP address checker: it should show your VPN’s location, not your real one.
Because these values change over time, always follow your provider’s current, official walkthrough for the exact settings.
I found IPVanish the easiest VPN to configure manually, thanks to a setup page you can filter by your exact router model. Its guides are detailed and beginner-friendly, with plenty of screenshots.
If your router isn’t compatible with VPN software at all, you may still be able to flash it with new firmware first (see Method 4 below).
Method 4: Flash Your Router, Then Install a VPN
Setup Difficulty: Hard
Setup Time: 60+ minutes
Cost: Cheap router + VPN subscription
Requirements: Compatible firmware + router that accepts it
“Flashing” means replacing your router’s built-in firmware with something more capable, such as DD-WRT, OpenWrt, or FreshTomato.
This process unlocks VPN support on routers that don’t have it out of the box, and it’s often the cheapest way to build a VPN router.
That being said, it carries real risk since a botched flash can turn a router into an expensive paperweight.
I only recommend flashing your router if you’re comfortable with the technical aspects. The exact steps vary a lot by model, so treat the outline below as general guidance and always read your router’s manual and your firmware’s official instructions first.
General Steps to Flash Your Router
- Confirm your exact router model is supported by the firmware you want to install. This is the single most important step, so double-check it.
- Back up your current router settings so you can restore them if needed.
- Download the correct firmware file for your specific model.
- Log in to your router’s admin dashboard and find the firmware-update section.
- Upload the new firmware and let the router reboot. Don’t interrupt it.
- Set a new admin password for your freshly flashed router.
Once your router is running VPN-capable firmware, you can install your VPN using the manual steps in Method 3.
Which Routers Are Compatible with a VPN?
Not every router can run a VPN, and this trips up a lot of beginners. Here’s what you need to know before you buy or set up anything.
The router supplied by your ISP almost certainly won’t work. These locked-down boxes rarely support VPN software, so you’ll usually need a separate, VPN-compatible router.
Compatibility depends on your VPN too. A router that works with one VPN won’t necessarily work with another, and the setup method (built-in app, pre-flashed, or manual) can differ.
The table below shows which router brands, firmware, and pre-flashed models each of our top VPNs supports.
What’s the Best Router for Using a VPN?
If you’re buying new, Asus is the safest bet. Its AX and BE (WiFi 6 and WiFi 7) ranges support most major VPNs and multiple protocols out of the box, and Asus’s own app makes it easy to manage devices and bandwidth.
Models like the RT-BE88U pair plenty of processing power with fast connections, which keeps VPN speeds high across your network.
If you’d rather not check compatibility at all, buy an Aircove (Method 1) or a pre-flashed router (Method 2) and let the hardware do the work for you.