


FAQs
What’s the Best Free VPN for Chromecast?
What’s the Best Free VPN for Chromecast?
After testing 23 free VPNs on our Chromecast, we found that Windscribe Free is the best free VPN for using on Chromecast.
It’s safe, fast, and it works with BBC iPlayer, Hulu, HBO Max, and 5 Netflix libraries. Unfortunately, it can’t unblock US Netflix.
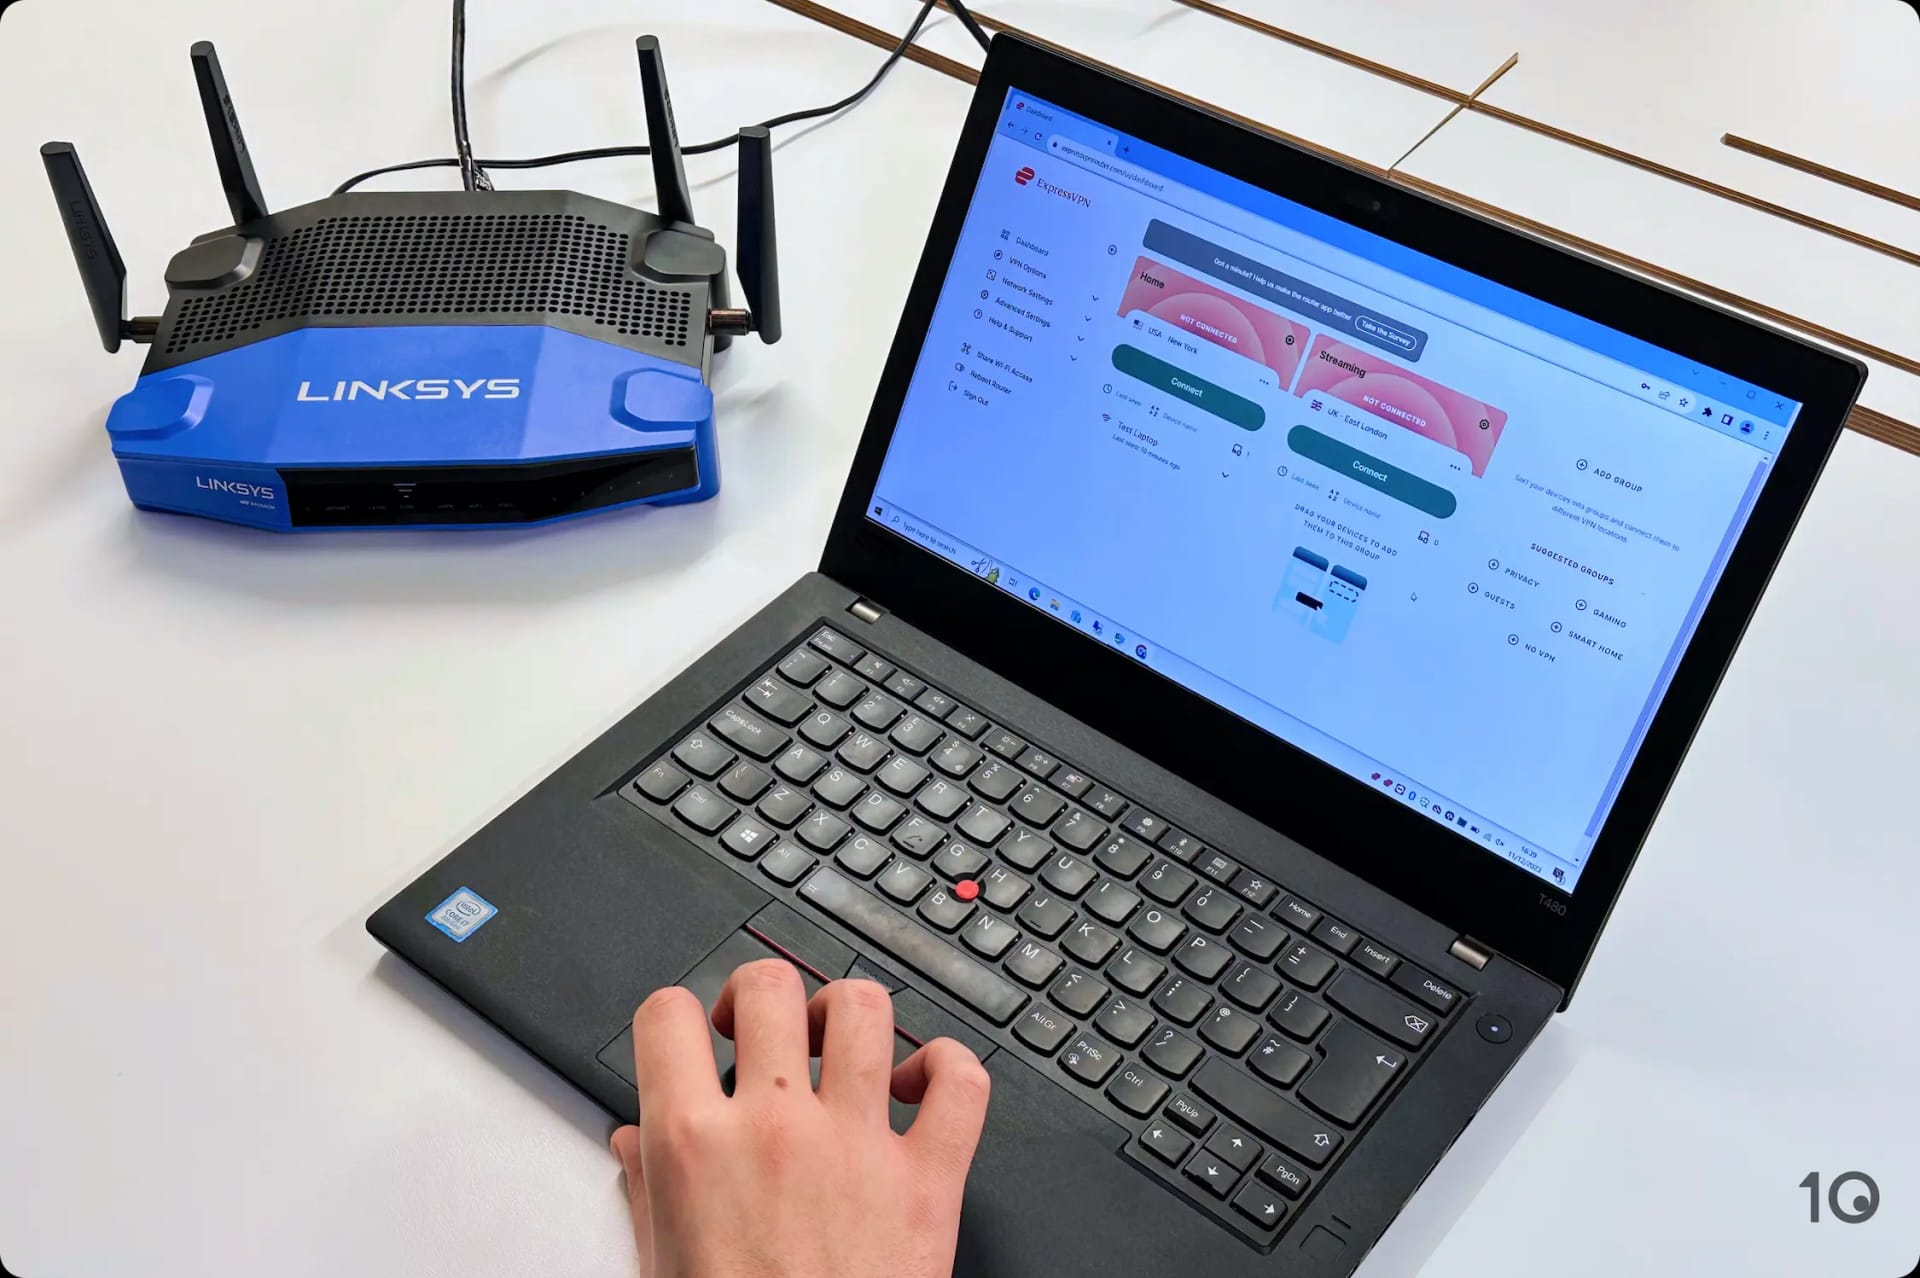
Windscribe’s free tier is limited to just 10GB of data per month though, which isn’t enough for regular streaming on your Chromecast. It can’t be installed on routers either, so you’ll need to use an alternative setup method.
Proton VPN Free does allow for router installation and doesn’t enforce a data cap, but it doesn’t work with popular streaming services.
You can read more in our full Windscribe review or read our list of the best overall free VPNs.
Why Can't I Cast When Using a VPN?
Why Can't I Cast When Using a VPN?
When casting content, your phone doesn’t stream the video, it simply passes the file over to your Chromecast. For this to work, both devices need to be connected to the same network. When just your phone is connected to a VPN, the Chromecast can’t receive the content, and the video will fail to load.
To fix this, connect both your phone and Chromecast to the same VPN server. You can read how to do this here.
Can I Change My Google Play Country with a VPN?
Can I Change My Google Play Country with a VPN?
Yes, you can easily change your Google Play region when using a Chromecast VPN. To do this:
- Connect to a VPN server in the country that has the app you want.
- Hold the Google Assistant button on your remote and say “Open Google Play Store”.
- Search for the app from within Google Play.
This allows you to download Google TV apps that are only available in certain regions, such as Hulu and BBC iPlayer.
Can I Use Smart DNS with Chromecast?
Can I Use Smart DNS with Chromecast?
Unfortunately, it isn’t possible to use Smart DNS with any Chromecast device.
This is because the Chromecast is hardwired to only communicate with Google’s DNS servers, even if you configure your router to use your VPN’s Smart DNS tool.


