Top10VPN is editorially independent. Buying a VPN through our links supports our work.
How to Get a Surfshark Free Trial
Follow us:
Simon Migliano
Simon Migliano is a recognized world expert in VPNs. He's tested hundreds of apps and his research has been featured on the BBC, The New York Times, and more. Read full bio
You can get a 7-day Surfshark free trial without any upfront payment by signing up on the service’s website. To extend your risk-free test period, you can then take advantage of Surfshark’s 30-day refund policy.
On mobile, get the Surfshark app from the Apple App or Google Play store. The 30-day refund policy won’t apply, though.
Surfshark is one of the cheapest top-tier VPNs you can find on the market, but it doesn’t offer a completely free tier.
The only way to use the VPN without paying is to sign for to its 7-day free trial through your computer or via a mobile app store.
It’s one of my favorite VPN free trials because you can get it on computer, tablet, or mobile. Only a handful of VPNs allow this.
Once you’ve claimed the free trial, your free account will work with all of Surfshark’s apps. Remember to cancel your trial before the test period is over to avoid being charged.
If you signed up through the website, Surfshark’s 30-day refund policy kicks in at that point and gives you up to 37 days of risk-free use.
Why Trust Us?
We’re fully independent and have been reviewing VPNs since 2016. Our advice is based on our own testing results and is unaffected by financial incentives. Learn who we are and how we test VPNs.
VPNs Tested
59
Total Hours of Testing
30,000+
Combined Years of Experience
50+
How to Get a 7-day Surfshark Free Trial
The video below shows you how to get a 7-day Surfshark free trial on mobile, plus a quick overview of its 30-day money-back guarantee:
Alternatively, follow the written steps below to get the free trial directly from the Surfshark website or from the Apple App or Google Play Store.
Windows
To access Surfshark’s free trial directly from your Windows PC, all you need to do is sign up to it via the official Surfshark website.
Follow the steps below to see how easy it is. Once you’ve created your free Surfshark account, you can then use it with all other apps.
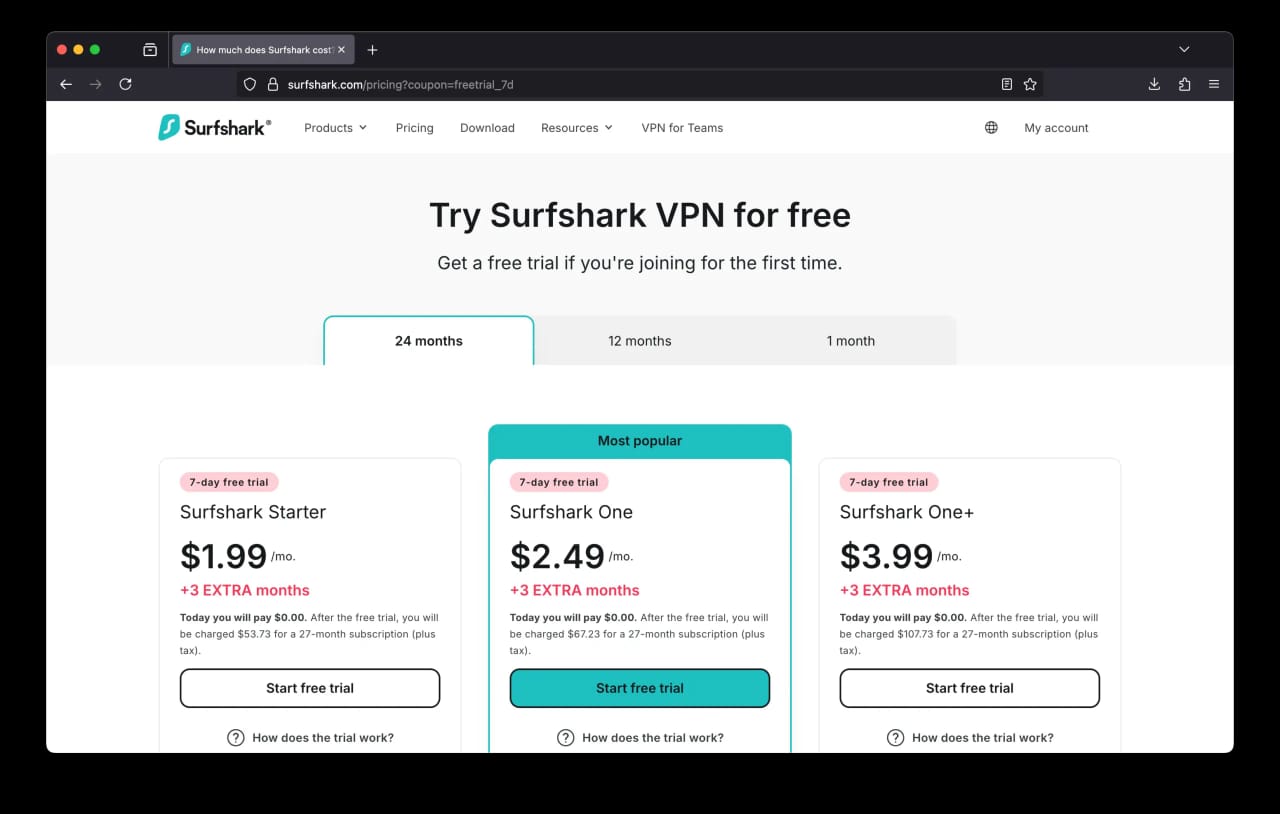
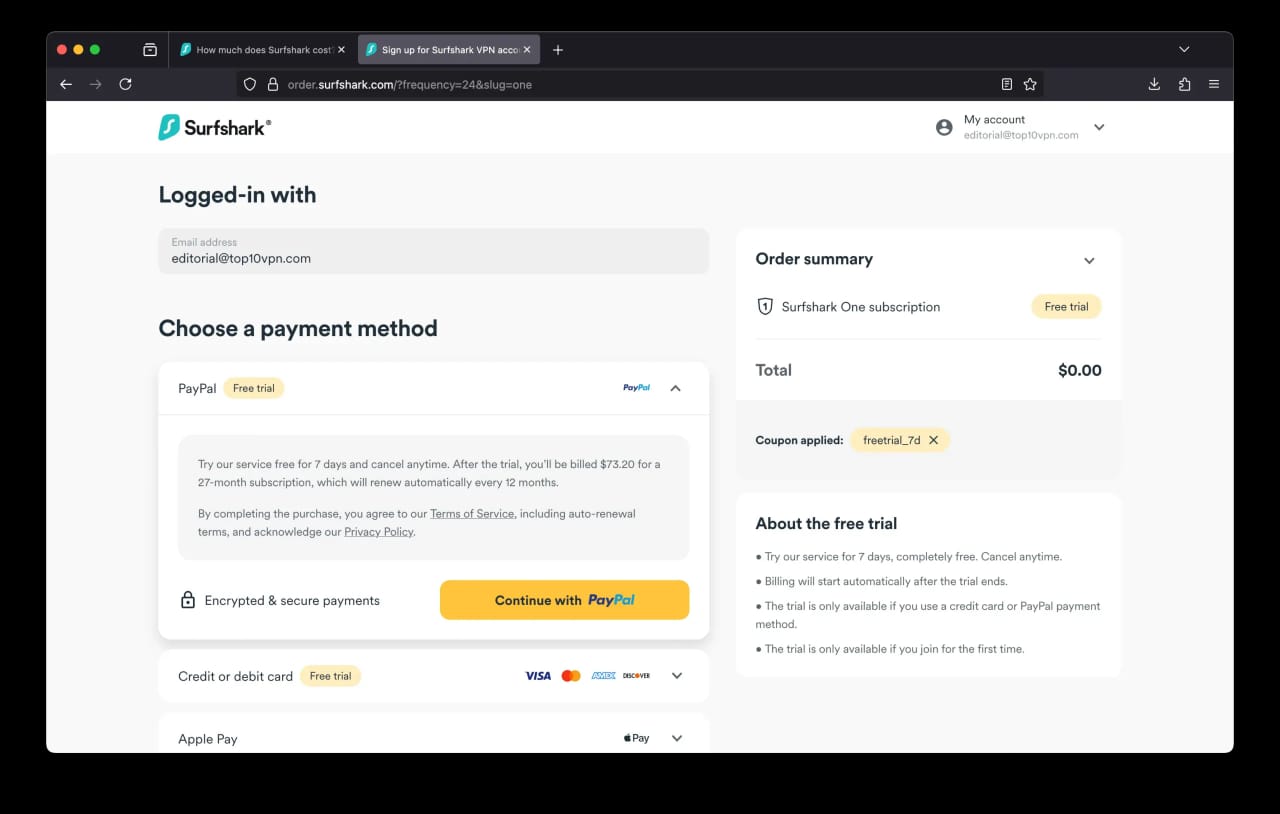
Go to the Surfshark website: Click Start a free trial, choose either the 12-month or 24-month plan, and enter your email address and payment details.
Use a credit card or PayPal for payment. The free trial isn’t available with other payment methods.
Download and install the Surfshark app. Once the installation finishes, click Open to launch the app.
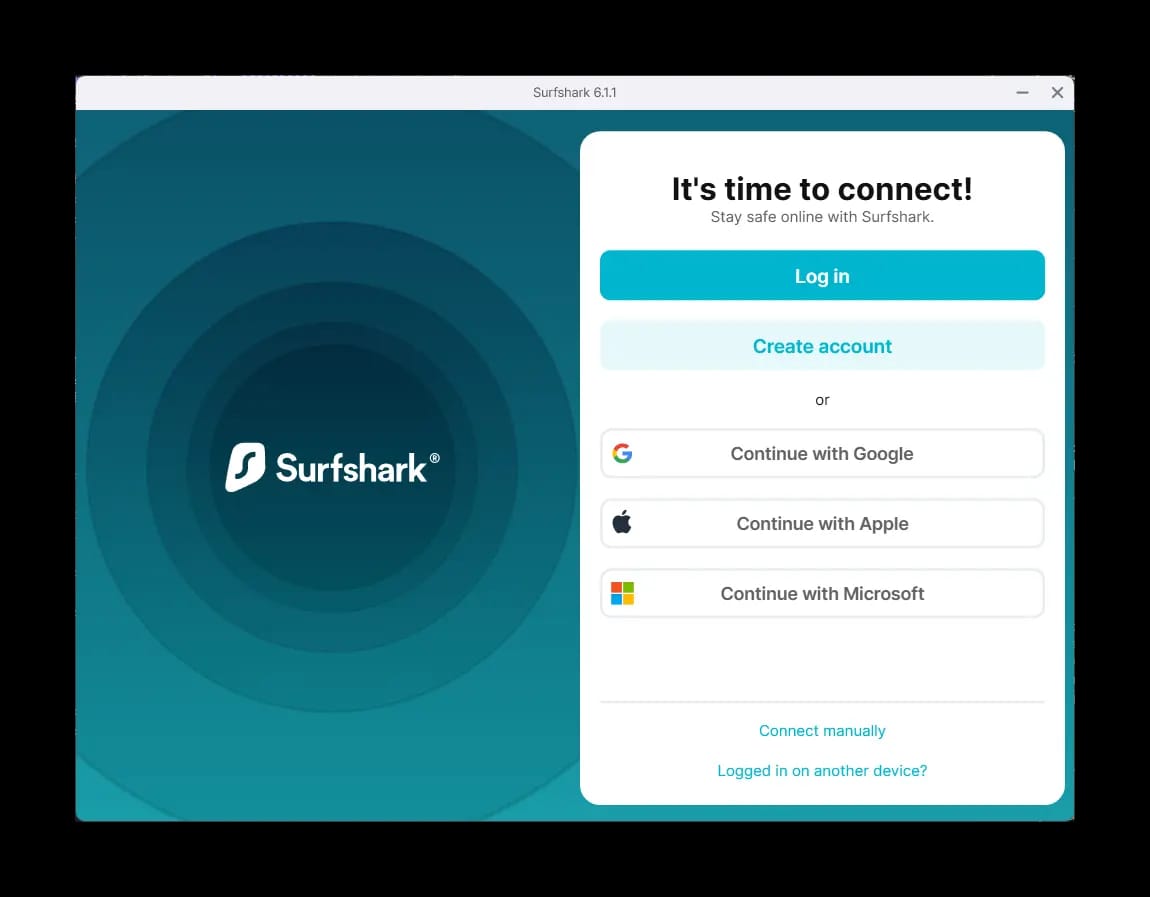
Create your account in the app. Enter the same email address you used to sign up and set a strong password. Then click Create account to continue.
You can now use Surfshark for free for seven days. You’ll get full access to all premium features, including unlimited bandwidth and servers in 100 countries.
Cancel the free trial right away to avoid being charged after seven days. You’ll still have full access for the duration of the trial. To cancel, go to your account area on the Surfshark website and select Subscriptions > Payments > Cancel Free Trial. I’ve added more details on this further below.
macOS
You have two options to get your free trial on Mac: sign up through the website (as above) or via the Mac App Store, which I’ve broken down below:
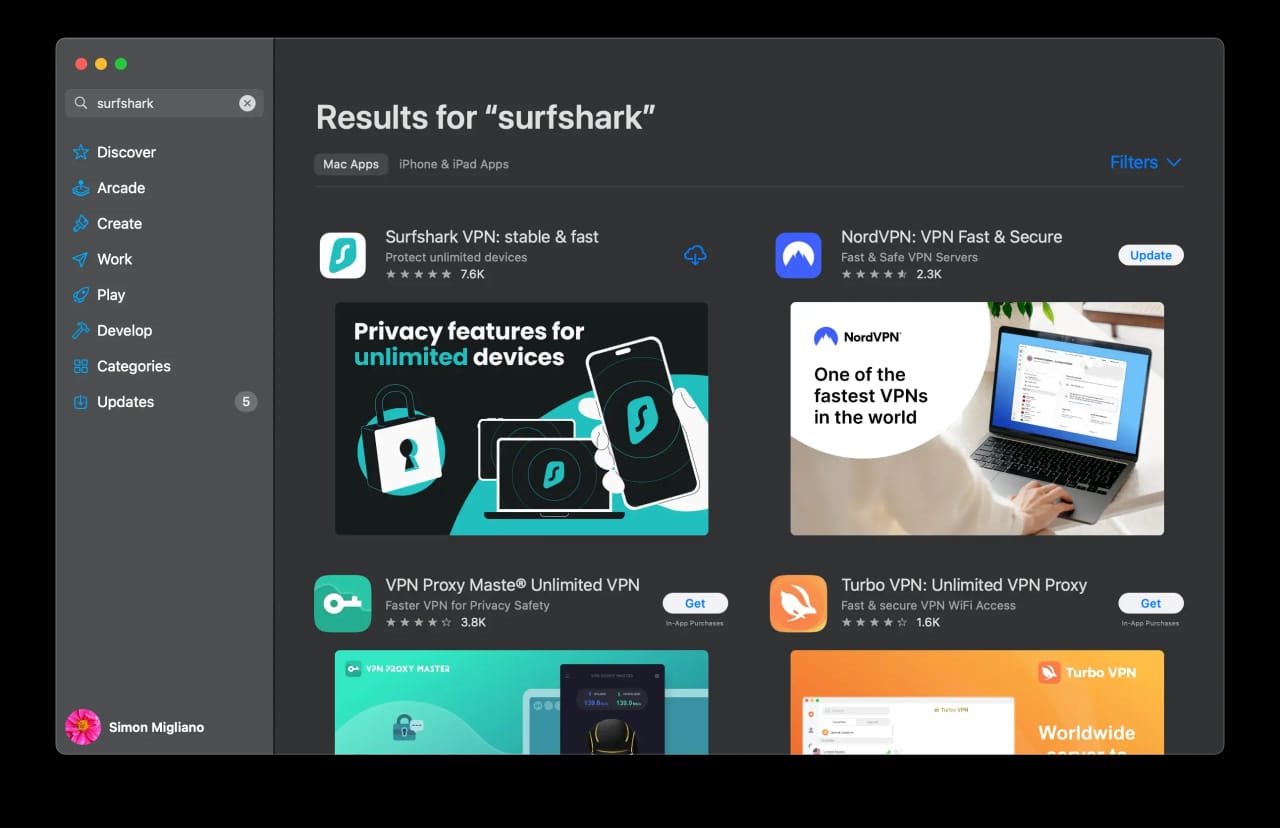
Open the Mac App Store and search for Surfshark. Then, Click Get to download and install the app.
Once installation is complete, click Open to launch the VPN.
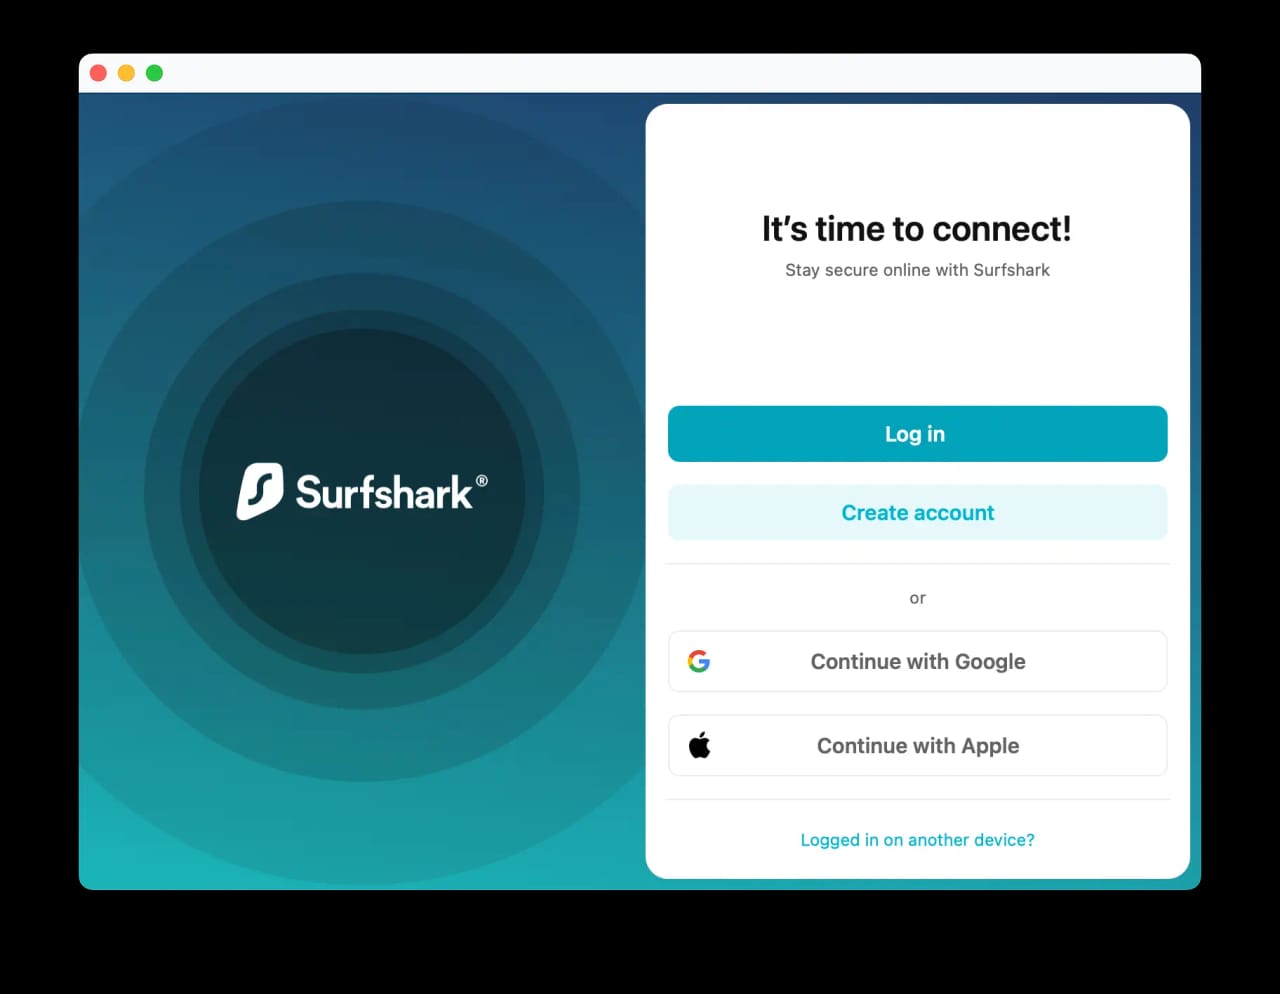
Create your account in the app. Enter a valid email address and set a strong password. Then, click Create account to continue.
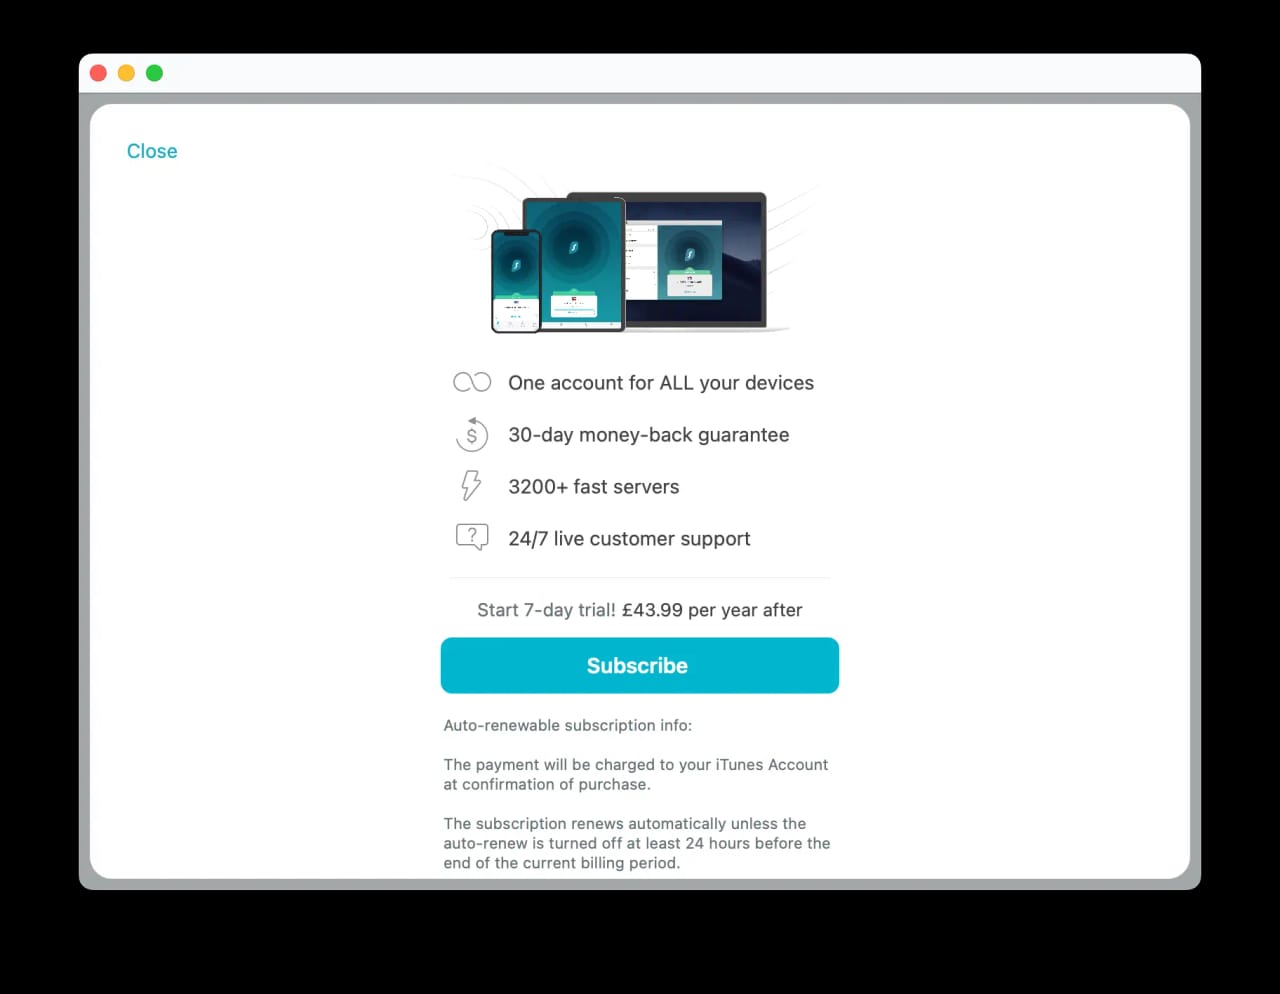
Subscribe and confirm your trial. When prompted, click Subscribe then Continue to confirm. Unlike iOS and Android, you don’t need to manually select the 12-month plan, as it’s the only option available.
Use Surfshark for free for seven days.
Cancel the free trial straight away to avoid accidental charges once the trial ends. Go to App Store > Apple Account > Subscriptions, find Surfshark, and click Cancel Free Trial. I’ve also added more detailed steps on how to do this.
iOS
Install the Surfshark app from the App Store.
Sign up with your email and a password. You’ll need these credentials to use your free trial on other devices too.
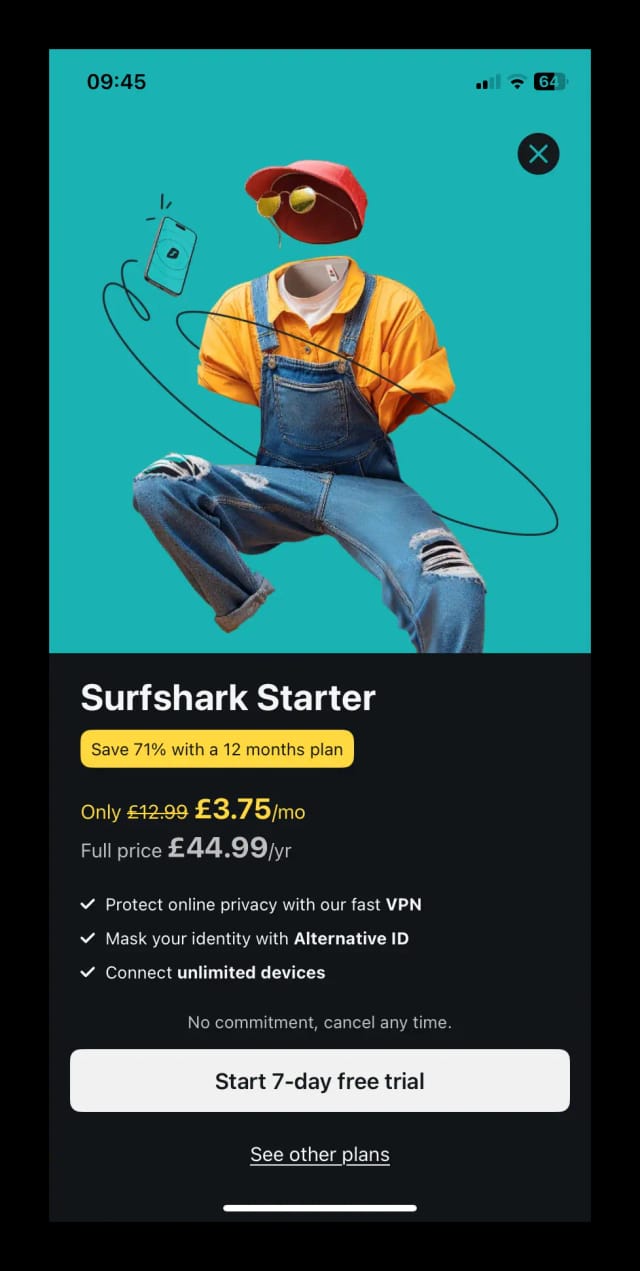
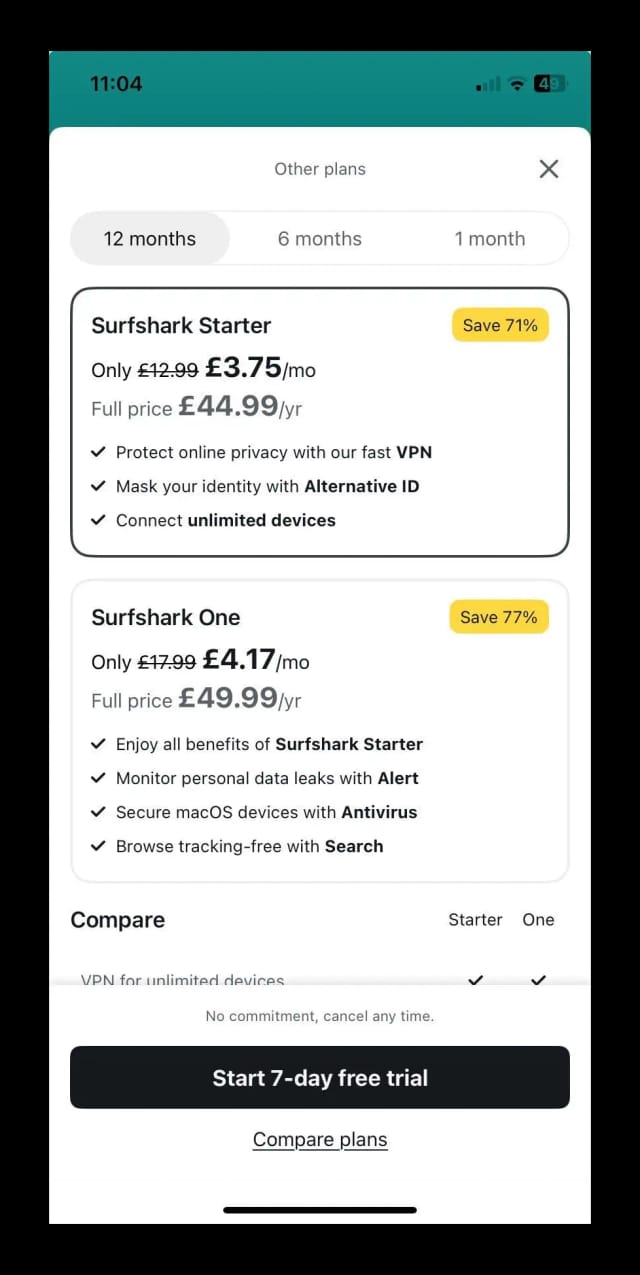
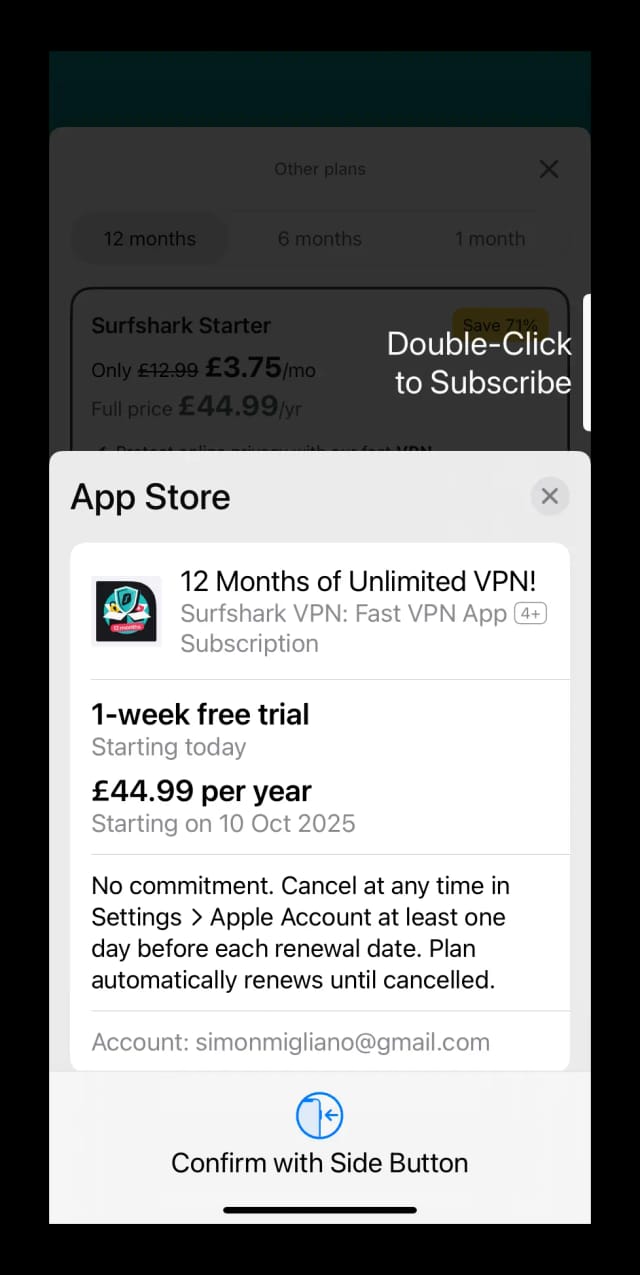
Subscribe to the 12-month plan. This is the only pricing plan that includes the free trial.
Start using Surfshark for free on your iOS device.
Cancel the free trial immediately: To avoid being charged, cancel at least 24 hours before the trial ends.
Android
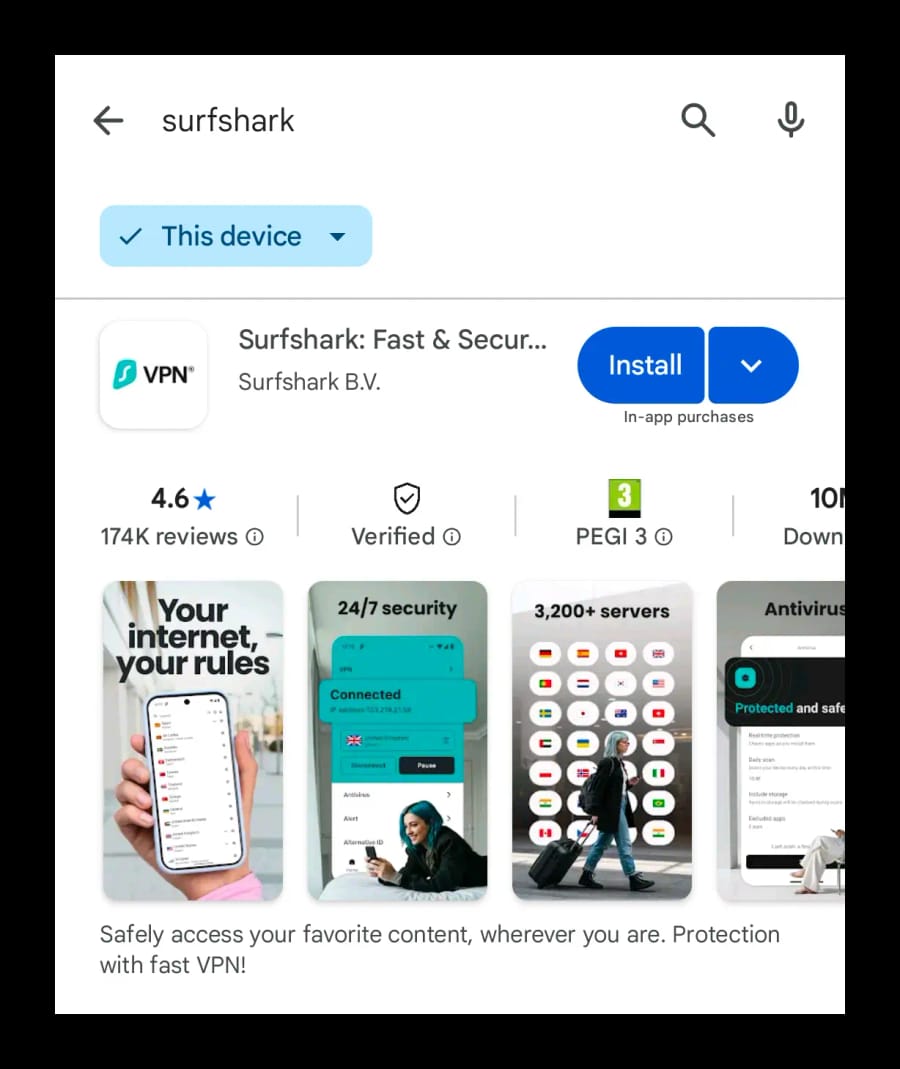
Get Surfshark’s Android app from Google Play: Tap Install.
Once installed, tap Open.
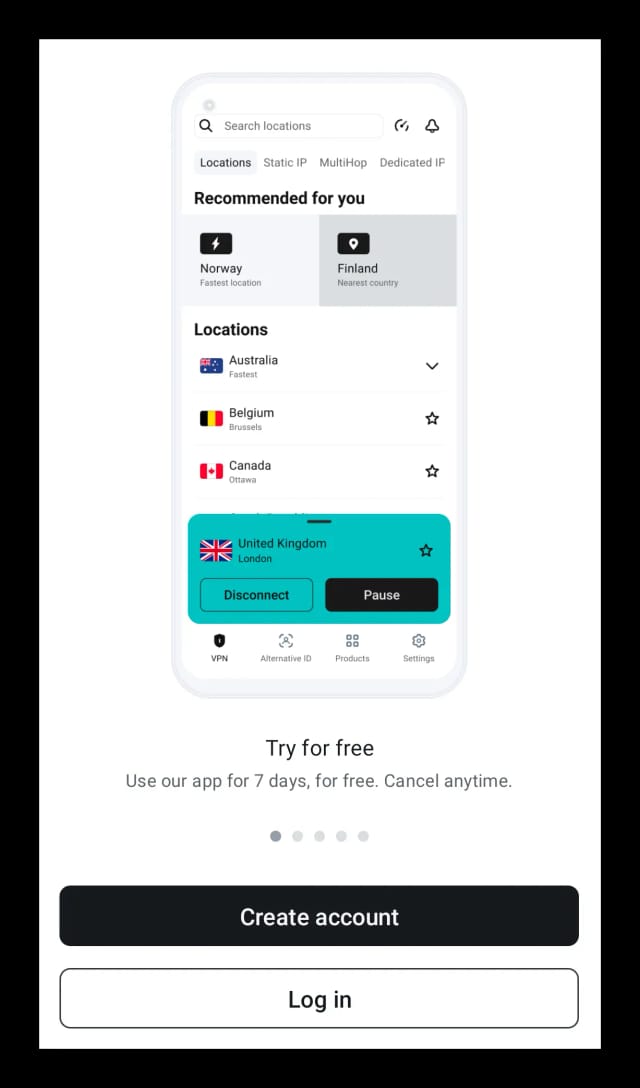
Tap Create Account and enter your email and password. You’ll only see the free trial option on the next screen if you’re a genuine first-time user. If you’re logged into Google Play with an email address you’ve used before to sign up, you won’t see the free trial option, no matter which email you’ve entered at this step.
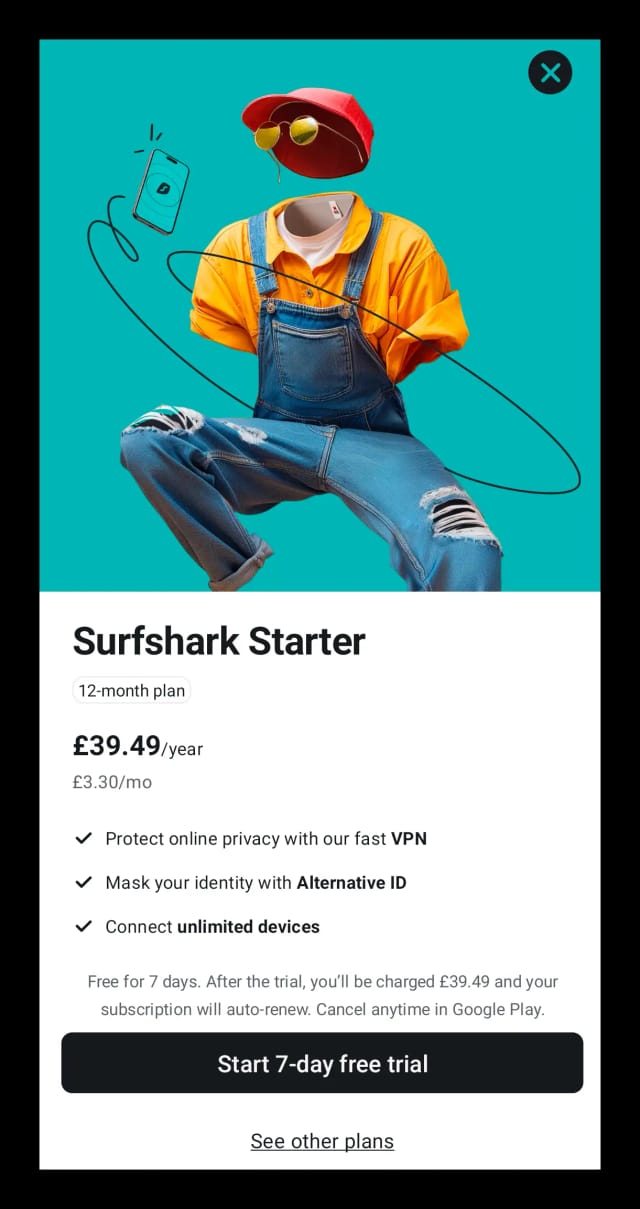
Tap Start 7-Day Free Trial. Only the 12-month plan includes the trial.
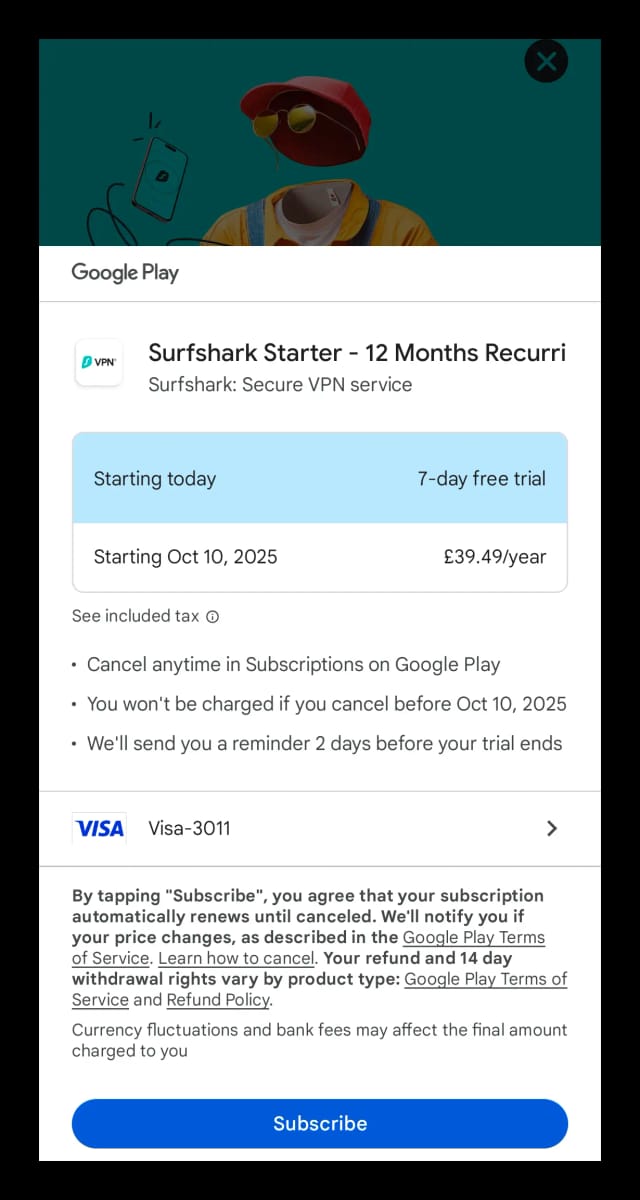
Select your payment method and subscribe. You’ll then be taken to the Surfshark app, where your free trial will start automatically.
Use Surfshark for free for seven days.
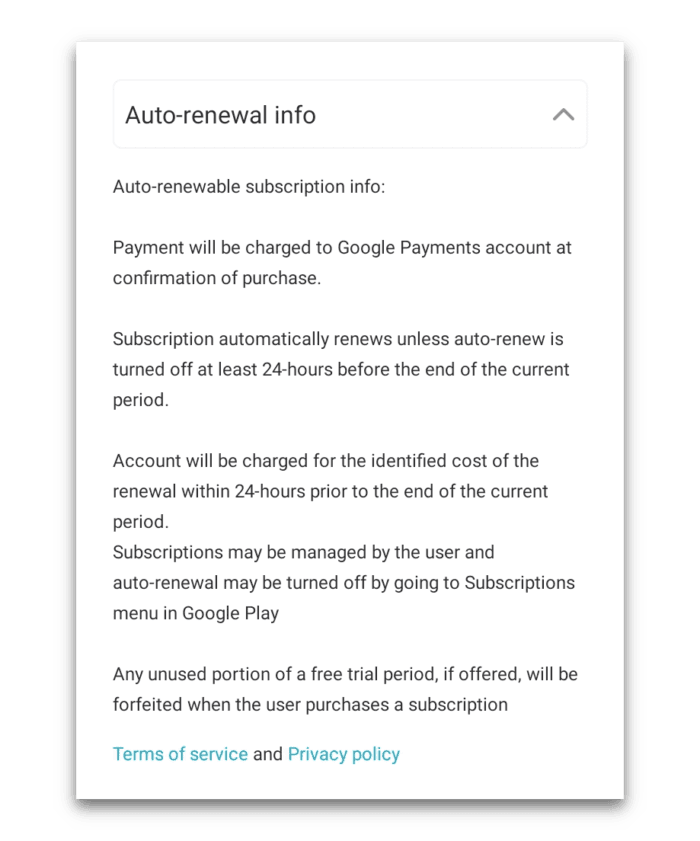
Cancel the free trial right away to ensure Surfshark doesn’t charge your Google Play account once the seven days are up. Like on iOS, turn off auto-renewal at least 24 hours before the trial ends.
How to Cancel Surfshark's Free Trial
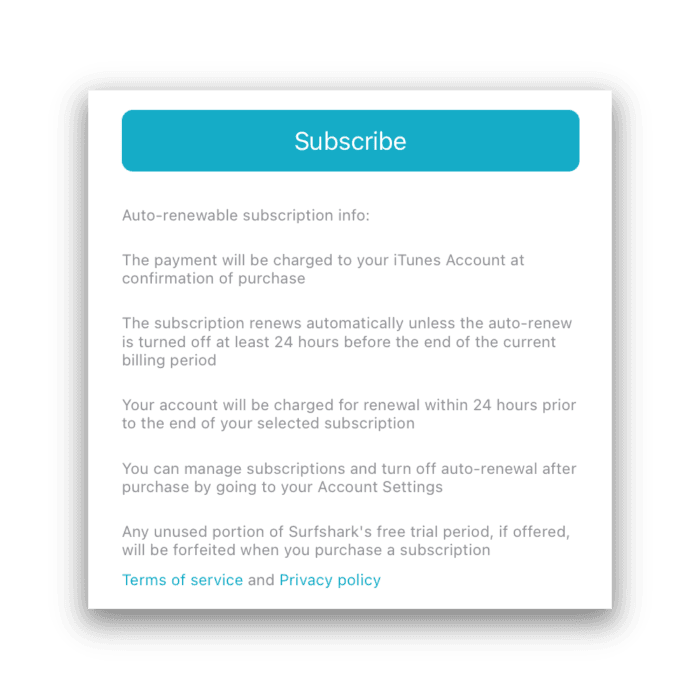
If you don’t cancel your subscription and disable auto-renew, you’ll be charged automatically once the free trial period ends.
To avoid this, make sure you cancel at least 24 hours before your trial expires. The good news is that even after cancellation, you’ll still have full access to Surfshark until the 7-day trial period finishes.
I’ve added helpful instructions below on how to cancel your free trial on Windows, macOS, iOS, and Android.
How to Cancel on PC
To cancel your Surfshark free trial on PC, you’ll need to complete the process on Surfshark’s website.
In fact, whatever your device, if you signed up for the free trial on the website, that’s where you’ll need to cancel it.
Go to the Surfshark website and click My Account in the top right corner.
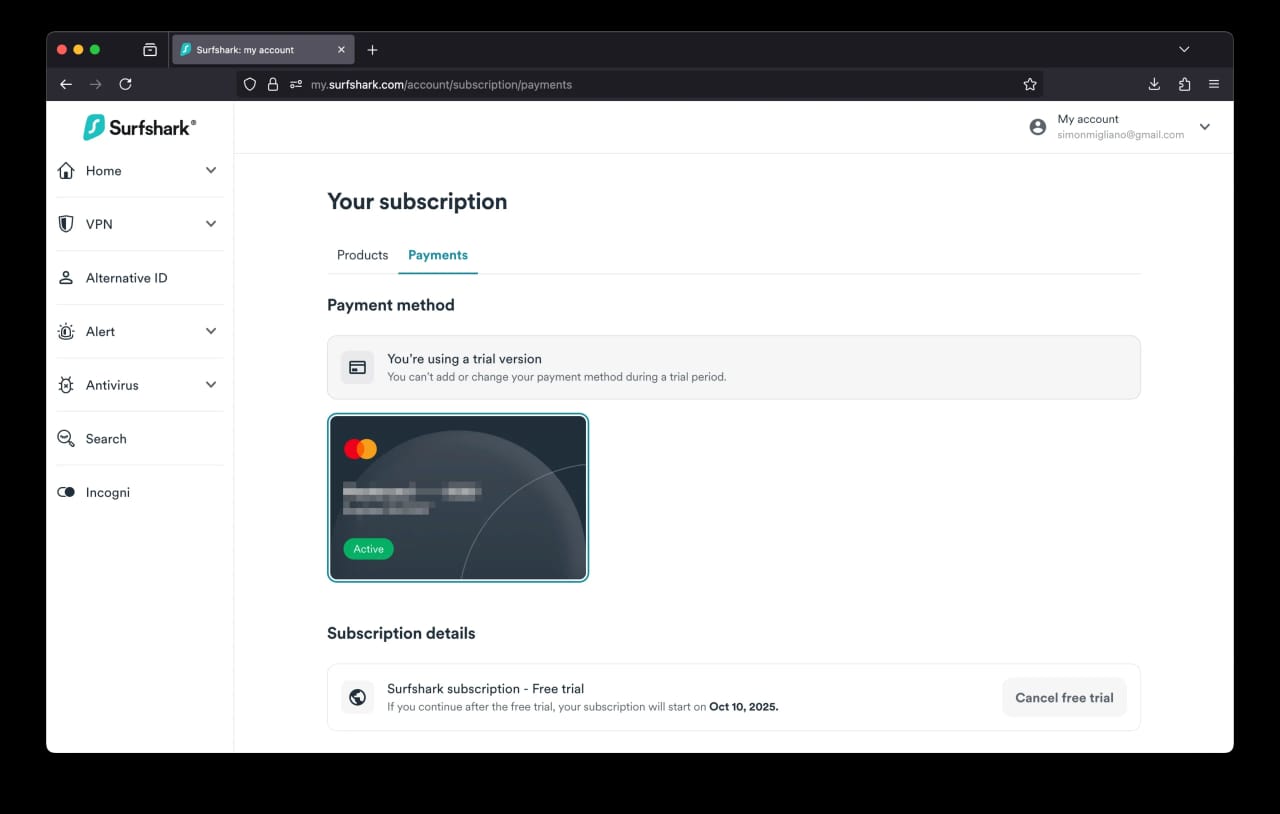
Open your subscriptions: In your account dashboard, select Subscriptions > Payments.
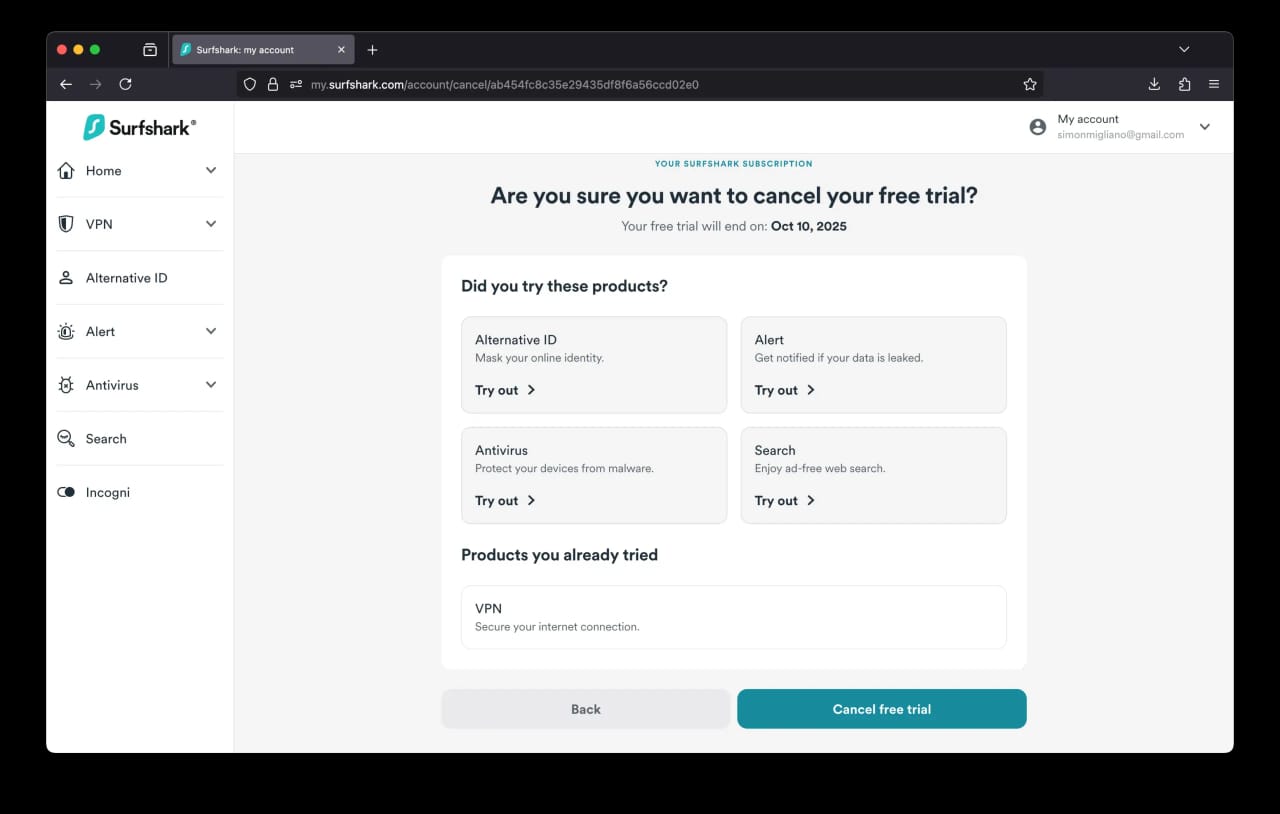
Select Cancel Free Trial under Subscription details, then confirm your cancellation.
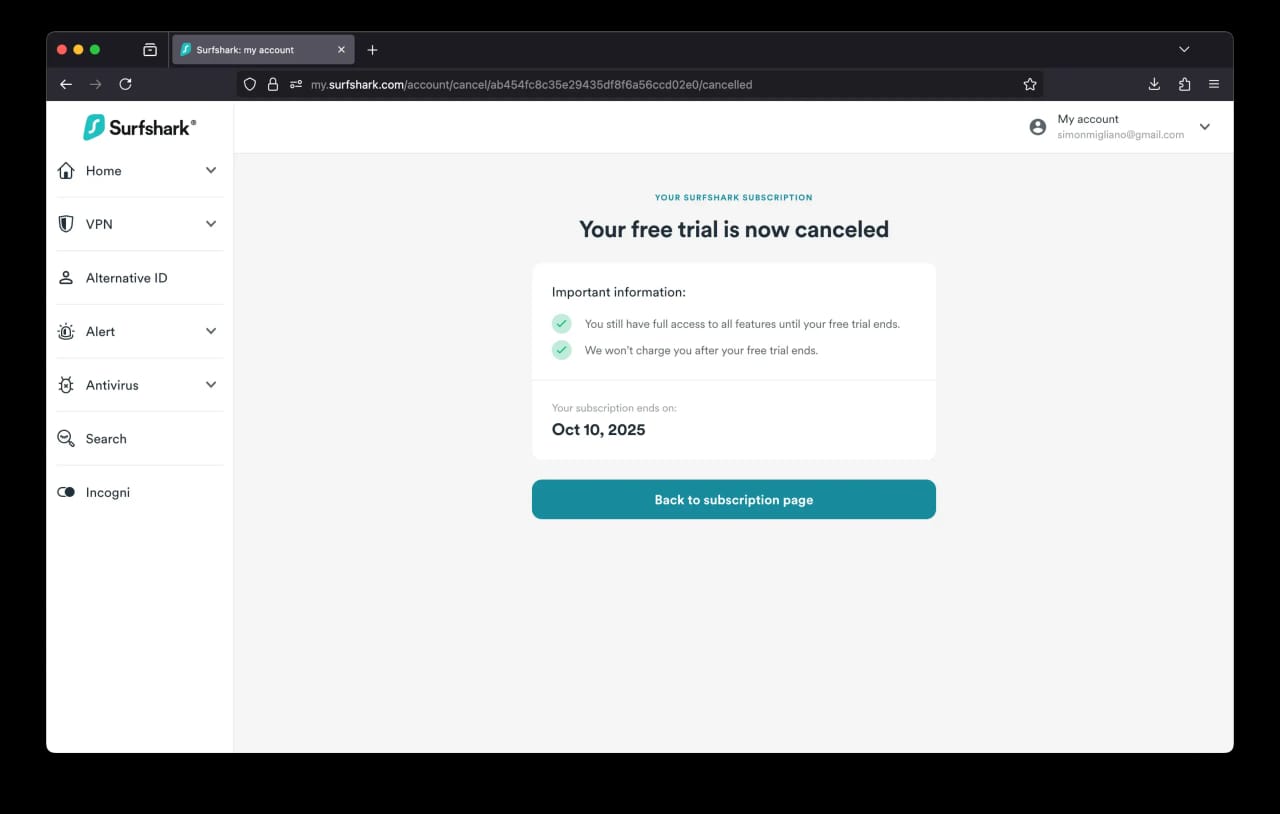
Check for confirmation. You’ll see a message confirming that your cancellation was successful. You’ll retain full access until the trial end date.
How to Cancel on Mac
If you signed up to the free trial via the website, you’ll need to cancel it from your web account.
However, if you claimed the trial through the Mac App Store, follow the instructions below:
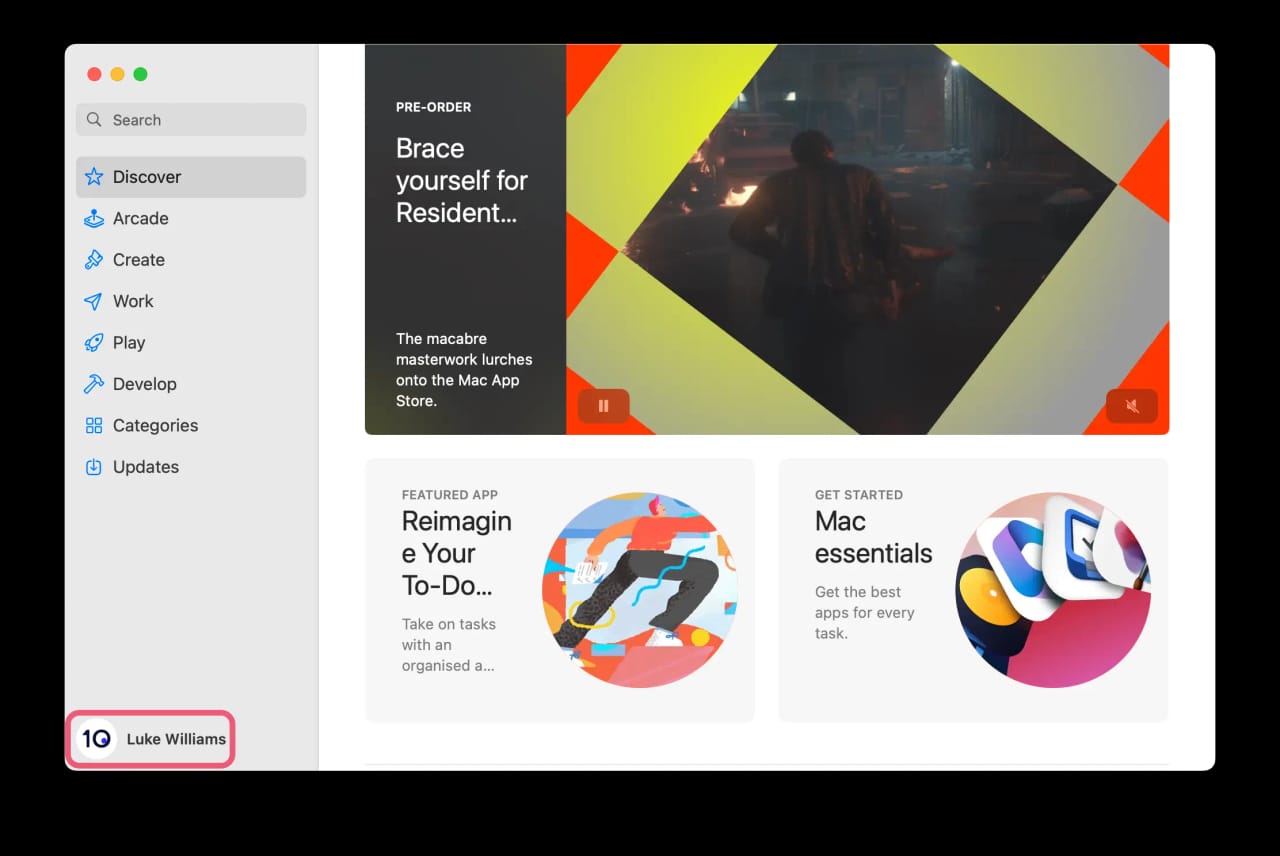
Open the Mac App Store and click your name in the bottom-left corner.
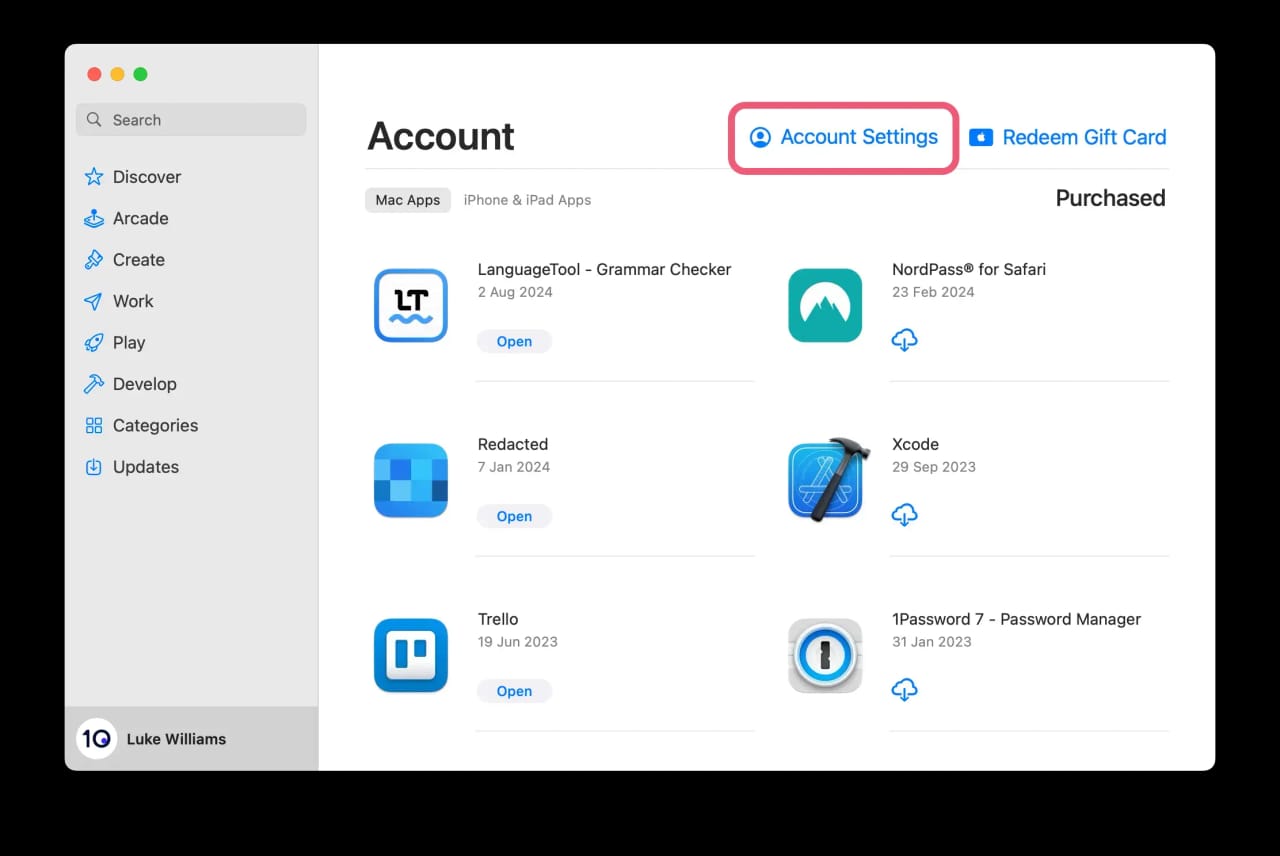
Click Account Settings in the top-right corner. Enter your Apple ID password if prompted.
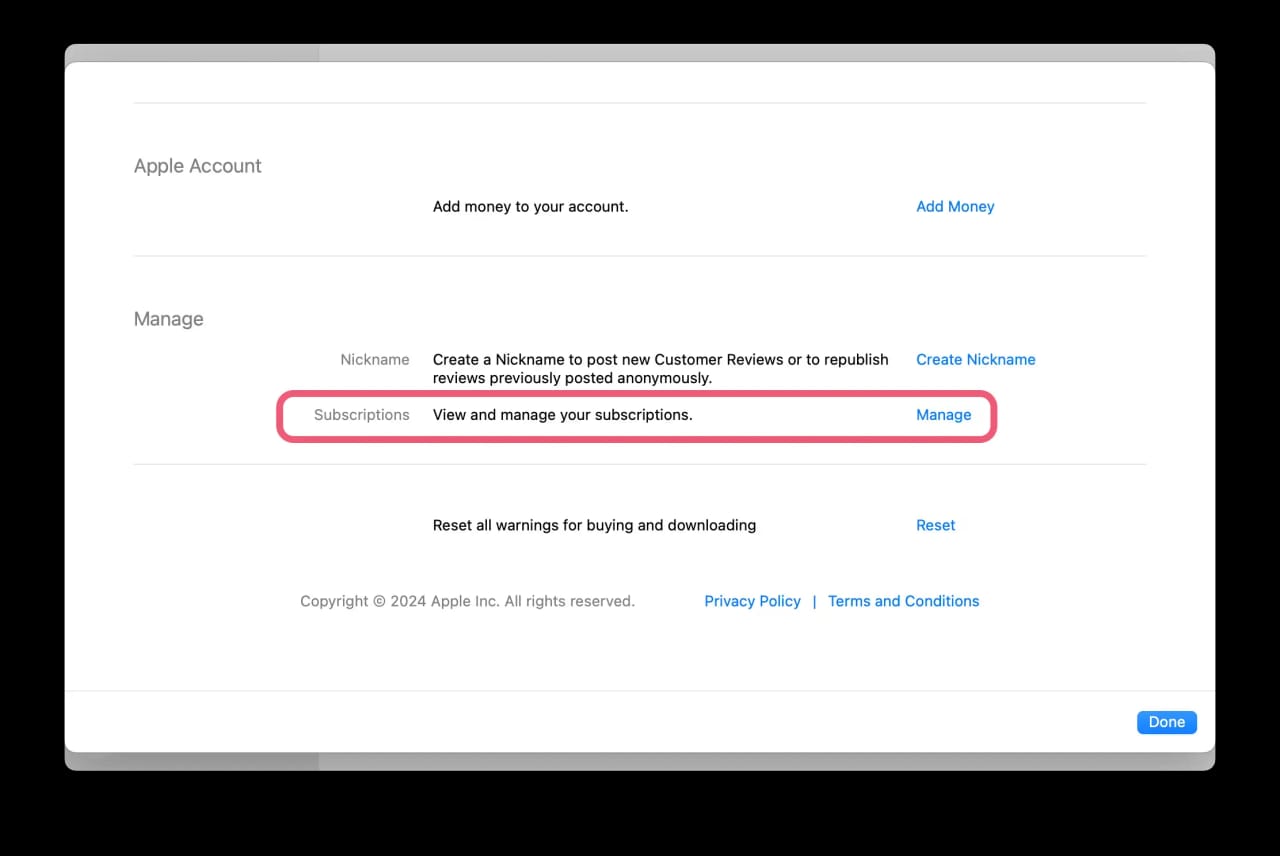
Scroll down to the Subscriptions section and click Manage.
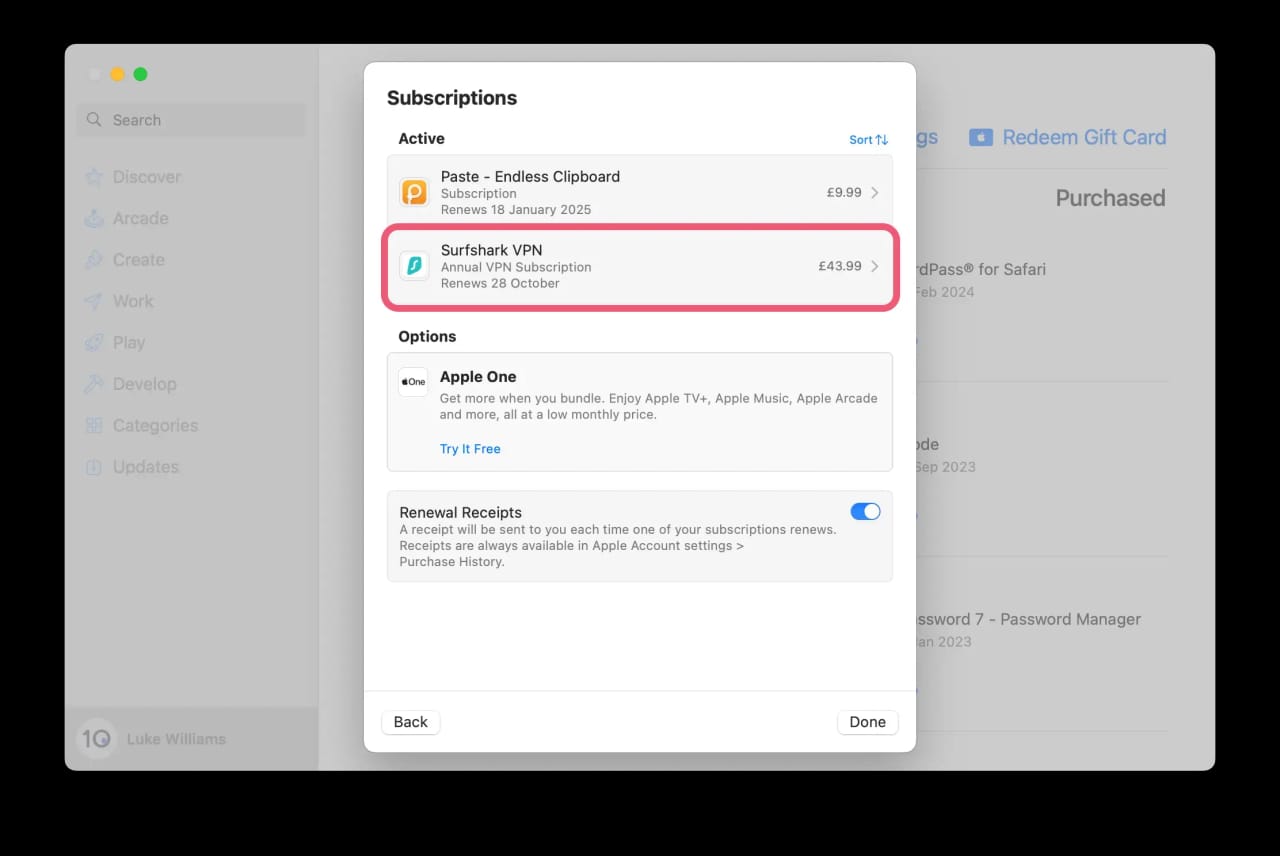
Select Surfshark VPN from your list of active subscriptions.
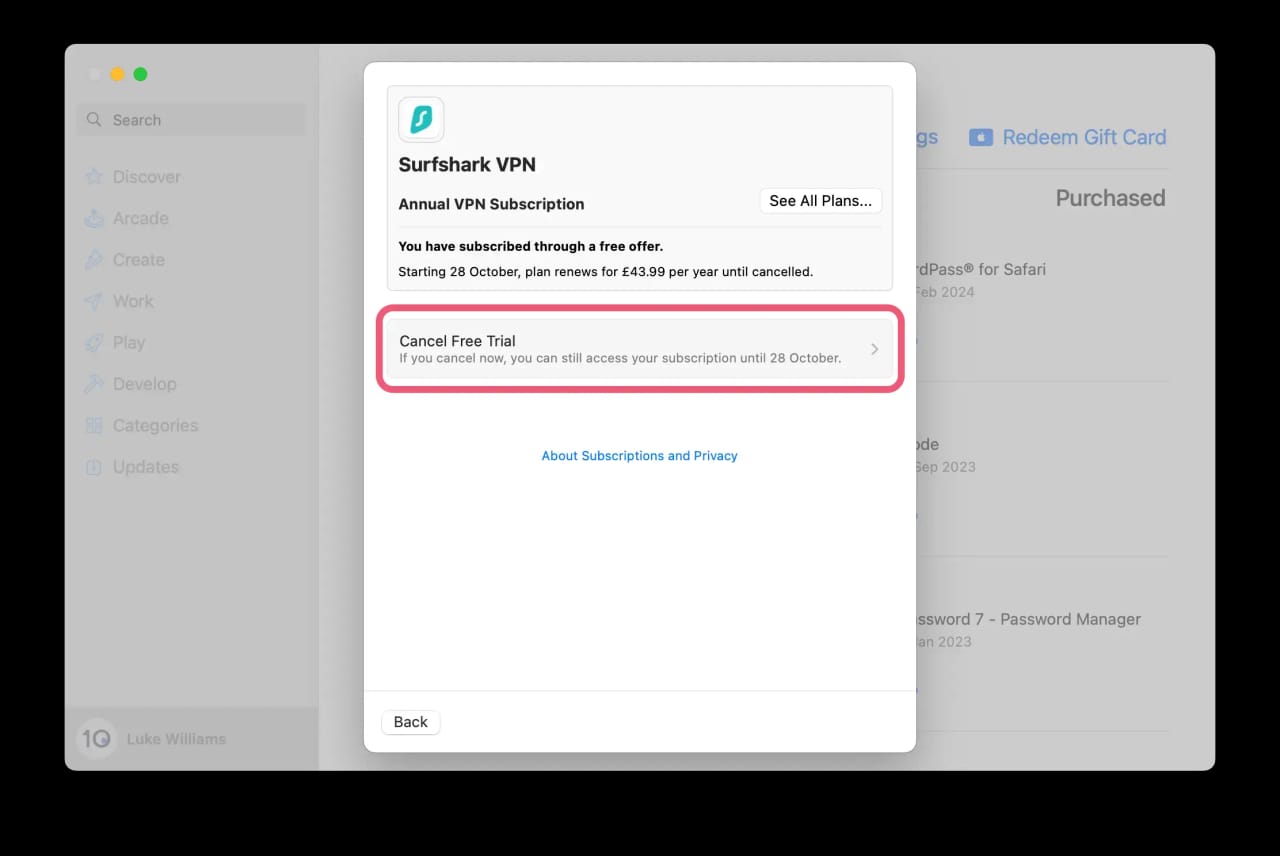
Click Cancel Free Trial and confirm your choice.
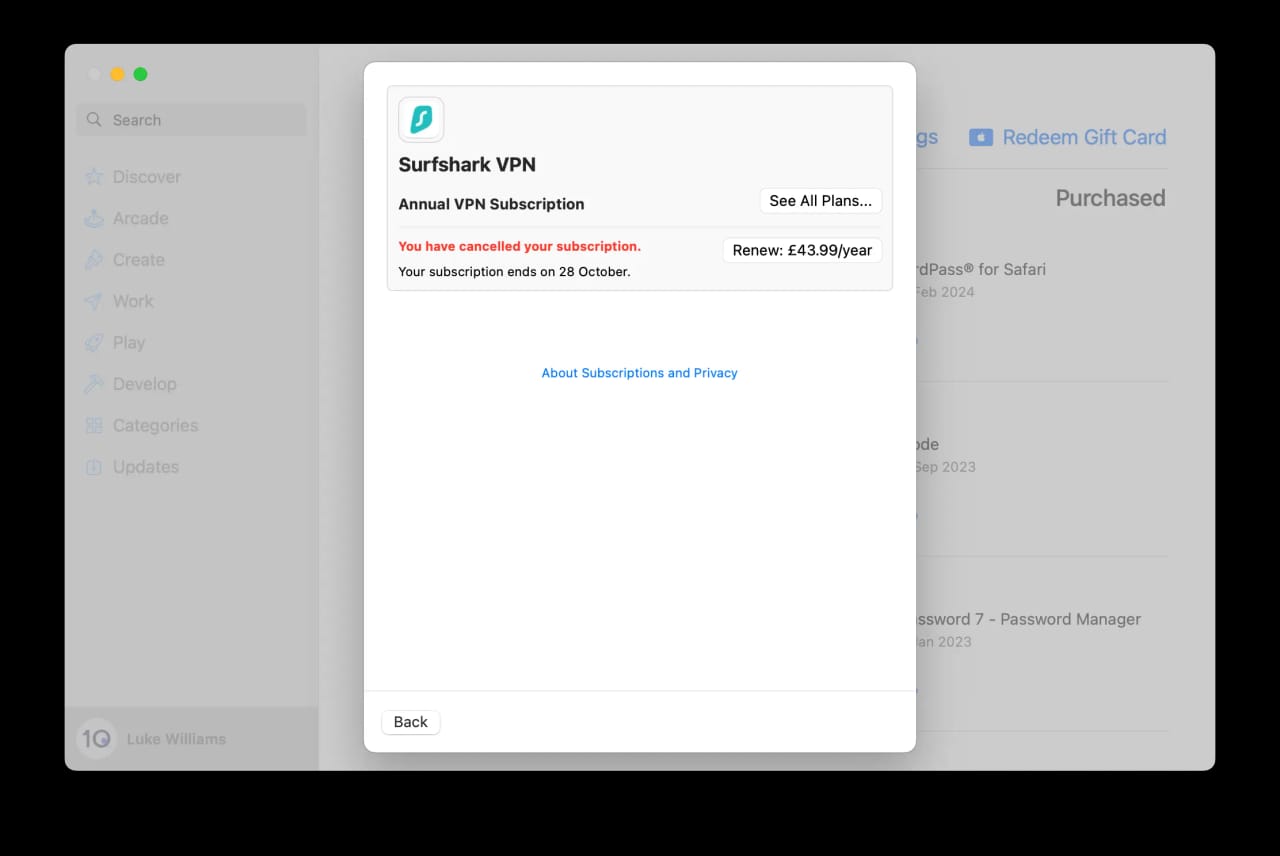
Verify the cancellation. Look for red text reading “You have canceled your subscription” on the App Store subscriptions page.
How to Cancel on iOS
Open your iOS Settings.
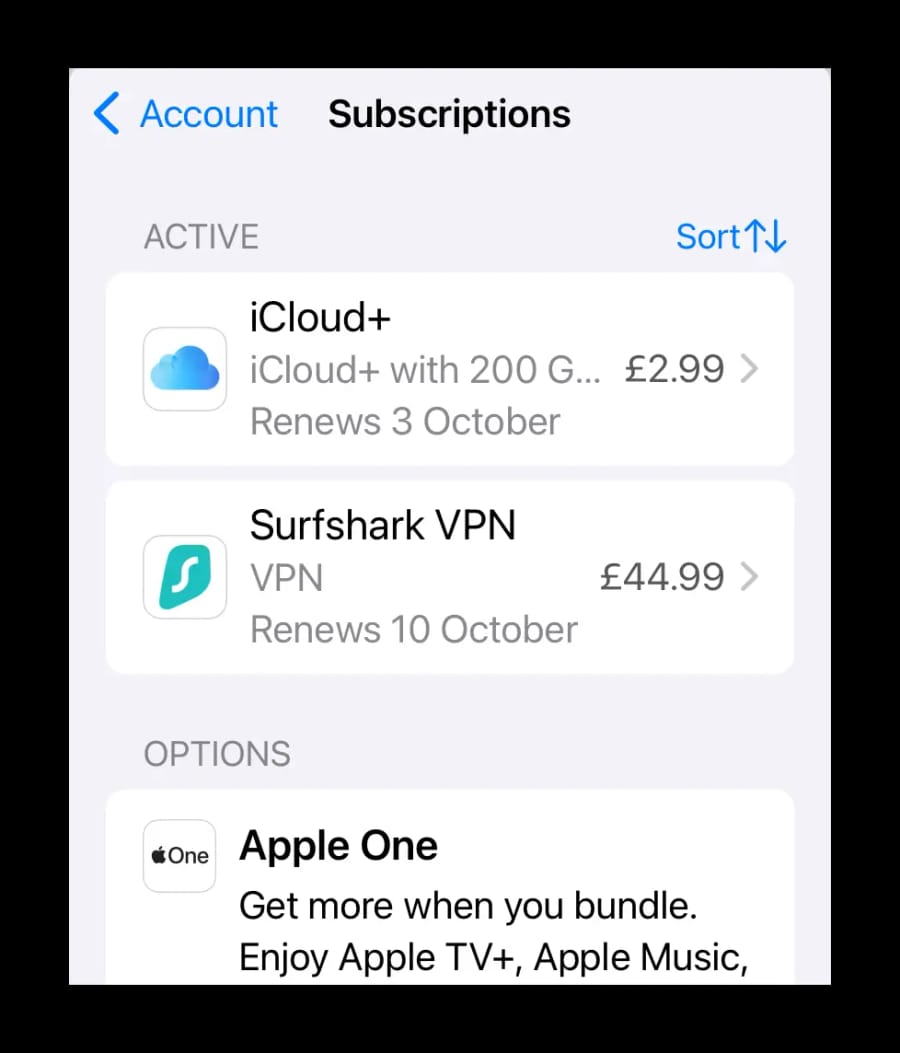
Go to your subscriptions. Tap your Apple Account name > Subscriptions.
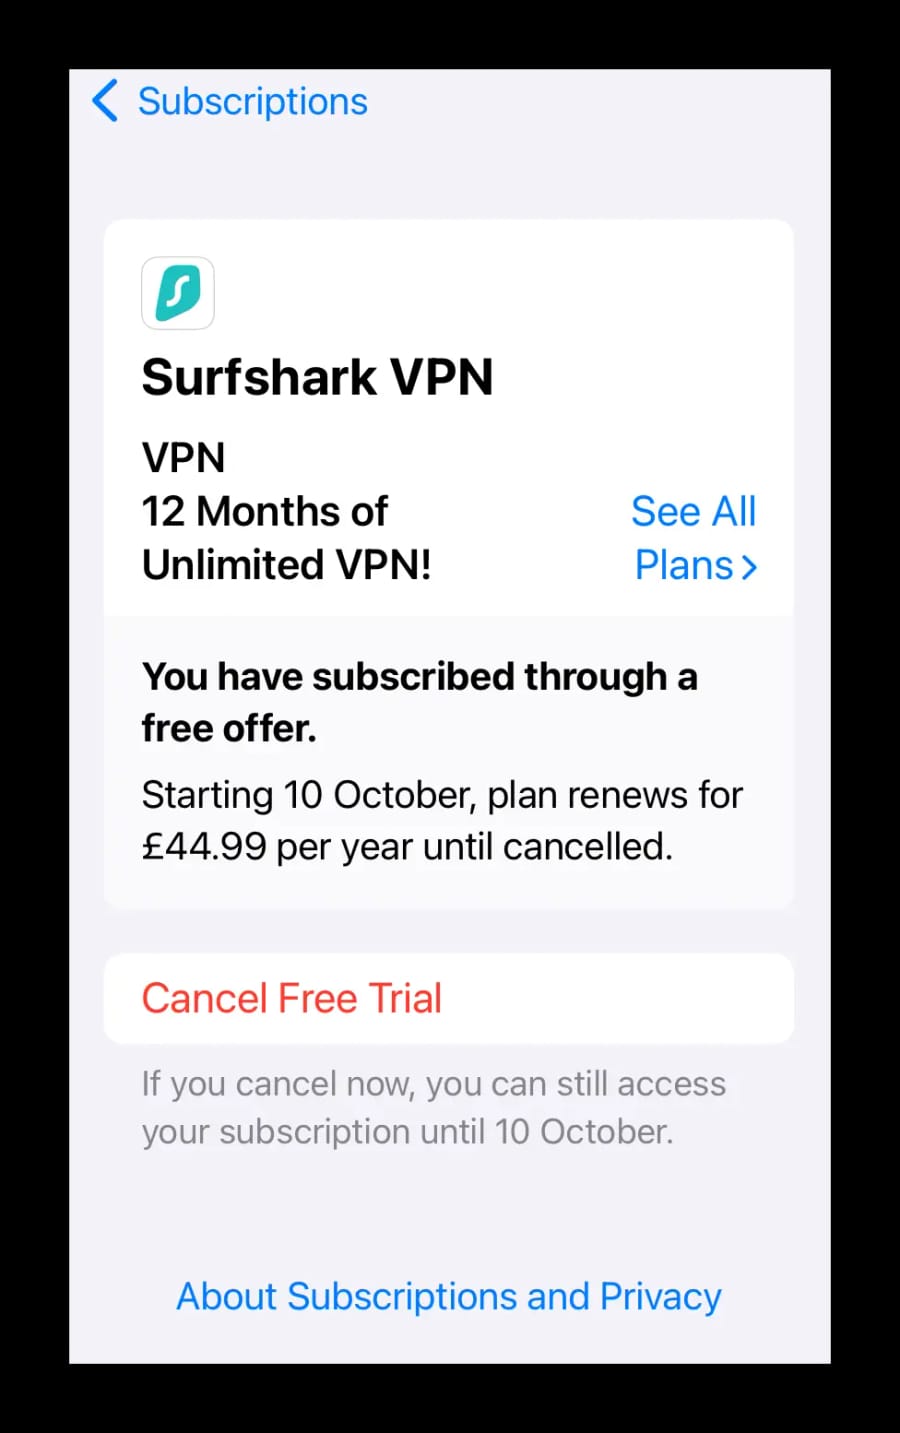
Select your Surfshark free trial. Tap Surfshark VPN from your list of subscriptions, then select Cancel Free Trial.
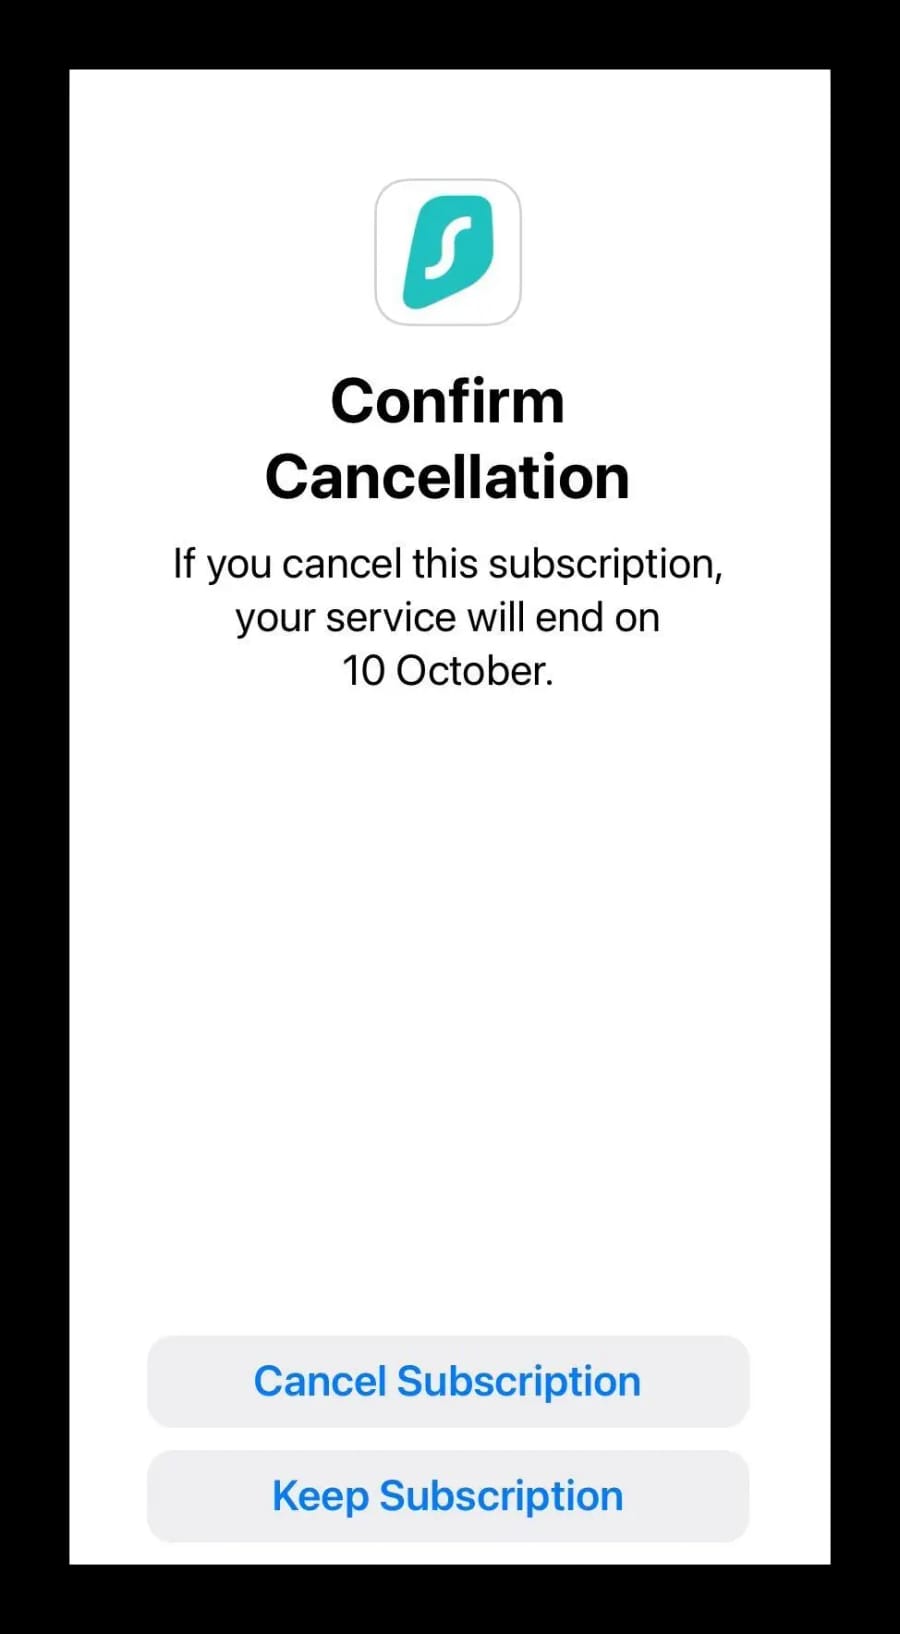
Confirm cancellation. Tap again to confirm. You’ll keep full access until the trial period ends.
How to Cancel on Android
Open your Google Play account. Tap your profile icon in the top right corner of the Play Store.
Go to subscriptions. Tap Payments and subscriptions > Subscriptions.
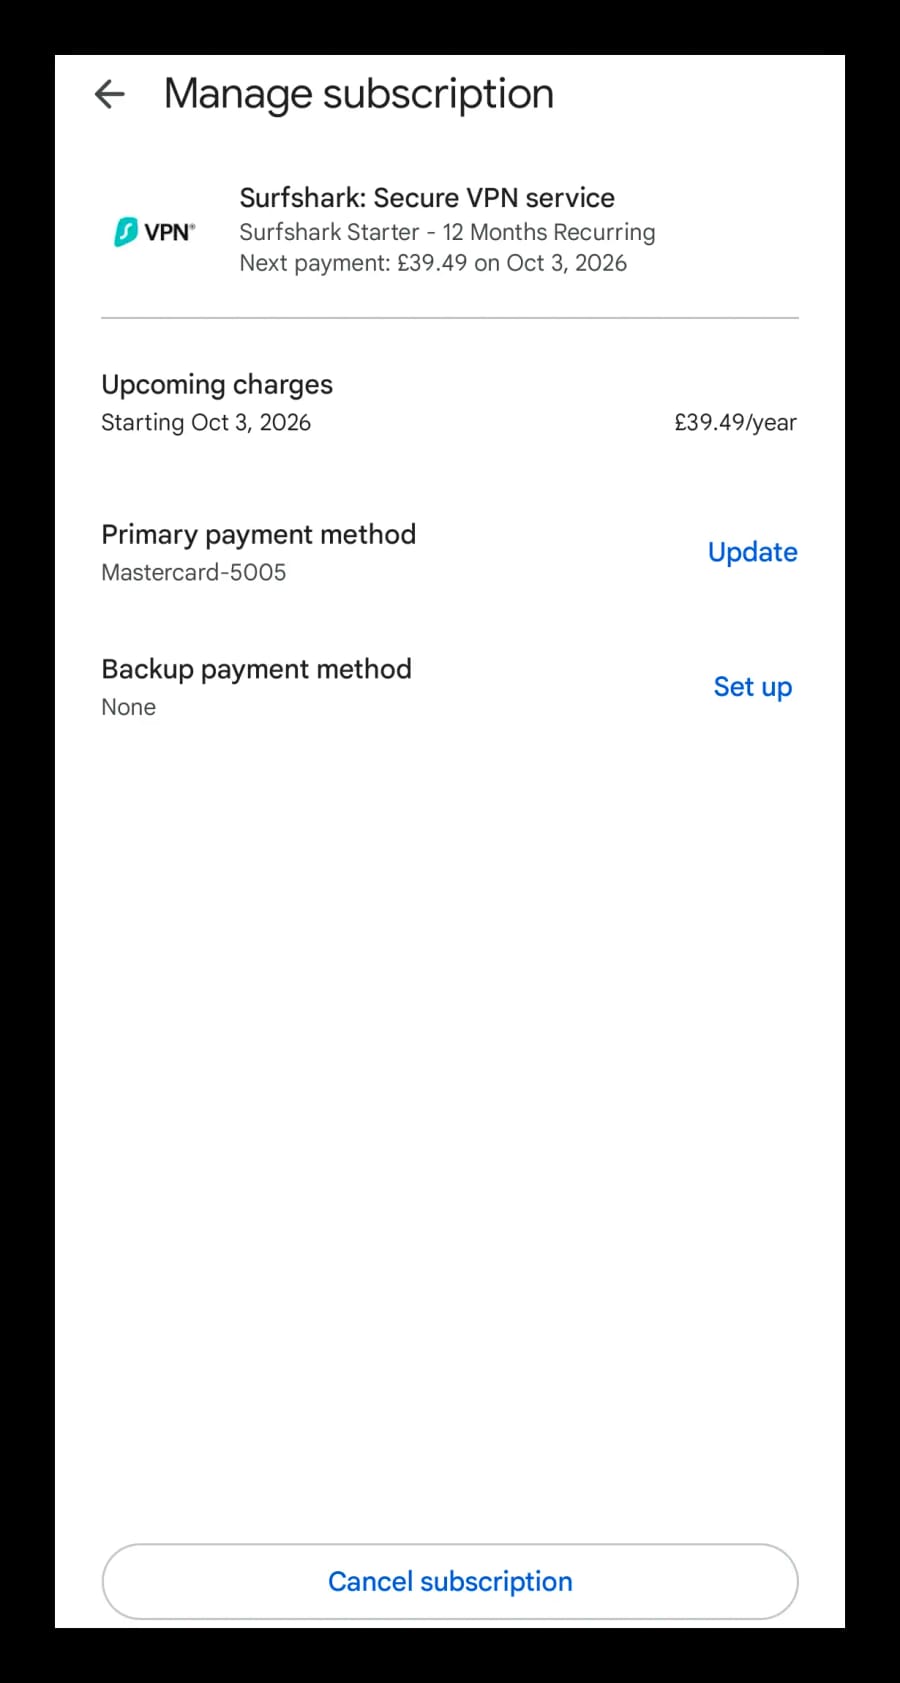
Select your Surfshark subscription from the list of active subscriptions.
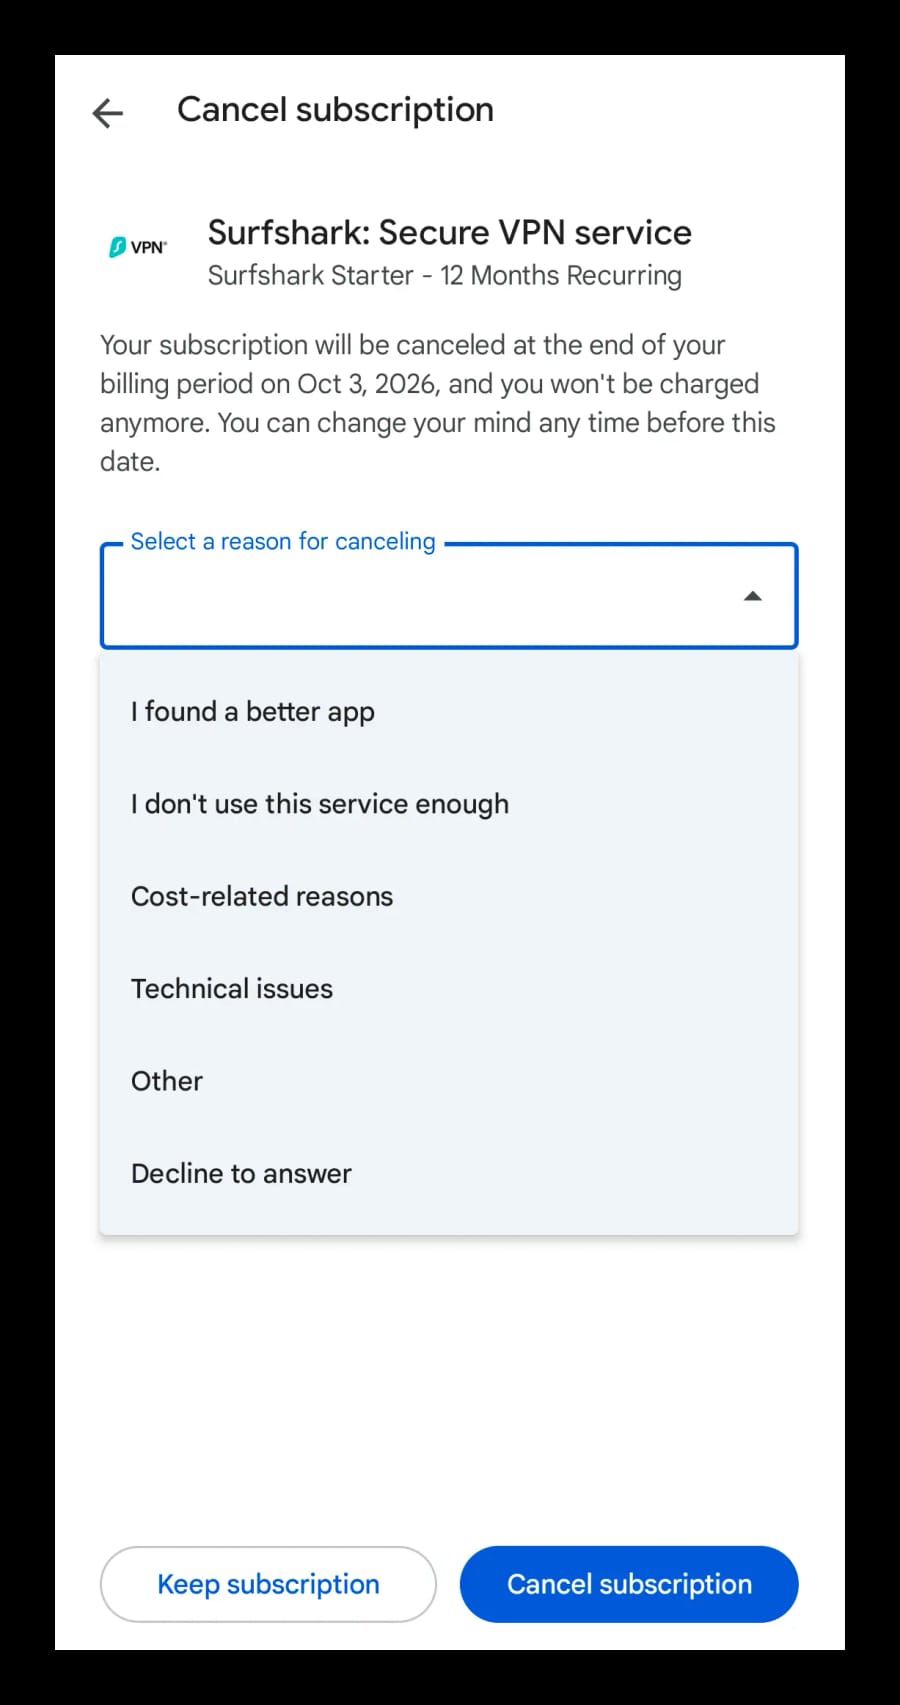
Cancel your Surfshark free trial. Tap Cancel subscription at the bottom of the screen.
Select a reason for cancellation. Choose any option, it won’t affect your ability to cancel successfully.
Your Surfshark subscription will now appear as Canceled. You’ll still be able to use Surfshark for the remainder of your free trial without being charged.
How to Use Surfshark for Free for 30 Days
If you want to use Surfshark for free for more than seven days, you’ll need to take advantage of its 30-day money-back guarantee.
Unlike the free trial, the refund policy applies to any pricing plan, as long as you signed up through the website and you request a refund within the 30-day window.
In my experience, you’ll get all your money back within a few days of requesting the refund.
Follow my detailed instructions below to try Surfshark risk-free for 30 days:
1. Sign up for a Surfshark Plan
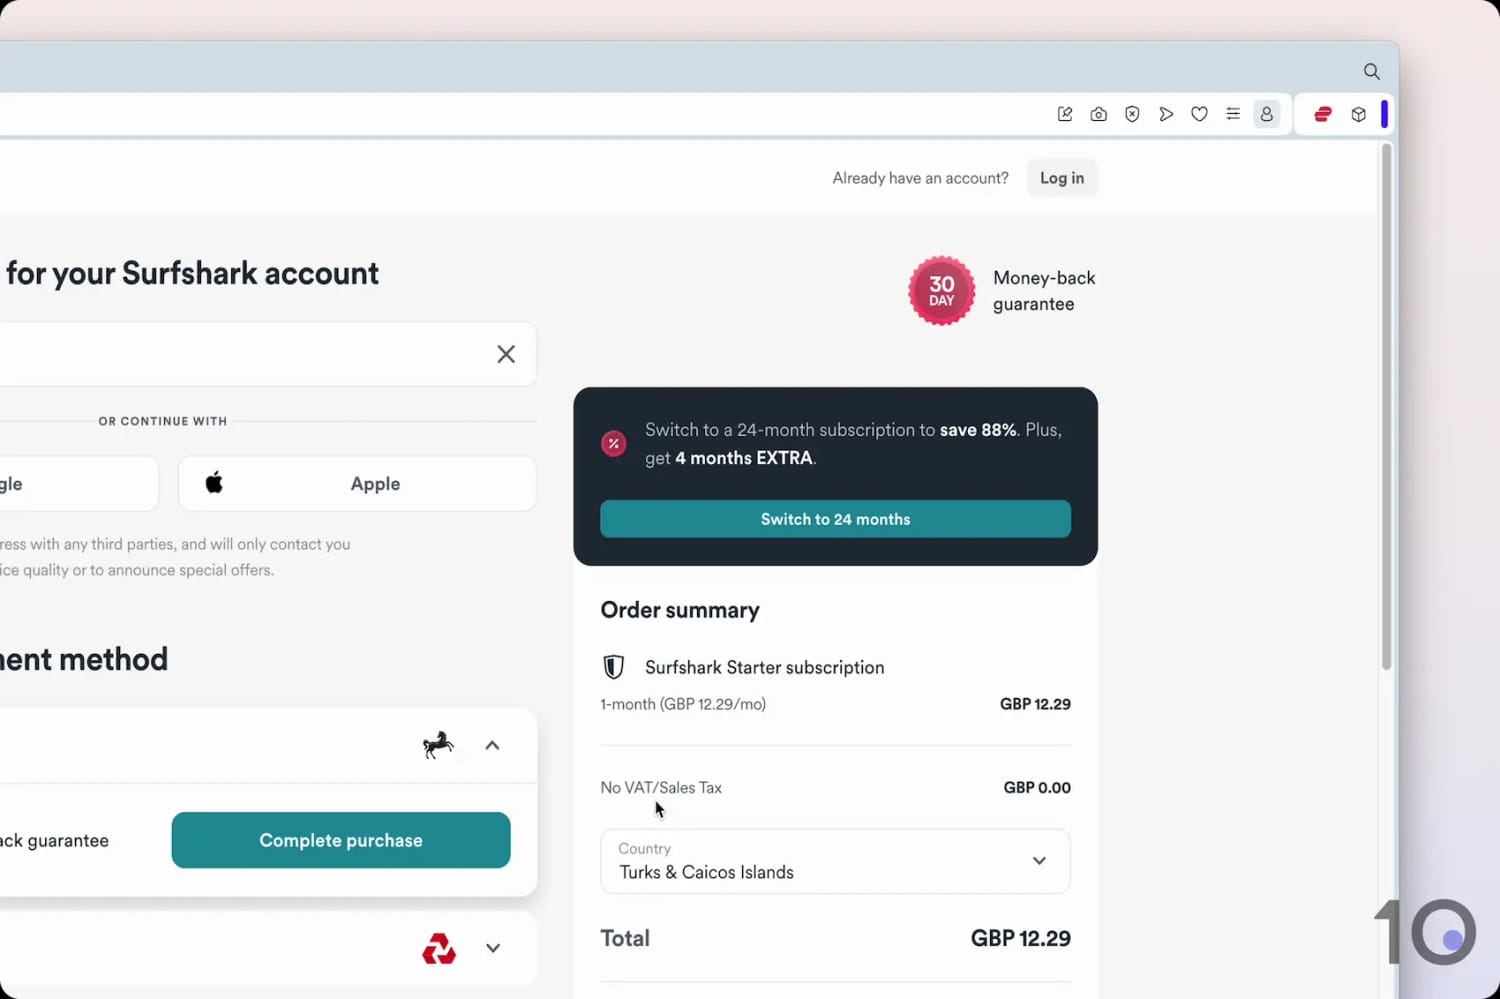
Since you’ll have to pay for the subscription upfront, sign up for the Surfshark Starter 1-month plan.
2. Use the VPN for up to 30 Days
Once you’ve gone through the payment process and purchased your subscription, you’ll be able to use all of Surfshark’s apps and features, including its Fire TV and Apple TV software.
3. Request a Refund within 30 Days
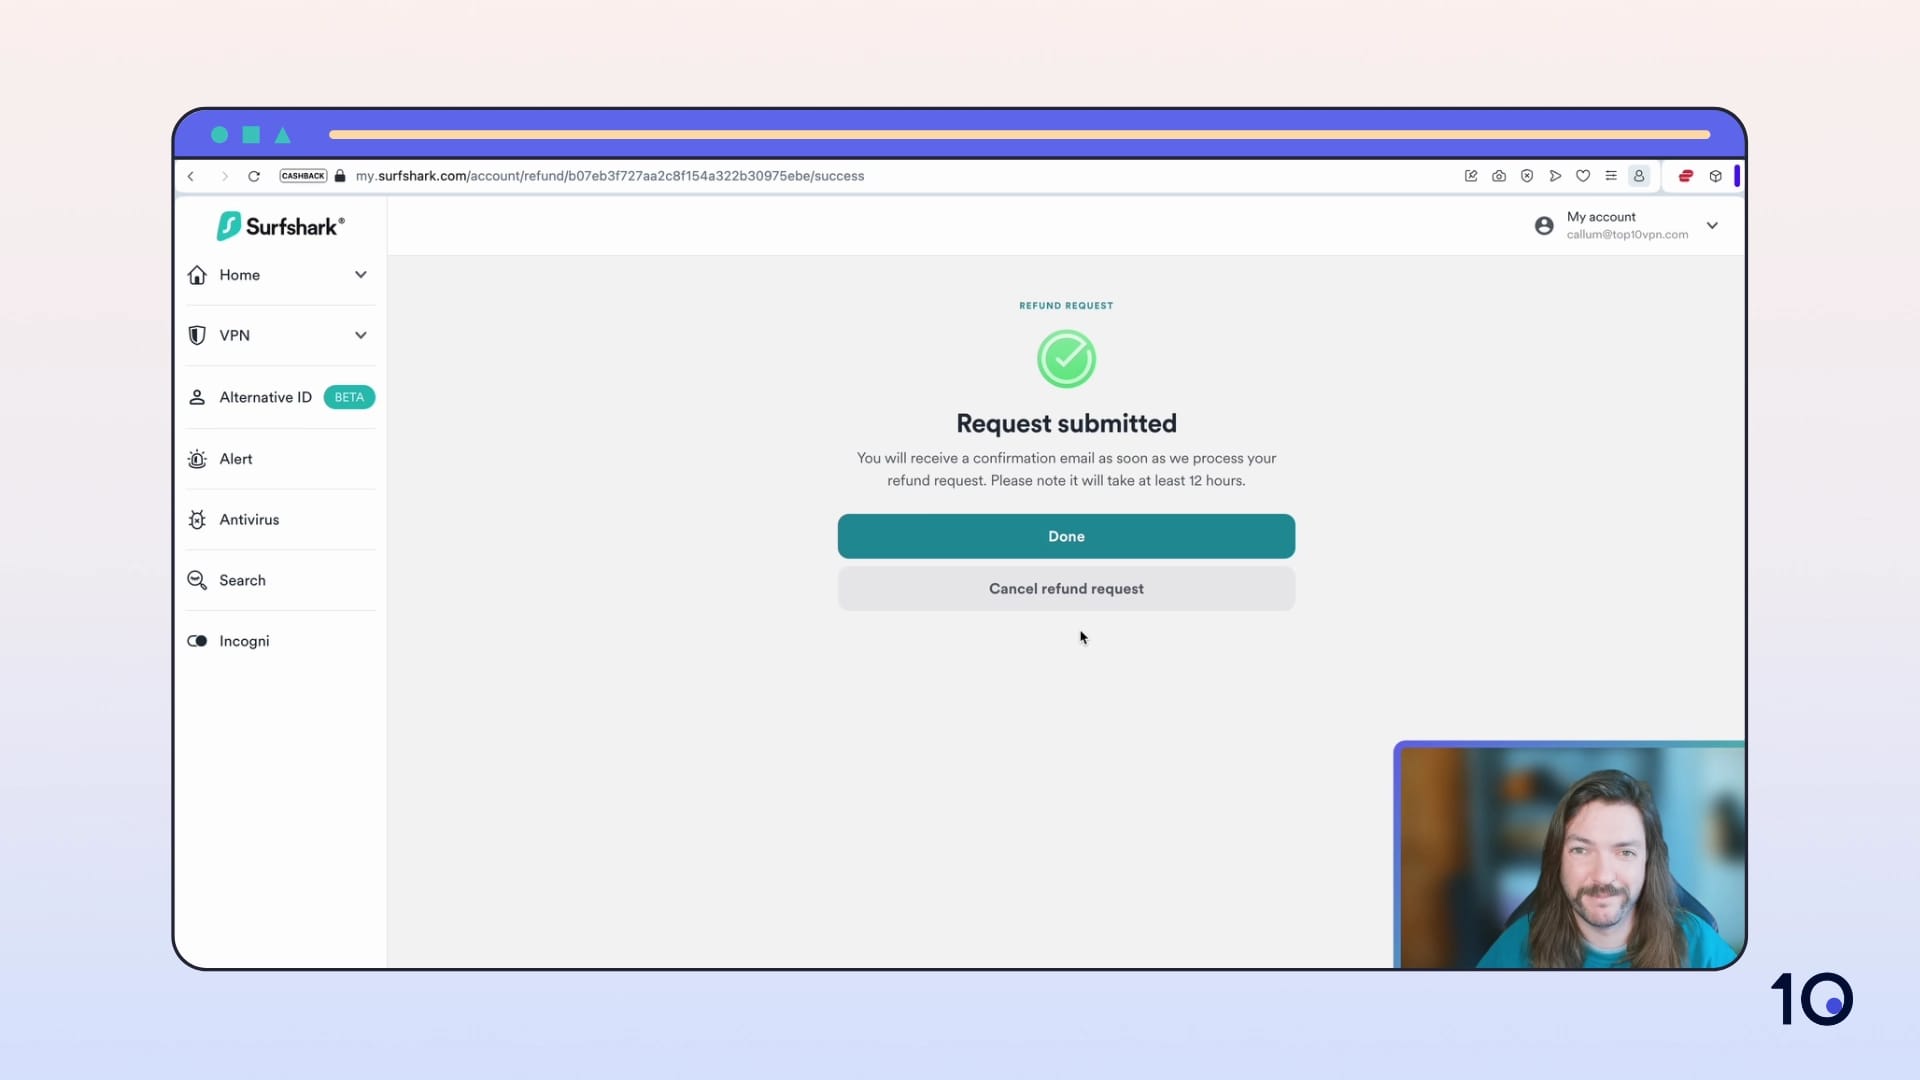
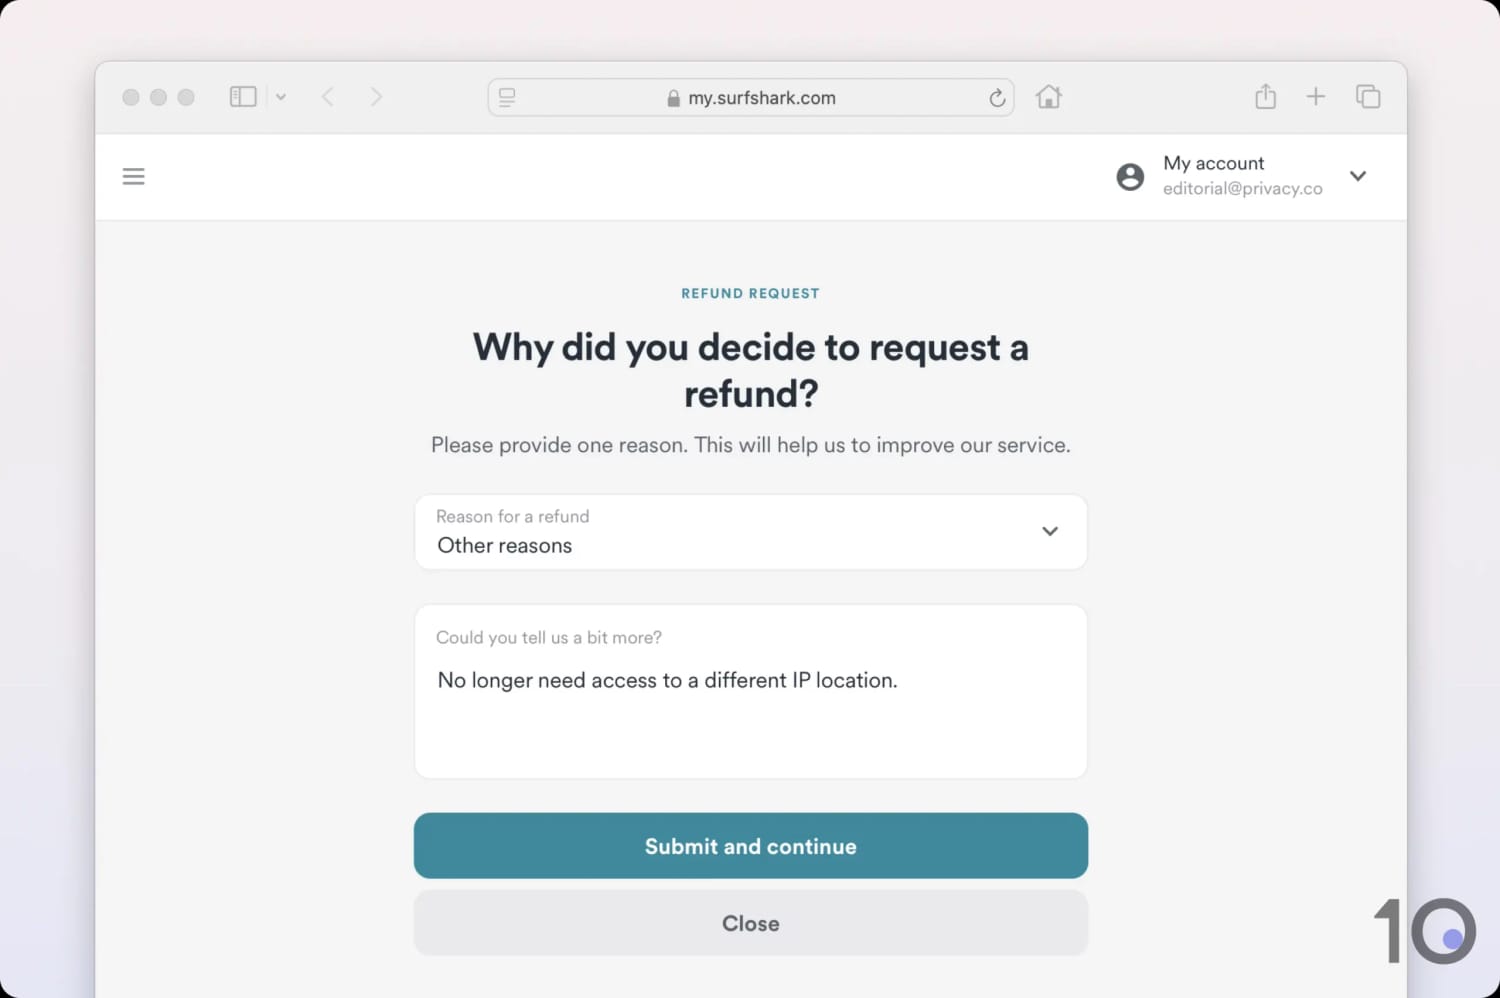
You must request a refund before the end of the money-back guarantee window. You can do this by visiting the refund request form in your web browser.
From the form, select a reason for your refund and type a short explanation. Don’t worry, you can type anything you want and still receive your refund. Click Submit and continue and then Request refund.
Why I Recommend Surfshark's Free Trial
Table comparing Surfshark’s pros and cons.
Pros
Cons
You can unselect auto-renewal to avoid being charged
Expensive monthly subscription price
Free trial available on desktop & mobile
Ties money-back guarantee to your payment method, not email address
Allows you to get a refund twice
Inferior download speeds to alternatives
Apps come with many free extras
Kill switch isn’t active by default
Unblocks most content platforms including 10 Netflix regions
In my latest review of Surfshark, I once again found that it’s a highly effective and reliable VPN, thanks to its good streaming performances, affordability, and wide range of additional features.
Surfshark’s free trial is much more flexible than other options, allowing you to claim it through your computer, tablet, or smartphone.
That said, I’d like to see improvements in its long-distance speeds to compete with the likes of NordVPN and ExpressVPN.
Easy to Access Trial on Desktop & Mobile
Surfshark offers one of the most generous and flexible free trials on the market.
Unlike many competitors that limit trials to only mobile devices, Surfshark’s 7-day free trial is available on PC, Mac, iOS, and Android.
The table below compares Surfshark’s trial and refund terms with other popular VPNs:
VPN Service
Free Trial Duration
Desktop Devices
Mobile Devices
Refund Period
Surfshark
7 Days
PC & Mac
Android & iOS
30 Days
ExpressVPN
3 Days
None
Android & iOS
30 Days
NordVPN
7 Days
PC & Mac
Android & iOS
30 Days
PIA
7 Days
None
Android & iOS
30 Days
Feature-Rich Apps for Popular Devices
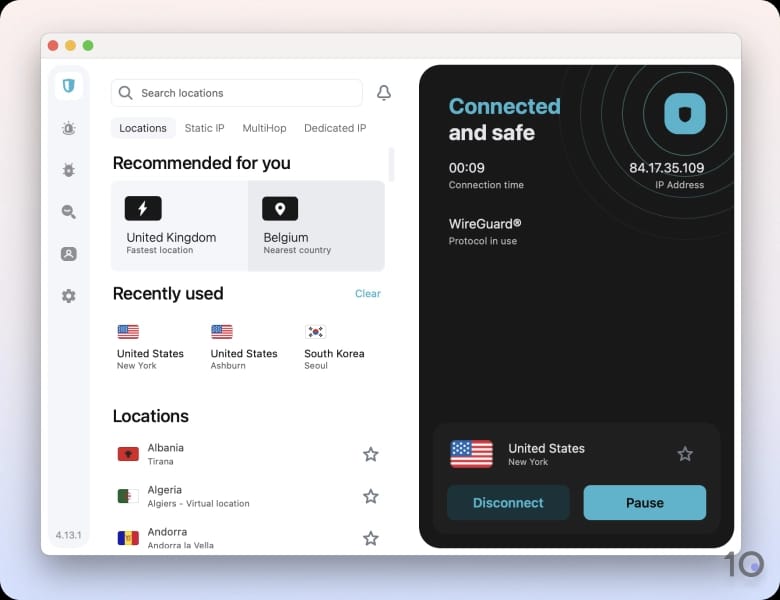
I’ve always found Surfshark’s apps easy to use thanks to a good design and user-friendly toggles.
As the design is relatively consistent across its suite of apps, you can expect a similar user experience regardless of the device you’re using.
The design of the desktop apps feels slightly cluttered given the many extra settings that Surfshark offers. That said you’ll get access to many useful features including multi-hop servers, shared static IPs, an Android GPS spoofer, and an ad blocker.
Moreover, Surfshark’s unlimited device policy lets you use the service on as many devices as you want, which is ideal if you live in a large household.
I didn’t fully appreciate how good this is until I switched to testing Mullvad and had to immediately log out of multiple devices when I exceeded its device limit.
Unblocks Many Streaming Services
Surfshark’s unlimited device policy makes it very easy to unblock geo-restricted content on many devices at once.
Surfshark is very effective at bypassing content geo-blocks around the world, including most American, British, Canadian, and Australian restrictions.
On the rare occasion a Surfshark server didn’t unblock a streaming service, I quickly found another server that worked.
Good Speeds but Slower than Rivals
The only area where Surfshark performs slightly worse than its competitors is speed.
Connecting to other countries, my speeds slowed down by an average of 17%, compared to ExpressVPN’s 15% and NordVPN’s 14%.
My streaming experience was largely unaffected by this, although I did run into one or two instances of pixelation and buffering. This happened very rarely, though.
How Much Does Surfshark Cost?
Surfshark represents great value, with its cheapest plan costing only $2.49/mo over 27 months, and significantly less than the average monthly price of a VPN. You’ll have to pay $67.23 upfront, though.
You can get a 1-month plan, but it will cost a lot more on a month-to-month basis ($16.45 per month).
The table below compares Surfshark’s pricing plans to a selection of highly rated VPNs:
FAQs
Does the Surfshark Free Trial Require Payment Details?
Yes, Surfshark’s free trial requires you to provide an email address and a payment method in order to create an account.
Although it’s common practice to ask for payment details upfront, I prefer trials that don’t, like CyberGhost’s 24-hour free trial.
Is There a Surfshark Free Trial Code?
Yes, the code to access the 7-day free trial is freetrial_7d, which you can enter in the coupon code box on the checkout page.