Top10VPN is editorially independent. We may earn commissions if you buy a VPN via our links.
How to Safely Torrent with Mullvad VPN
Our Verdict
Mullvad is a secure VPN you can trust to hide your torrenting activity from your ISP. You can torrent on all 674 of its P2P-optimized servers, and traffic is encrypted using the AES-256 or ChaCha20 cipher. The only major downside is Mullvad’s slow and inconsistent torrenting speeds on several servers.

When you torrent without a VPN, anyone can see the files you’ve been downloading from your IP address. This includes your ISP, law enforcement, and any other third parties.
To torrent safely, you need a VPN optimized for torrenting. By connecting to a VPN server, you’ll share an IP address with hundreds of other users. This prevents your P2P activity from being linked to you.
Mullvad is a good VPN service that secures your traffic using trusted encryption ciphers, DNS leak protection, and a reliable VPN kill switch.
We found that Mullvad is a particularly good for torrenting. It comes with a kill switch to protect your personal data, a private logging policy to anonymize your activity, and a malware blocker to protect you on unsafe torrent sites.
Saying that, Mullvad is not the absolute best VPN for torrenting we’ve tested. Its speeds are slow on some servers, and its advanced features are difficult to set up.
EXPERT ADVICE: Private Internet Access (PIA) is a better torrent VPN than Mullvad. It has easier-to-use apps, a no-logs policy, and more consistent speeds. Try PIA VPN risk-free for 30 days.
In this guide, we’ll show you exactly how to use Mullvad for torrenting. We’ll explain how to configure the VPN to maximize its security and speed.
We detail the pros and cons of using Mullvad for torrenting, as well as suggest some alternative VPN services.
Mullvad’s Torrenting Performance: At a Glance
| Torrenting Rating | Average Torrenting Bitrate | P2P Servers | Port Forwarding | Logging Policy | Jurisdiction |
|---|---|---|---|---|---|
| 9.1 | 9.8MiB/s | 674 | No | No Identifying Data | Sweden (14 Eyes Member) |
Why Trust Us?
We’re fully independent and have been reviewing VPNs since 2016. Our advice is based on our own testing results and is unaffected by financial incentives. Learn who we are and how we test VPNs.
How to Torrent with Mullvad
Setting up a VPN for torrenting involves more than just a standard server connection. If you don’t configure Mullvad properly, you still risk leaking your IP and revealing your P2P activity.
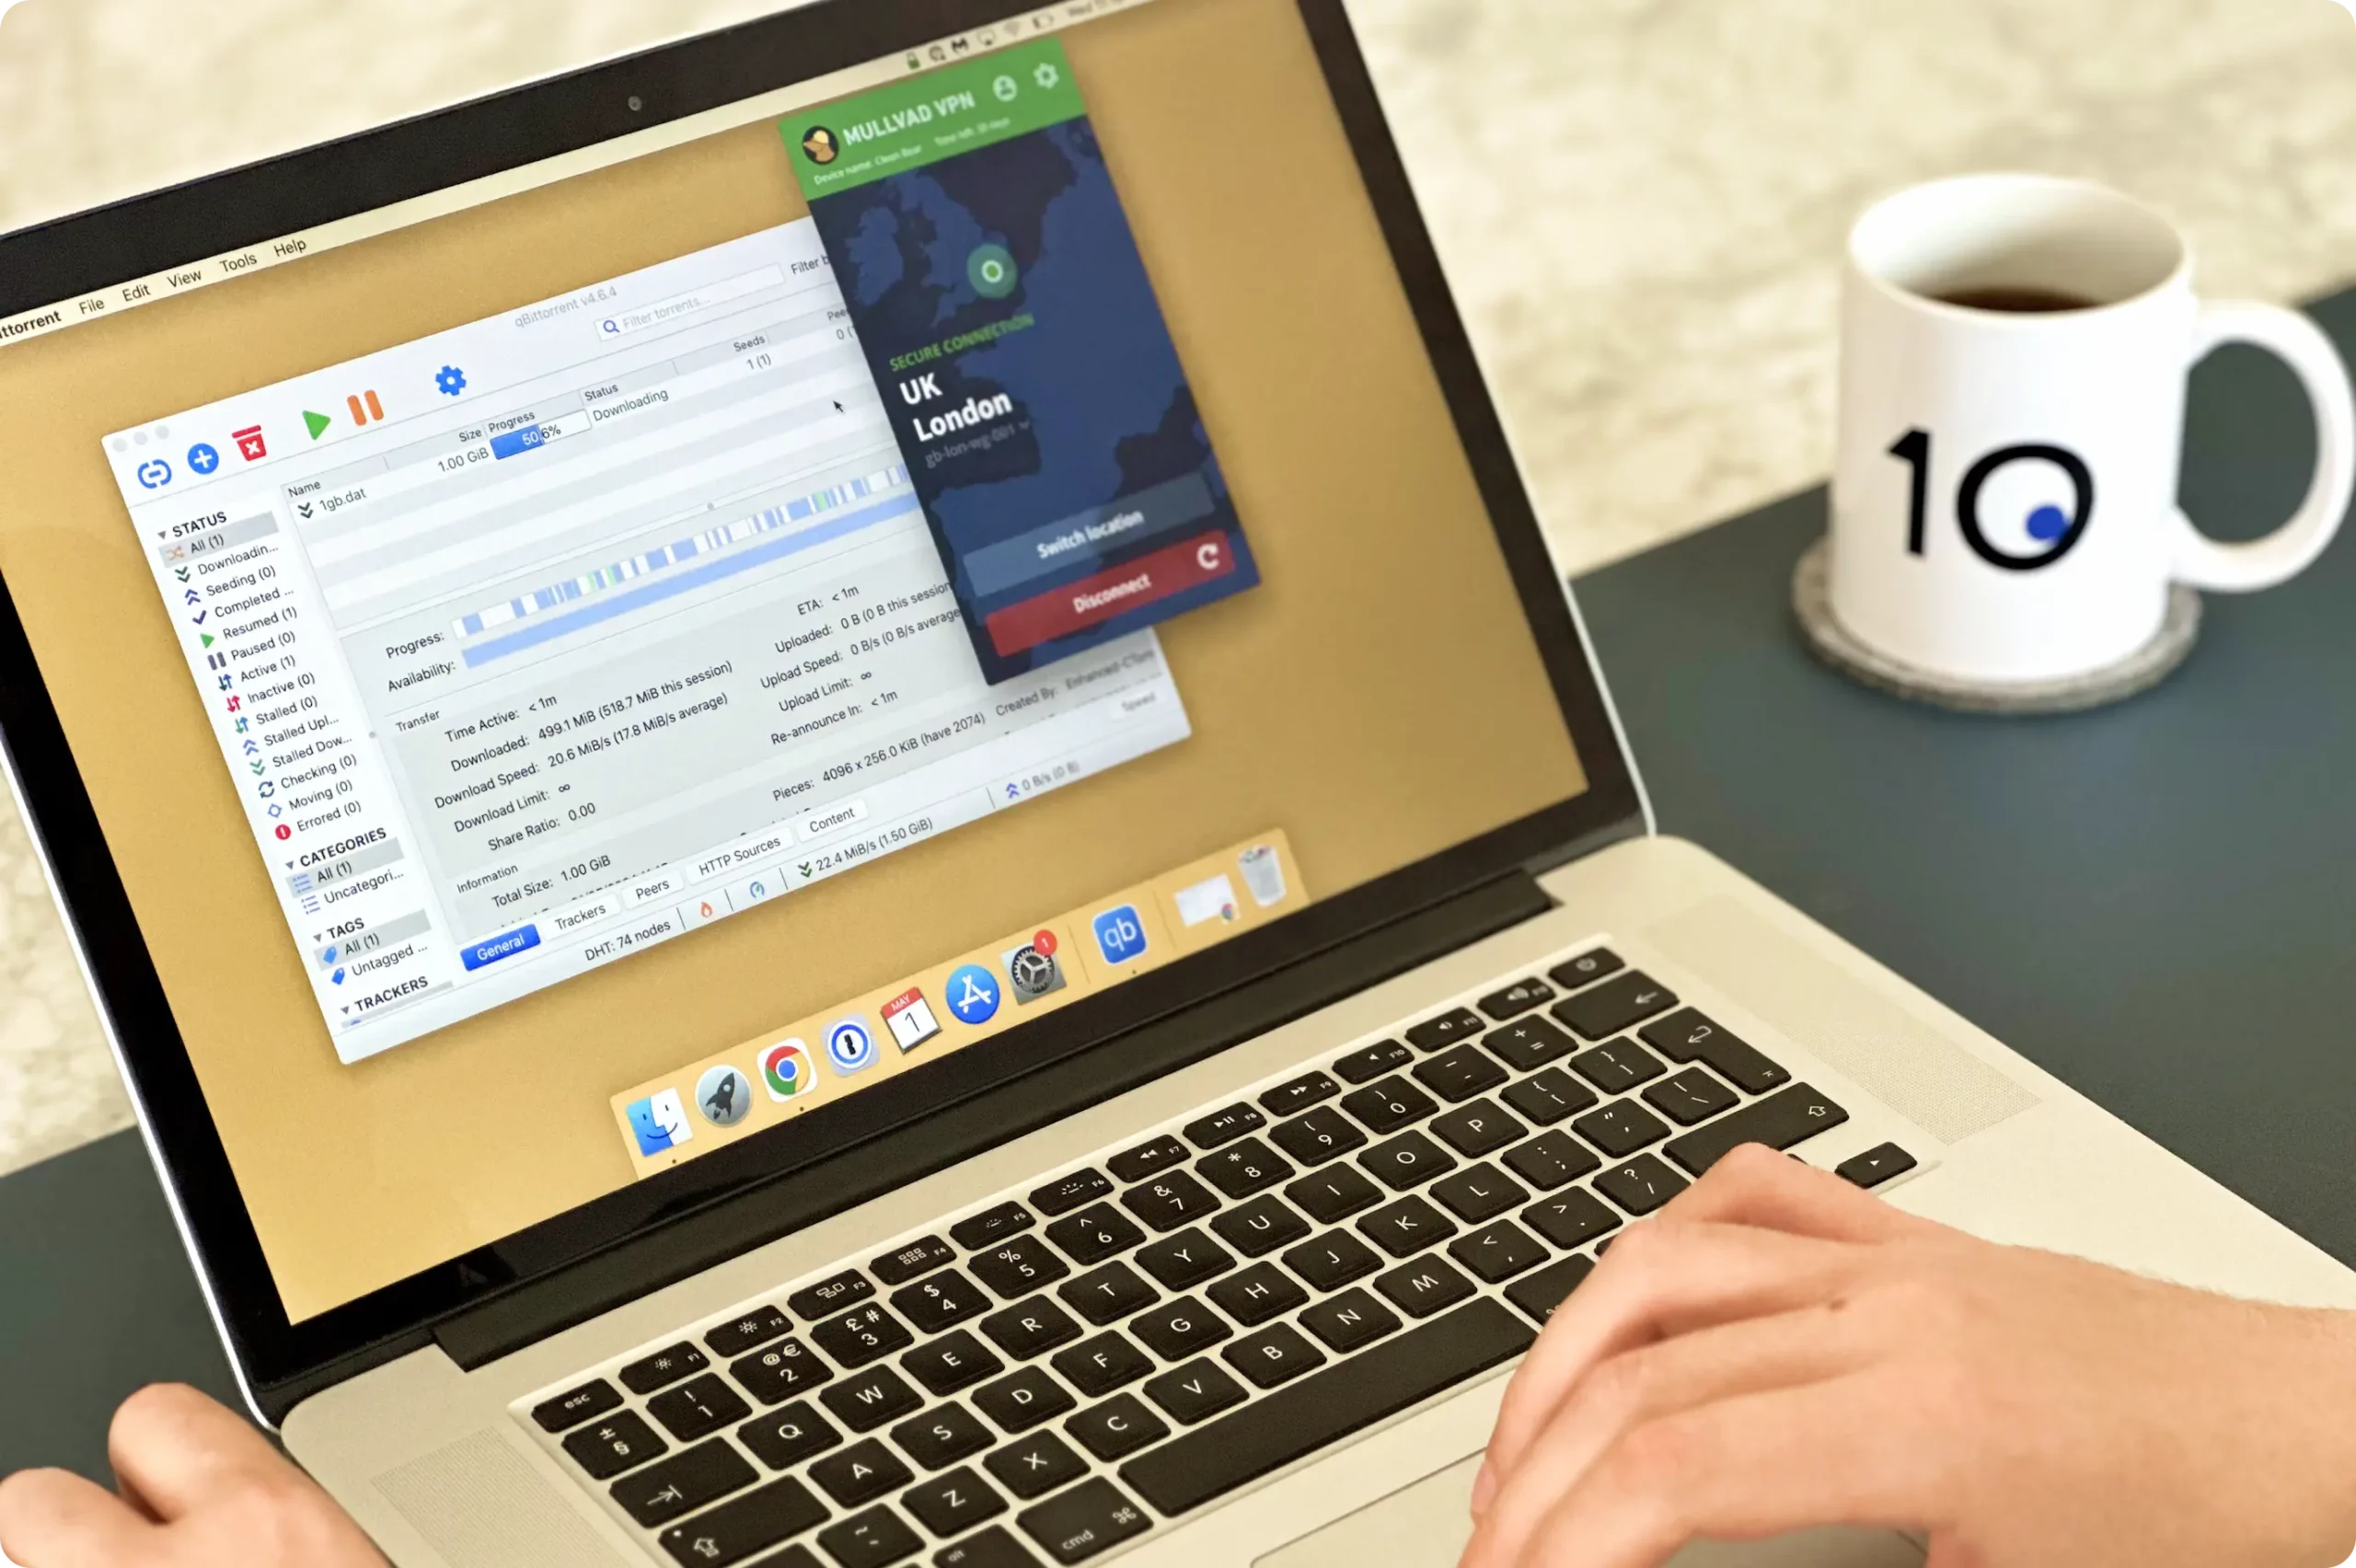
In the steps below, we’ll tell you exactly how to configure Mullvad to maximize the VPN’s speed, security, and privacy.
Quick Guide: How To Use Mullvad for Torrenting
- Download a safe torrent client: We recommend qBittorrent.
- Sign up for Mullvad and download the app onto your device.
- Configure the Mullvad app for maximum security: Turn on its ad blocker, kill switch, and IPv6.
- Bind Mullvad to your torrent client.
- Check for IP and DNS leaks.
1. Choose a Safe Torrent Client
No operating system comes with a built-in P2P client. You’ll have to install third party software.
We strongly recommend qBittorrent as the best torrent client. It’s open-source, safe, and doesn’t include ads. It also allows network binding, for added security.
Other popular options include Vuze, Deluge, uTorrent, and BitTorrent. Whichever you choose, make sure to download it from its official website
2. Download the Mullvad VPN App
Download Mullvad on the device you’ll be torrenting on. If you don’t already have an account, you can subscribe to Mullvad for $5.50 a month. Mullvad doesn’t offer any discounts for longer-term plans.
For greater privacy, we suggest paying via cash or cryptocurrency. This way, it’s not possible to link your Mullvad account back to you.
3. Enable All Mullvad Security Settings
Before connecting to a server, make sure Mullvad is set up with maximum security.
Thankfully, Mullvad doesn’t allow the kill switch to be turned off. A kill switch is the most important security feature for torrenting, but there are still some essential features that are not enabled by default.
To change the VPN’s security settings, open the Mullvad app and click the settings cog icon in the top right.
We recommend you enable the following Mullvad security settings:
- Block ads, trackers, malware: Untrustworthy torrent websites often have lots of ads and sometimes contain malware. Enable this setting to prevent viruses and malware being installed on your computer.
- IPv6: If your network supports IPv6, it’s possible it can leak and expose your IP address. With this setting turned on, your IPv6 address will be replaced with one from the VPN server. This drastically reduces the risk of accidental leaks.
- Always require VPN: This setting prevents your computer from establishing an internet connection until you connect to Mullvad. This guarantees that your torrenting activity is protected, especially if you’re someone who forgets to turn the VPN on each time.
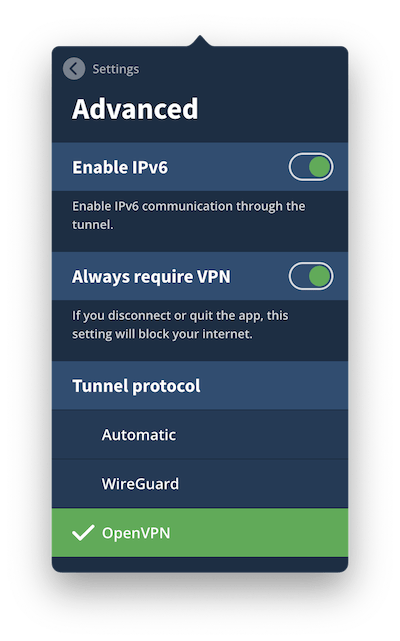
Mullvad includes many security settings well-suited for torrenting.
4. Bind Mullvad to Your Torrenting Client
For additional security, bind Mullvad to your torrenting client. By enabling this, torrent files will only download when you’re connected to a Mullvad VPN server.
In practice, this works similarly to a kill switch. If the connection to the VPN drops or you accidentally disconnect, your torrent file will stop downloading and your true IP address will remain hidden.
Watch the video below to see how we set this up. We used qbittorrent, but the process is the same for most popular torrenting clients.

Here’s how to bind Mullvad to your torrenting client:
- Open qBittorrent. Click the settings cog icon at the top right.
- Select Advanced from the left-hand sidebar. Click the dropdown list next to Network Interface and make a note of all the options listed. Then, click Cancel.
- Open the Mullvad app and connect to the server you want to torrent from.
- Return to qBittorrent and click the settings cog icon. Click the Network Interface dropdown list again. Look for an option that was not there previously. Then, select it.
- Press Apply, then Ok.
- Your torrent client is now bound to the IP address of the Mullvad server.
5. Test Your Connection for Leaks
The final step is to ensure your VPN and torrent client is set up correctly.
To do this, use our torrent IP leak test tool. It’ll check that you’re not accidentally leaking any IP or DNS information through the VPN tunnel.
If the tool doesn’t detect any leaks, you’re ready to download torrent files as you usually do.
Is Mullvad Good for Torrenting?
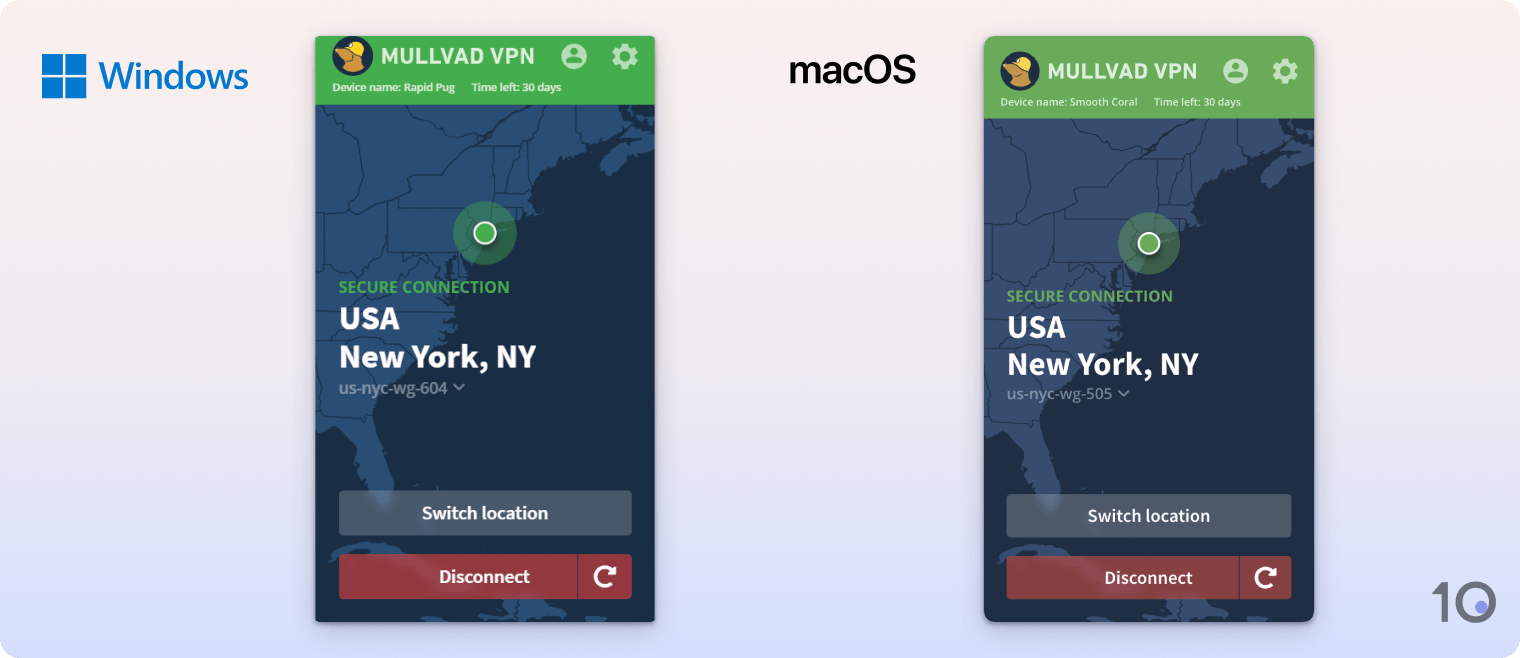
Out of all the 62 VPNs we tested, we rank Mullvad as the sixth-best for safe torrenting.
Mullvad uses strong AES-256 or ChaCha20 encryption, it doesn’t collect any user or activity logs, and it downloads torrent files extremely fast.
To compete with the very best torrenting VPNs, Mullvad needs to improve the reliability of its speeds. We also wish it still had port forwarding, to maximise torrenting speeds.
Here’s a summary of Mullvad’s strengths and weaknesses at torrenting:
| Pros | Cons |
|---|---|
| P2P traffic supported on all servers | Inconsistent speed performance |
| Fast torrenting speeds in most locations | Removed port forwarding feature |
| Strong kill switch and other security features | |
| Uses best-in-class protocols and encryption | |
| Doesn’t log any activity data | |
| Accepts cash payments | |
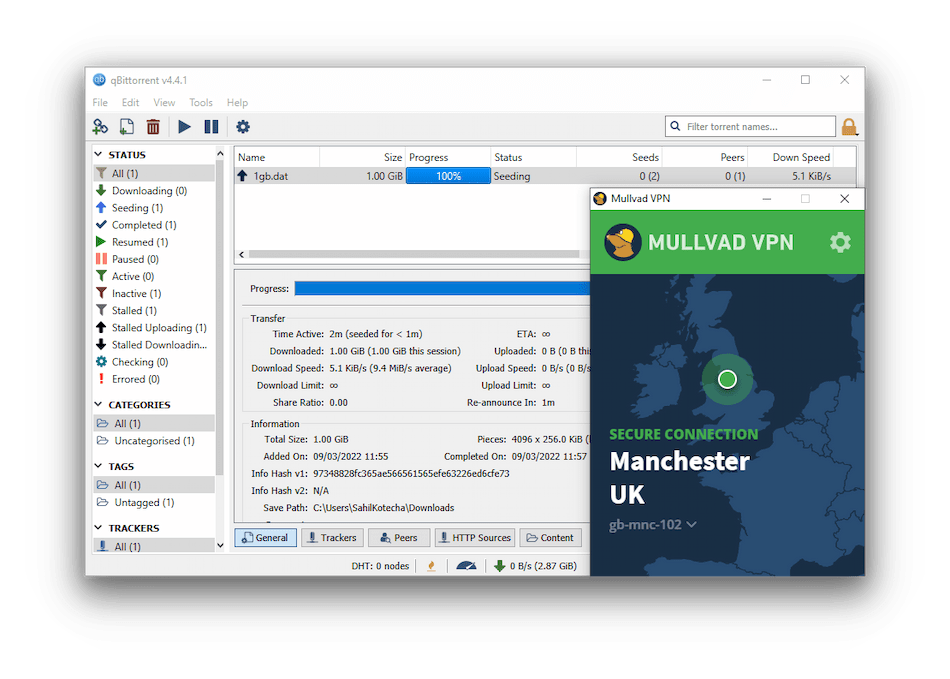
Mullvad downloads torrent files fast and safely.
In the section below, we’ll explain in-depth the features that make Mullvad good and bad for P2P file-sharing.
Mullvad Is Fast Enough for Torrenting
Most popular torrent sites distribute content with extremely large file sizes, like movies and TV shows. A fast VPN can make the difference between waiting minutes or hours for a file to download.
Speed is the main area where Mullvad excels. When using it, we could download torrent files almost as quickly as with no VPN.
While using its New York server, our speed dropped from 10MiB/s to 9.8MiB/s. This is one of the fastest results we’ve ever recorded.
The only issue is that Mullvad’s torrent speeds change depending on the server you use. When connected to its New Jersey location, our download bitrate dropped to 2.1MiB/s. This meant our files took almost five times as long to download.
Here are our results when testing Mullvad’s torrenting bitrate when connected to nearby servers:
Because of the variance in performance, we strongly recommend trying multiple Mullvad servers and sticking to the one that gives you the fastest speeds. Otherwise, you might be waiting longer than you need for your files to download.
With that said, Mullvad’s speed performance is very impressive on the vast majority of servers. It’s even faster than most top torrenting VPNs, like ExpressVPN and PIA.
Mullvad Is One of the Most Trustworthy VPNs
Mullvad can be trusted to keep your torrenting activity hidden from your ISP and other third parties.
Here’s what makes Mullvad one of the most private VPNs for torrenting:
- Doesn’t collect any activity logs. Mullvad doesn’t retain your IP address, traffic, or anything that can be used to identify you from your web activity.
- Open-sourced apps. Anyone can view the source code for Mullvad’s apps, ensuring there are no hidden security vulnerabilities in the app.
- No email required and accepts cash and cryptocurrency payments. Mullvad is one of the only VPNs that allow you to use its service totally anonymously without providing any personal information.
- No controversies since its launch in 2009. Unlike many other VPN services, Mullvad has never been involved in any scandals. It’s never handed over user data and has always protected its users’ privacy and security.
The one downside is Mullvad’s base in Sweden. Sweden is part of the 14 Eyes intelligence sharing alliance, as well as the EU. As a result, Sweden shares surveillance data with other countries.
However, this isn’t a major concern as Mullvad doesn’t log personally-identifiable data. Mullvad doesn’t have any information to provide if it’s ever requested.
In fact, Mullvad’s privacy protections are so strong that it has not been able to provide any user data when requested by a court of law.
Although not publicly known, a representative from Mullvad told us that “since we do not have any VPN activity logs […] we have no information that could help their investigation.”
Real-world tests like this are the best way to assess a VPN’s trustworthiness. You can be sure that Mullvad will protect your sensitive P2P activity.
Strong Encryption and Security Features
Mullvad includes all the security settings you’d expect from a top torrenting VPN.
It supports the AES-256 and ChaCha20 encryption ciphers, depending on whether you use OpenVPN or WireGuard. The app also includes a system-wide kill switch, IP leak protection, and a malware blocker. We explain the necessity of these in the instructions section of this page.
Mullvad’s server infrastructure and apps have also been audited by a third party. No privacy-compromising information was discovered during the audit. However, the latest of these was in 2021, which is not as recent as we’d like.
To check how well Mullvad encrypts traffic, we tested it ourselves using Wireshark. We inspected packets of data to ensure nothing was viewable in plain text.
Mullvad successfully encrypted our DNS, HTTP, TCP, and UCP requests. All information within the VPN tunnel was obfuscated.
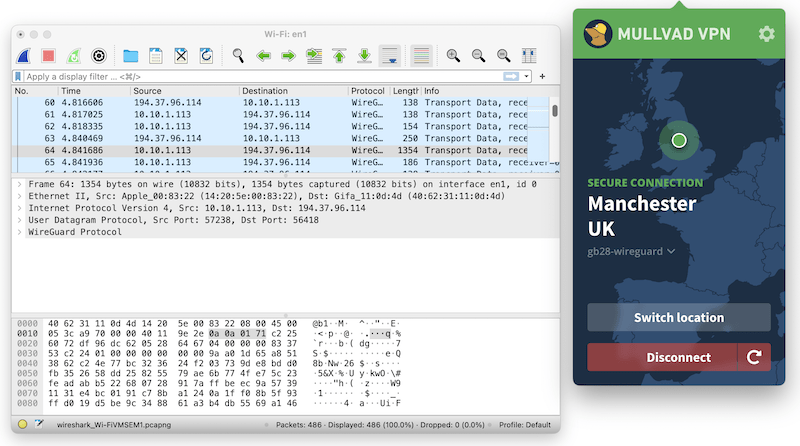
Mullvad encrypted all of our internet traffic.
Unlimited Torrenting on Every Server
Mullvad allows you to torrent on all 674 of its servers. All of its servers are optimized for P2P file-sharing and have unlimited bandwidth.
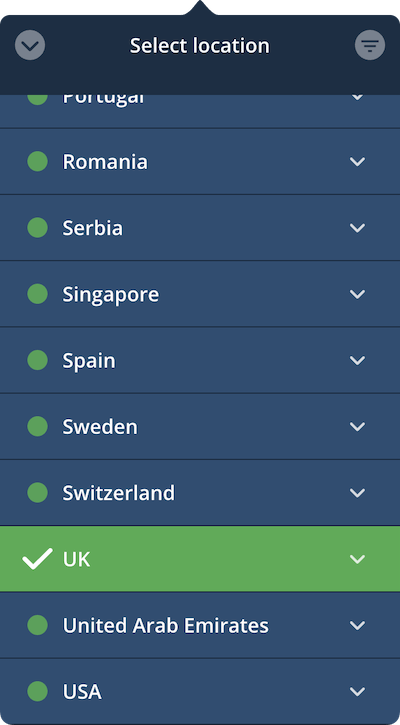
Torrenting is supported on every Mullvad server.
Mullvad is also impressively transparent with its server network. For added security, you can view its server list to make sure you’re connected to a server wholly owned by Mullvad.
No Longer Supports Port Forwarding
As of July 2023, Mullvad no longer supports port forwarding on any of its apps.
The VPN service announced the removal of port forwarding on its website, explaining that some users had abused the feature to host malicious and illegal content.
This led to Mullvad receiving law enforcement enquiries as well as several of their IP addresses becoming blocked.
As a result, you can no longer use port forwarding to improve Mullvad’s torrenting speeds.
If you need a VPN for port forwarding, we recommend using one of our top-rated VPNs with port forwarding support.
How Does Mullvad Compare to Other Torrenting VPNs?
Although Mullvad performed well in our torrenting tests, there are still better options available.
Other VPN services, like PIA VPN, allow you to download torrent files faster, log less data, and are easier to use.
Here’s Mullvad’s torrenting performance compared to the best paid and free VPNs for torrenting:
As shown above, Mullvad is a great VPN for torrenting but PIA’s no-logs policy, port forwarding tool, and simpler apps make it the better option for most users.
Windscribe is a serviceable free alternative, but Mullvad beats it in every metric. This includes a faster bitrate than Windscribe, a more private logging policy, and unlimited data compared to Windscribe’s 10GB.
We’ve evaluated both alternatives in greater depth below:
Private Internet Access: Best Overall VPN for Torrenting
| Pros | Cons |
|---|---|
| Fast file-sharing speeds | Port forwarding isn’t permitted on US servers |
| No-logs policy & transparency reports | Apps can be confusing for beginners |
| Allows port forwarding | Port numbers assigned randomly |
| Reliable kill switch & IP leak protection | US jurisdiction |
| Cheap on long-term plans | |
| Diskless servers |
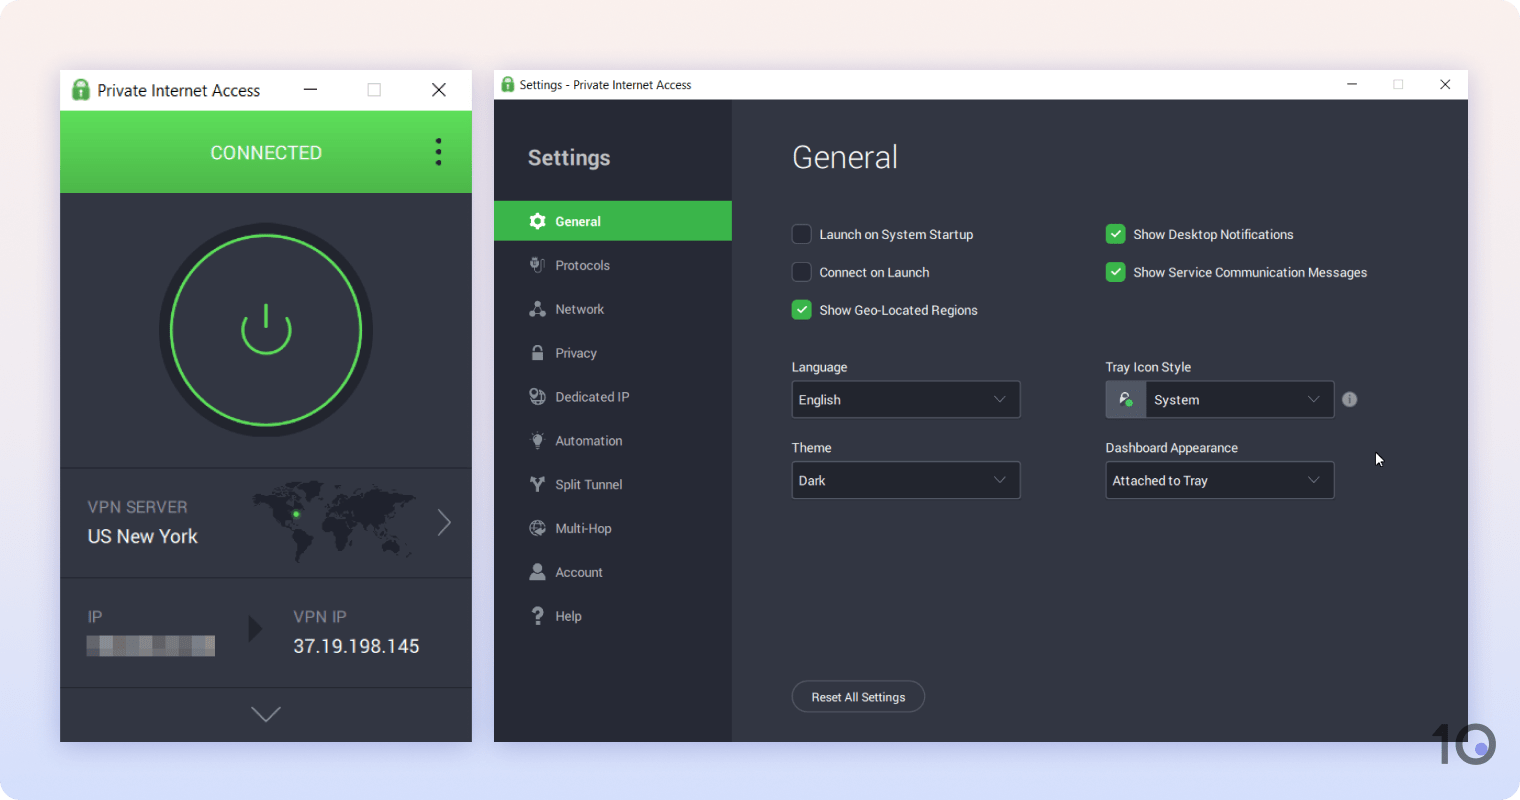
Private Internet Access is an excellent VPN for safe torrenting. It’s fast, its privacy policy is superb, and it’s available for cheap on long-term plans.
Though it requires an initial learning curve, PIA VPN is much easier to use than Mullvad. Its features are clearly labeled and its apps use an attractive user interface.
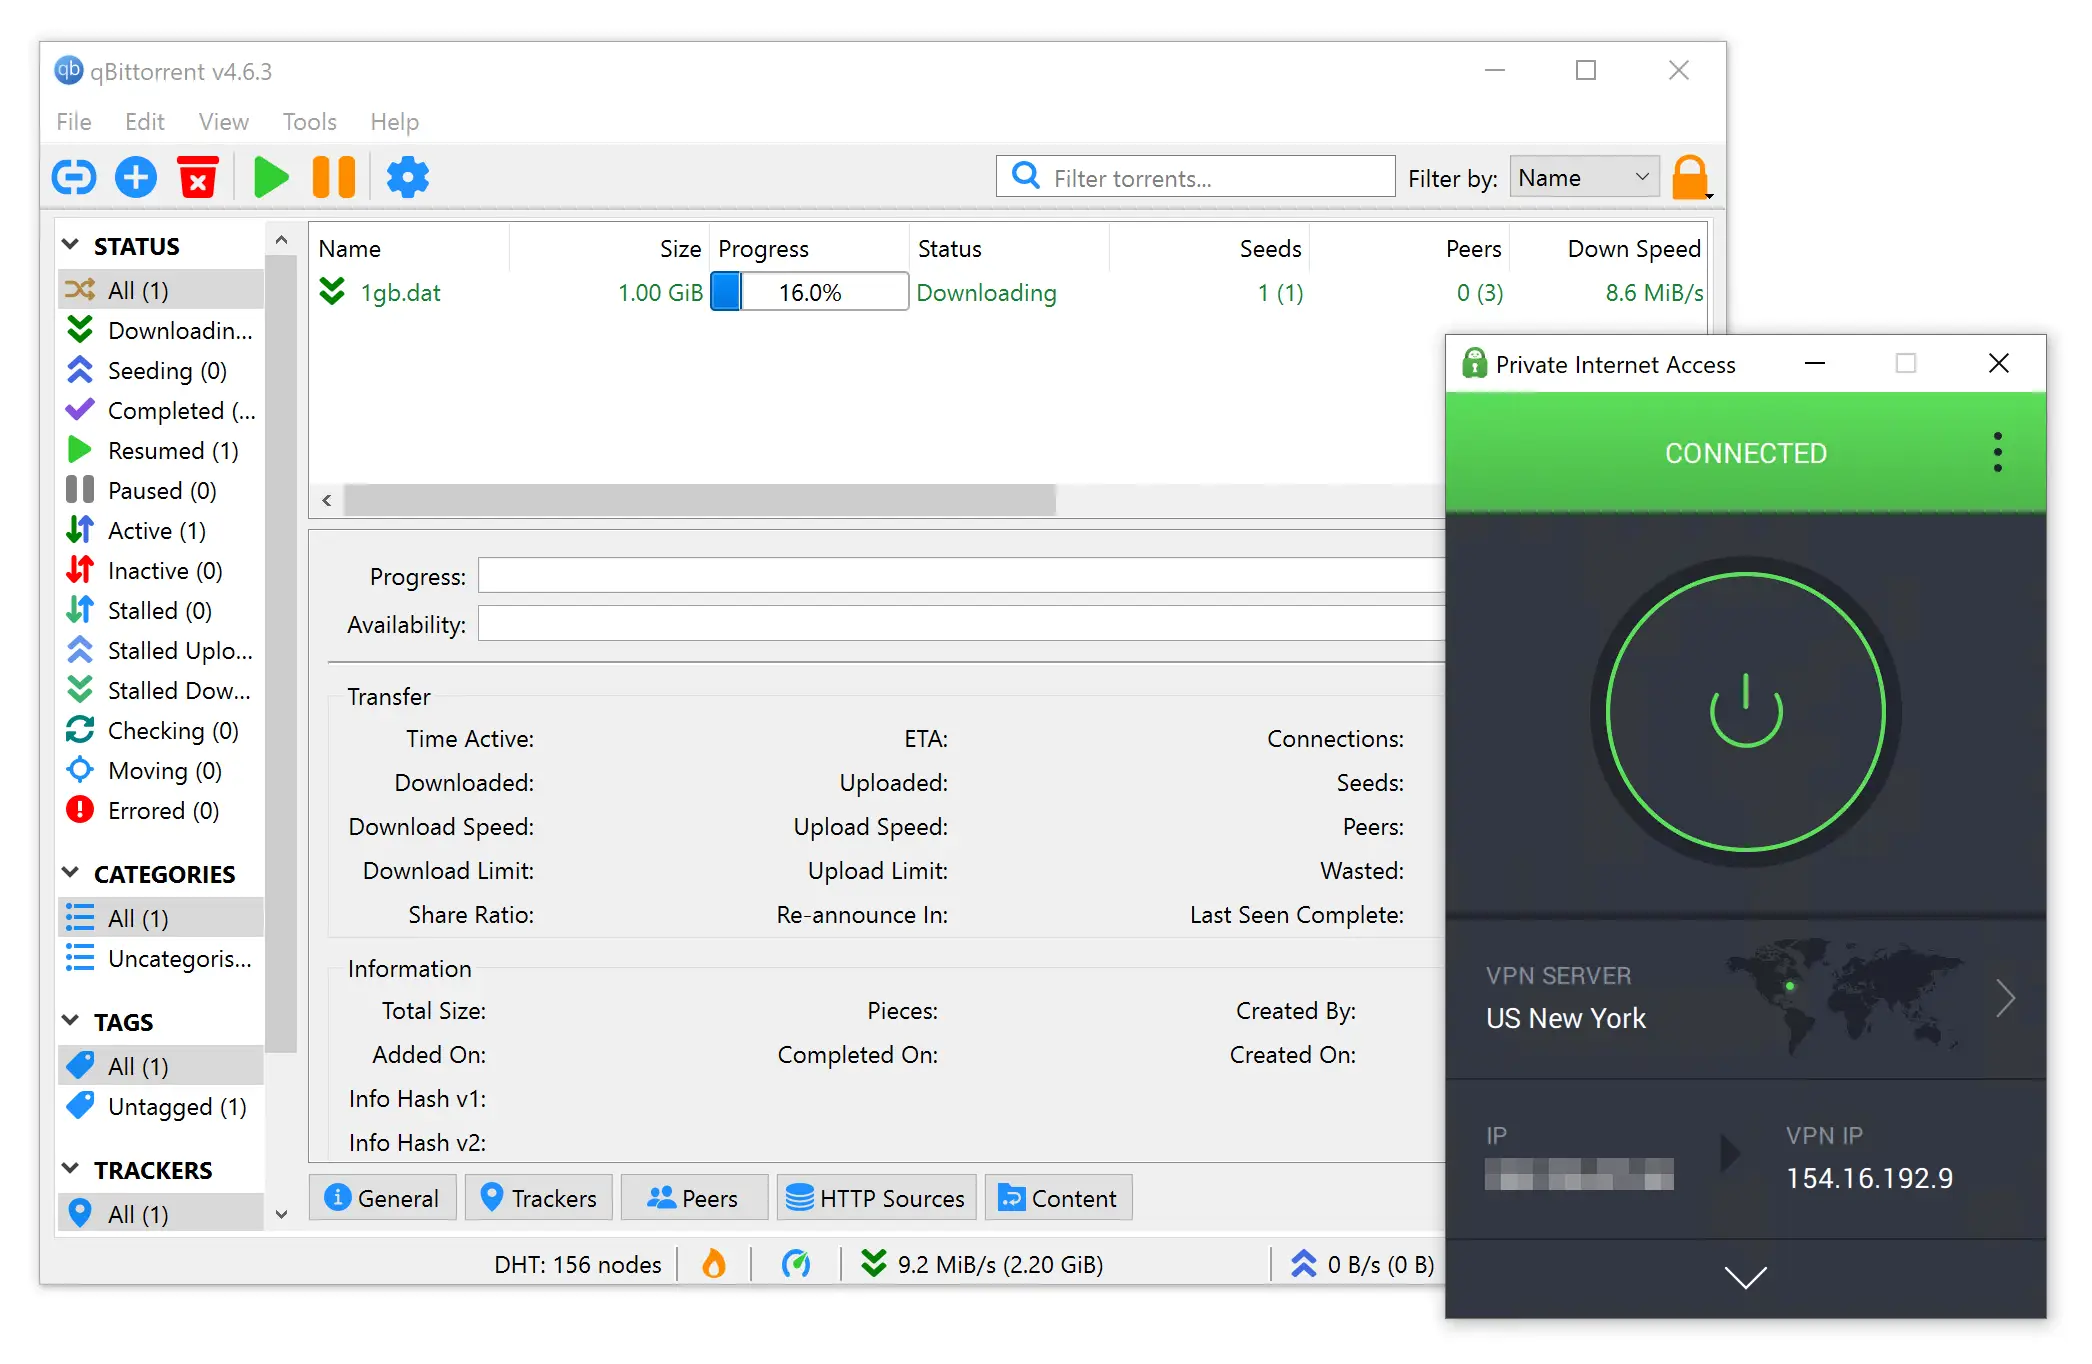
PIA performed best in our torrenting tests.
PIA also allows P2P traffic on all 18,651 servers across 91 countries compared to just 674 servers in 44 countries with Mullvad.
As such, you’re more likely to find a close-by server with PIA, plus server congestion is less likely. Both of these factors contribute to faster and more reliable torrenting downloads.
However, PIA doesn’t allow you to port forward on any US servers. It’s also more expensive than Mullvad, if you pay month-by-month.
In short, Private Internet Access is our favorite VPN for torrenting, but Mullvad is still a good choice if you want to pay monthly.
Windscribe: Best Free VPN for Torrenting
| Pros | Cons |
|---|---|
| Faster file-sharing speeds than other free VPNs | 10GB monthly data cap |
| Torrenting permitted on all 11 servers | Based in Canada (Five Eyes member) |
| No payment details required | Port forwarding & malware blocker limited to paid plan |
| Robust encryption & open-source protocols | Removed SOCKS5 proxy |
| ‘Firewall’ kill switch & IP leak protection | Logging policy hasn’t been audited |
| Private logging policy | No human live chat |
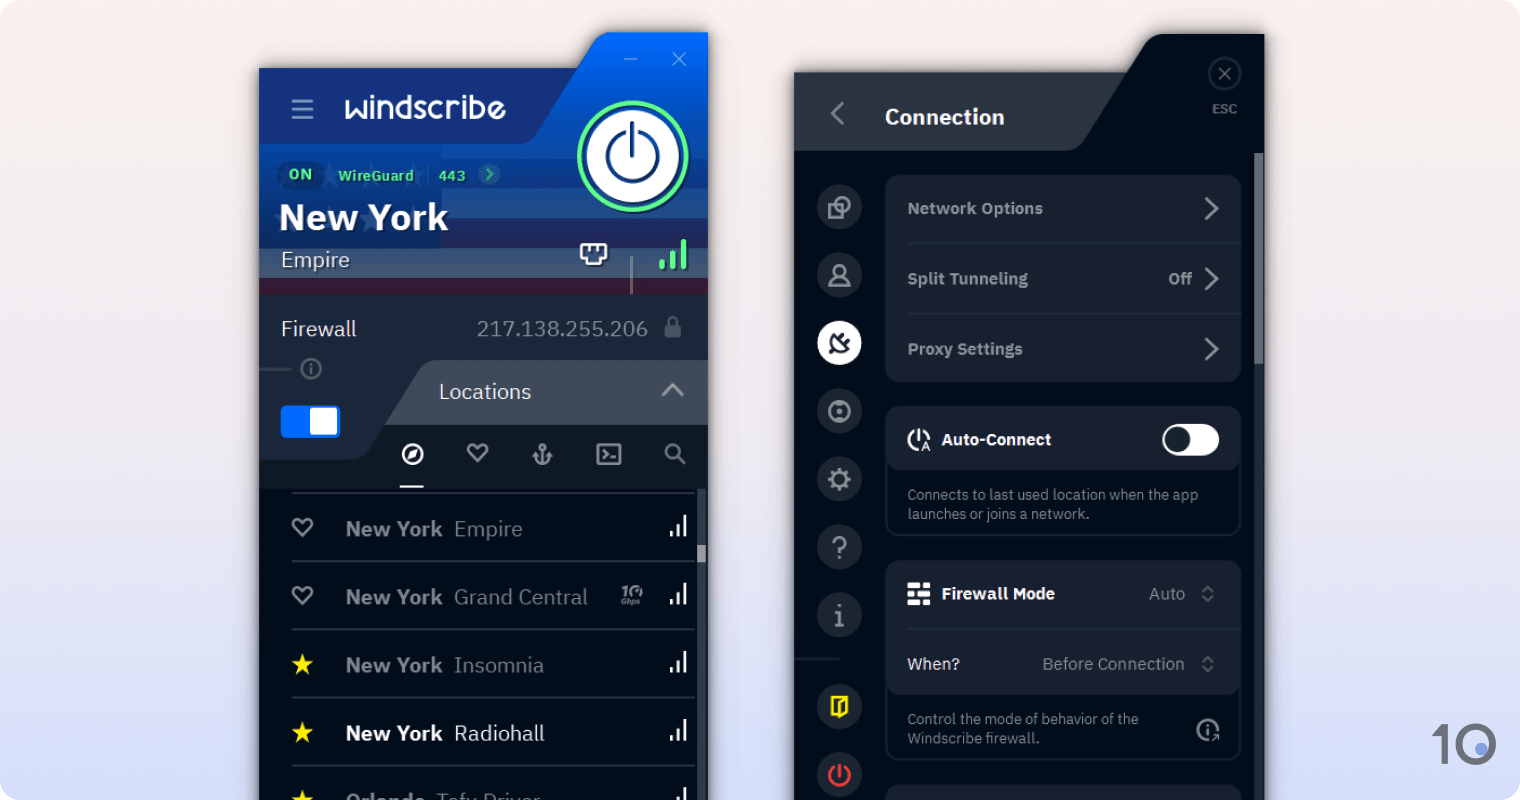
Windscribe is a great alternative to Mullvad, if you don’t want to pay for a VPN subscription. As you’d expect from a free service, though, it’s worse than Mullvad in every way.
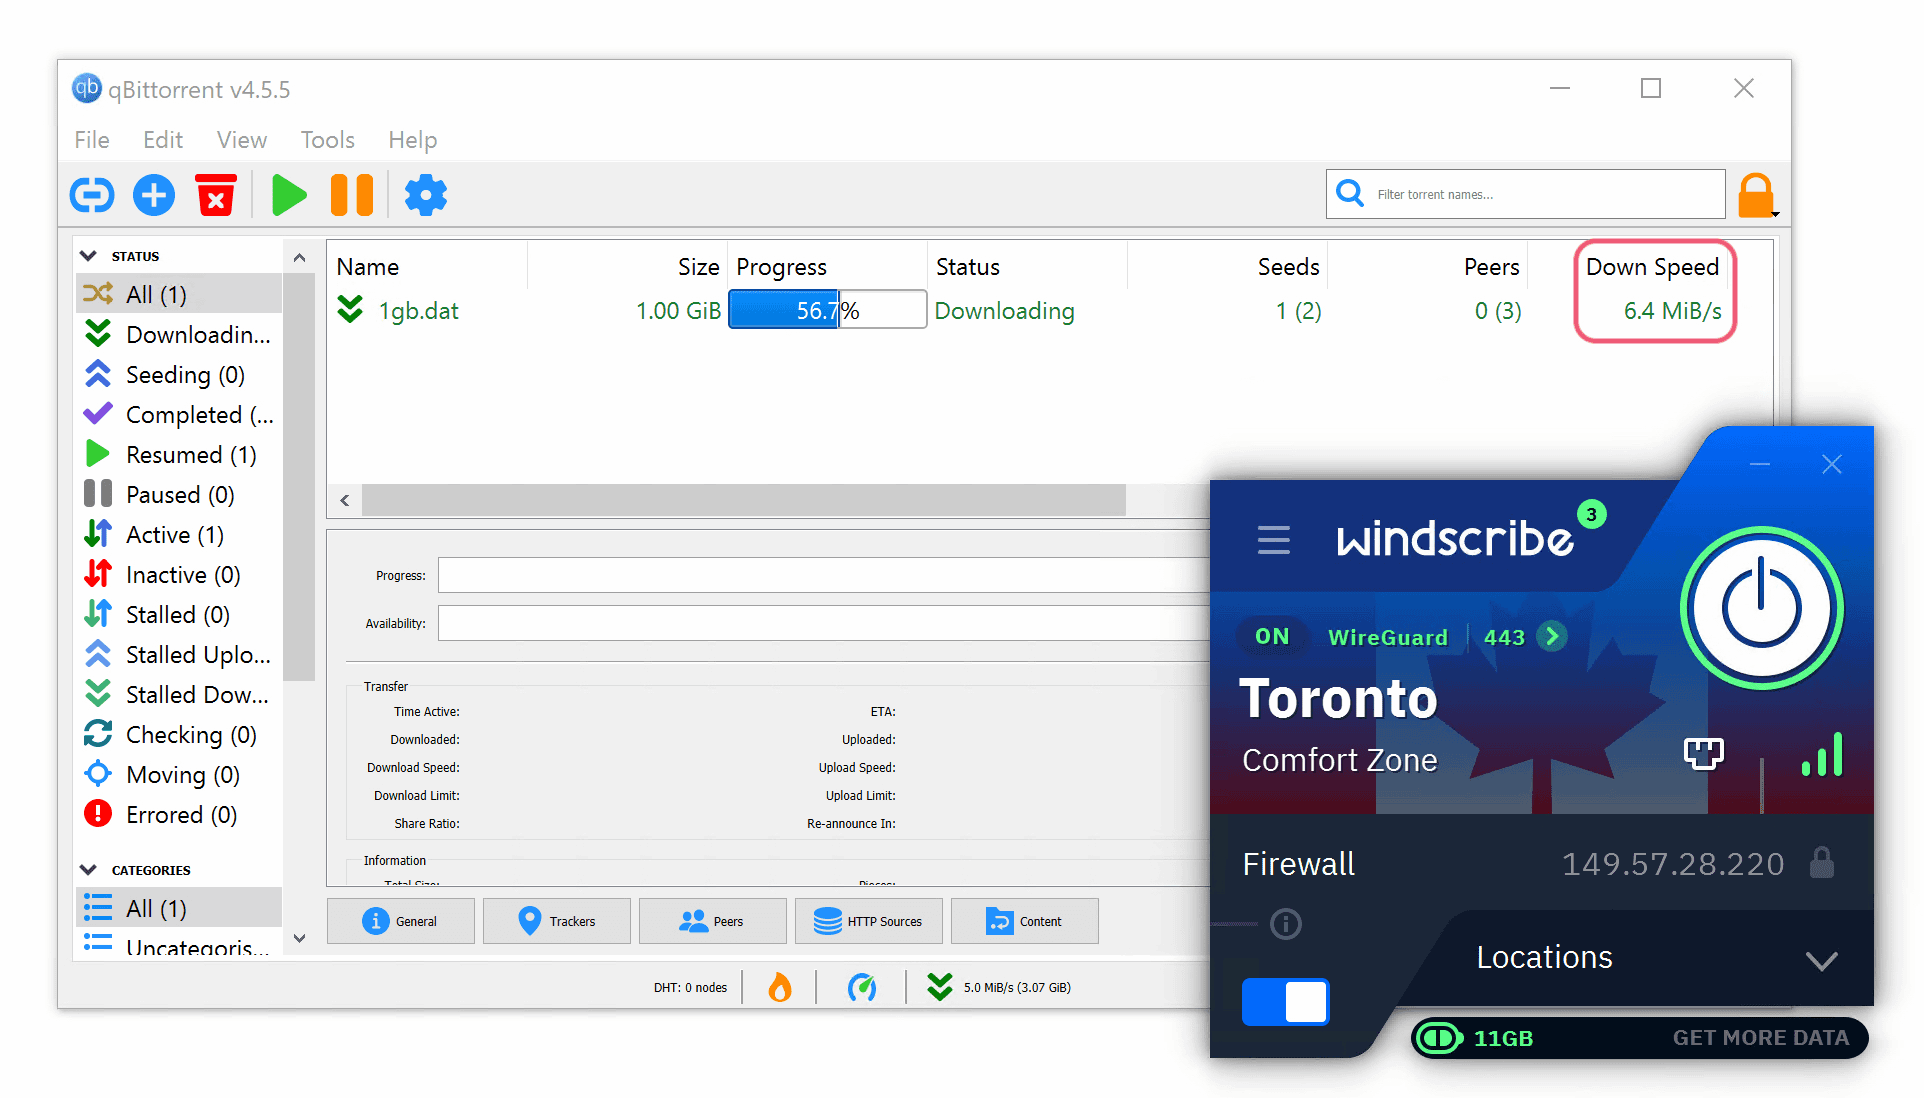
For the best possible bitrate, connect to a 1Gbps server.
You can torrent safely with Windscribe thanks to its AES-256 encryption and advanced ‘Firewall’ kill switch. It’s also free to use and won’t require your payment details at any point.
It is limited by a 10GB monthly data cap. In our experience, this often wasn’t enough to download a movie in high resolution. It’s only usable for torrenting movies in a lower resolution, individual episodes of TV shows, or music.
It’s also 36% slower than Mullvad, with an average bitrate of 7.2MiB/s. This result is acceptable for a free service, but it doesn’t come close to Mullvad or PIA’s file-sharing speeds.
Overall, there’s no reason to choose Windscribe over Mullvad unless you prioritize value above all else.
